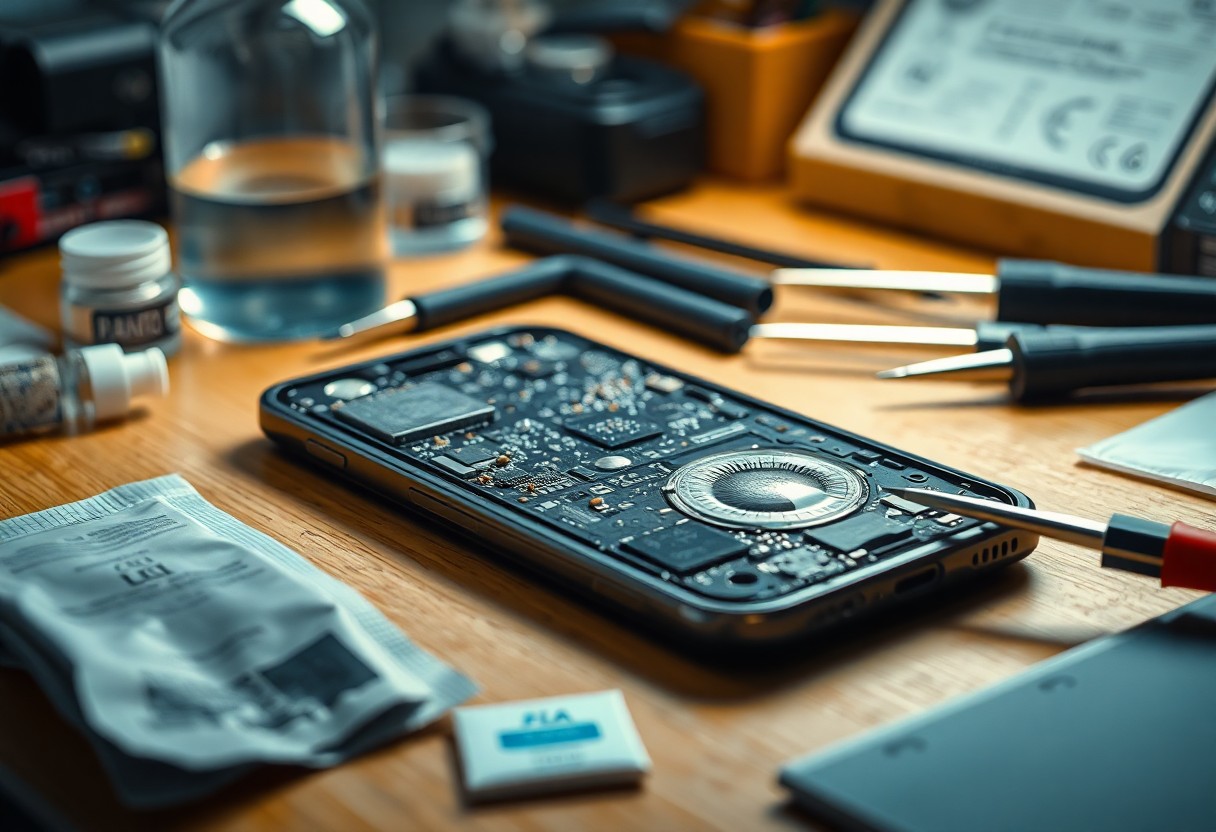

You must act quickly: power your phone off, remove the SIM and external battery if possible, and blot away moisture to limit shorts. Do not plug in a wet phone or try to boot it, and avoid heat sources; use gentle airflow, isopropyl alcohol or silica gel to displace water. Follow steps carefully-these measures can often save your device-and seek professional service if corrosion or persistent failure appears.
Understanding Water Damage
Moisture attacks electronics on multiple fronts: within 1-2 hours you can get conductive films forming, and within 24-48 hours visible corrosion and mineral deposits often appear on contacts and connectors. If you keep the device powered, you raise the chance of short circuits that can fry ICs; if left powered off, salts still etch traces over days. You should act based on exposure type, how long it sat in liquid, and any immediate functional failures you observe.
Factors Affecting Damage
Several variables change how severely your phone will be harmed; assess these to prioritize recovery steps quickly.
- Liquid type – freshwater versus saltwater or chlorinated pools
- Exposure time – minutes versus hours or days
- Device state – powered on increases electrical damage risk
- Seals & IP rating – compromised gaskets or older devices have less protection
The combination of salt, heat and time accelerates corrosion and permanent component failure.
Signs of a Water-Damaged Phone
If your phone shows any of these issues after liquid contact, treat it as water-damaged: charging failure, intermittent booting, flickering screen, muffled speakers or microphone, visible fog under camera glass, or a tripped liquid contact indicator (often red/pink in the SIM tray). You should log when exposure happened and how long the device remained wet to guide next steps.
Inspect the SIM tray, charging port, headphone jack and battery compartment for the liquid contact indicator (many phones place it in the SIM slot or under the removable back). Check for green or white corrosion at port pins and a sweet or mildew-like odor indicating long-term moisture. Be alert for battery swelling, which is a safety hazard requiring immediate professional handling, and note intermittent faults-random reboots, touchscreen dead zones, and persistent overheating suggest internal damage even if the exterior looks OK.
Immediate Emergency Steps
Act fast: within the first 1-2 hours your actions most affect recovery. Power the phone off, remove the SIM/SD and any case or charger, and avoid plugging it in-charging can cause a short circuit. Gently blot visible water with a lint-free cloth, take photos of damage for service claims, and get the device to a dry, cool place while you prepare for deeper diagnostics.
Power Off the Device
You must shut the phone down immediately to limit current flow; press and hold the power button or use the hardware combo (often power+volume for 10-15 seconds) to force off. If the battery is removable, take it out within seconds. Avoid tapping buttons repeatedly or attempting normal boots-every attempt raises the risk of internal shorts.
Remove SIM and SD Cards
After powering off, eject the SIM and SD trays using the tool or a small pin; doing this protects your personal data and prevents tray corrosion. Tilt the phone so water drains away from openings, dry the contacts with a lint-free cloth, and place cards separately in a dry, labeled container-do not reinsert until fully dry.
SIM and microSD contacts can start corroding within 24-48 hours, so you should store them with desiccants like silica gel packets or in an airtight bag. Avoid using household heat sources (hair dryers, ovens) which can warp plastic or delaminate glue. If available, use 90%+ isopropyl alcohol to displace water on metal contacts and let them air-dry 30-60 minutes before reinserting or backing up data.
Drying Techniques
Next, prioritize removing moisture from ports, seams, and under buttons with controlled drying: targeted airflow, desiccants, or vacuum-assisted extraction. In tests, phones left to ambient air for 48 hours still retained conductive residue; using directed methods reduces corrosion risk and increases the chance of recovery within the first 24-72 hours.
Air Drying Methods
You can start with gentle air drying: blot visible water with a lint-free cloth, then place the phone on a ventilated surface with a fan positioned 10-20 cm away to circulate air for 12-48 hours. Use a small vacuum (low suction) over ports for 1-2 minutes to draw liquid out; avoid heat sources or hairdryers that can warp components or drive moisture deeper.
Using Silica Gel or Rice
Seal your phone in a container with silica gel packets-aim for 10-20 standard packets or ~300-500 g of loose beads-and leave it 24-72 hours; silica gel typically outperforms rice at adsorption. If you use uncooked rice as a last resort, expect slower drying and a risk of dust getting into ports, so handle with care and keep charging off until fully dried.
For best results, spread silica gel evenly around the device in an airtight container and check after 24 hours, then again at 48-72 hours; indicator beads change color when saturated. Avoid using cooked rice or heat to speed the process. If you see residue or debris after drying, gently clean ports with isopropyl alcohol before attempting to power on-do not charge until you’re confident the internals are dry.
Cleaning the Charging Port
Ports often trap lint, salt and corrosion after exposure; you should power your phone off and inspect the Lightning or USB‑C connector with a magnifier. Use short bursts of canned air and a non‑metal probe to remove loose debris; apply 90%+ isopropyl alcohol sparingly on a lint‑free swab to dissolve salts. Do not insert metal pins or use heat sources, which can bend contacts or short the board – those actions frequently worsen damage.
Safe Cleaning Tools
Use a plastic or wooden toothpick and an ESD‑safe nylon brush for physical debris; a magnifier helps you see bent pins. Carry 90-99% isopropyl alcohol and lint‑free swabs; compressed air in short 1-2 second bursts from 6-8 inches prevents driving debris deeper. Avoid metal probes, household pins, and adhesive tapes, which can leave conductive residues or permanently damage contacts.
Steps for Effective Cleaning
First power your phone off and remove the SIM tray and case. Next visually inspect and test with compressed air, then gently dislodge lint with a wooden toothpick; follow with a 90%+ isopropyl swab to clean salts. Allow components to air‑dry 5-10 minutes before reassembly. If pins look corroded or bent, stop and seek professional service – forcing or reheating risks permanent failure.
Work under bright light or a 10-30x loupe and hold the phone so debris falls out, not deeper. Use shallow, gentle strokes with the toothpick at a 15-30° angle and limit swabs to 2-4 passes; avoid saturating the port-apply alcohol to the swab, not directly into the connector. After cleaning, wait at least 10 minutes for evaporation; if charging remains unreliable, let it sit 24 hours with silica gel packets and consult a repair shop. Do not heat or plug in while damp.
Checking for Residual Damage
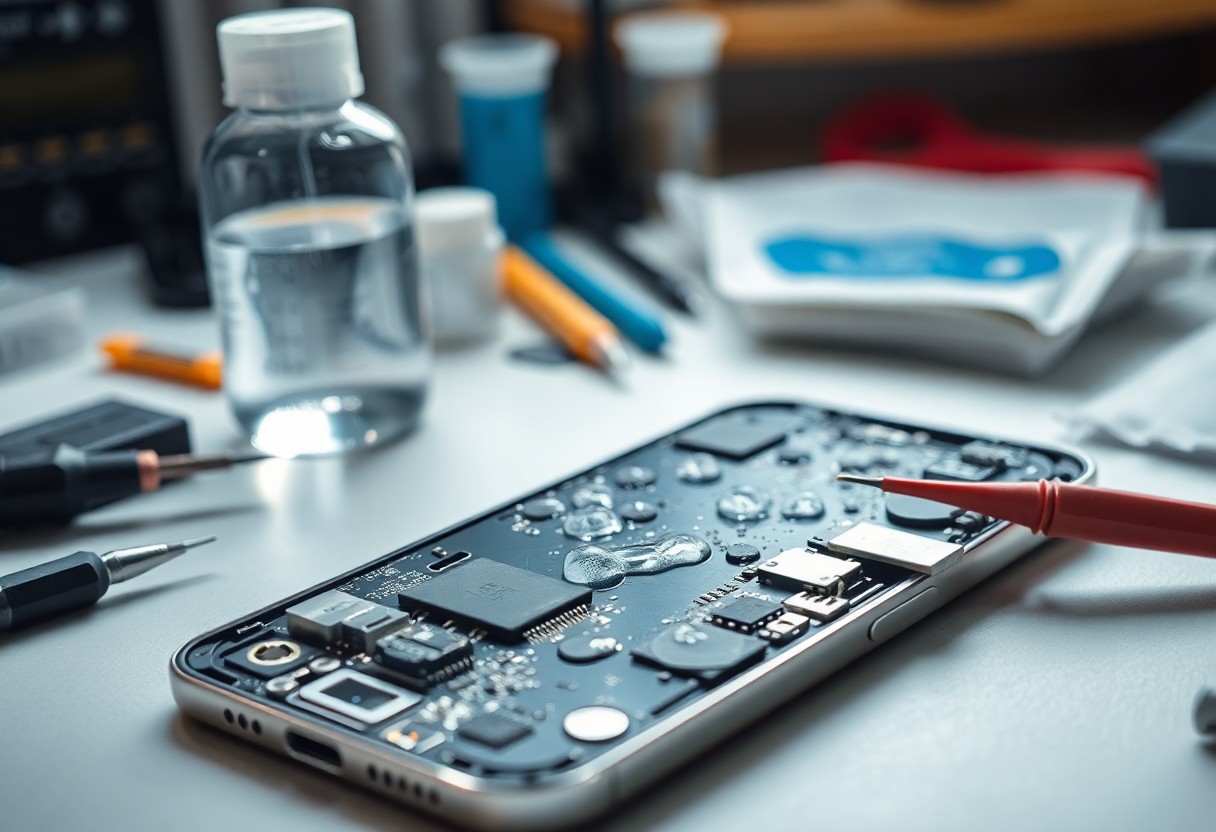
After initial drying, inspect your phone for corrosion at the charging port, SIM tray, speaker grilles, and battery edges using a magnifier and bright light. If you find green/white deposits, black soot, or a swollen battery, stop attempting to power it; those indicate chemical damage or gas buildup that can worsen quickly.
Diagnostic Tests
Use a multimeter to check charger output (~5V for USB-A, 9-20V for PD), battery resting voltage (typically 3.7-4.2V), and continuity between ground and chassis. If the charger shows 5V but the battery reads <1V or the charging IC exceeds 50°C under light load, you likely have shorted components. Software probes (ADB, DFU) can reveal boot errors or PMIC faults.
Signs to Look For
Watch for persistent boot loops, erratic battery percentage jumps, dim or flickering display, port discoloration, and unusual odors; also note if your device feels hot to the touch or the case is bulging. Those symptoms often point to damaged power management, corroded traces, or a failing battery that needs immediate attention.
For example, a saltwater spill produced a boot loop after ~48 hours; testing showed battery voltage at 2.8V and a PMIC short with a 0.9A idle draw, and estimated capacity loss of 35%. You can confirm issues by measuring idle current (should be <200mA during boot) and checking whether an external powered USB hub supplies 5V to the logic board-if not, suspect burnt traces or a failed charging IC.
When to Seek Professional Help
If your phone shows a swollen battery, emits a burning smell, or still won’t power on after 24-48 hours of drying and safe attempts, you should get professional help. Saltwater exposure or devices submerged longer than 48 hours often need board-level repair to stop progressive corrosion. If your data is valuable, you’ll want a shop that offers diagnostic reports and data-recovery options before you attempt further DIY fixes.
Finding a Reliable Repair Service
Check for an authorized service provider when warranty or OEM parts matter, but also consider independent shops with verified reviews that advertise micro-soldering/board-level repair. Ask upfront about diagnostic fees (typically $30-$100), parts sourcing (OEM vs aftermarket), turnaround time, and a written warranty (common ranges: 30-90 days). For example, Apple Authorized Providers and reputable local shops like uBreakiFix publish clear policies and customer ratings you can verify.
Cost Considerations
Expect diagnostics ($30-$100), screen replacements ($50-$400+), battery swaps ($20-$100), and board-level repairs ($150-$800+). If a repair quote exceeds roughly 50% of a replacement phone, replacing may be more sensible. You should get an itemized quote and compare repair cost versus current device value before authorizing work.
Factors that drive price include model age (flagship phones often cost $200-$400 to repair), water type (saltwater raises likelihood of expensive board work), and labor complexity. Data recovery can range $150-$1,000 depending on damage. Always ask for a written estimate, parts warranty, and a “no-fix, no-fee” or reduced-fee diagnostic policy to avoid surprise charges.
Summing up
The best emergency steps are to power your phone off, remove the SIM/SD and battery if possible, blot and air-dry using silica or gentle airflow (not heat), avoid attempting to charge, and gently clean ports and contacts with 90-99% isopropyl alcohol. You should wait 24-72 hours before attempting a soft power cycle; if it still won’t respond, seek professional board-level repair to recover data and restore charging.