

You can often salvage data from a dead hard drive that’s not detected by your computer by following methodical DIY steps: first power down and avoid further writes to reduce permanent loss, then try safe diagnostics like external enclosures and imaging with reliable tools, create a full disk image before attempting repairs, and consult professionals if the drive makes unusual noises.
Understanding Hard Drive Failure
Hard drives fail through four main pathways-mechanical, electronic, firmware, and logical corruption-and you need to identify which to pick the right DIY approach; consumer HDDs often show increased failure rates after 3-5 years, sustained temperatures above 50°C, or repeated power events, while SSDs have different wear patterns tied to write cycles, so use SMART data and symptom patterns to narrow the cause before attempting recovery.
Common Causes of Hard Drive Failure
Mechanical damage like a head crash or seized spindle from shock, PCB/electronics failure due to power surges or burnt components, firmware corruption that prevents drive initialization, and logical issues such as partition table damage or malware are the usual culprits; manufacturing defects and long uptime also matter, with heavy-use enterprise drives often rated for tens of thousands of hours while consumer units typically last only a few years under constant load.
Symptoms of a Dead Hard Drive
Typical signs you’ll see include the drive not appearing in BIOS/Device Manager, repetitive clicking/grinding noises, beeping or failure to spin up, frequent SMART warnings, slow or disappearing volumes, OS crashes/BSODs during disk access, and visible burn marks or smell indicating electronic failure; intermittent detection often points to failing electronics or loose connectors rather than total mechanical destruction.
To dig deeper, check whether the drive spins and what sounds it makes-spinning silently but not detected suggests PCB/firmware issues, while rhythmical clicking every few seconds usually means heads hitting platters and needs immediate power-off; diagnostics like CrystalDiskInfo, smartctl, or Event Viewer entries can show rising reallocated sectors or pending sectors, and if you observe smoke, sparks, or persistent clicking stop further attempts to avoid worsening damage.
Initial Troubleshooting Tips
Start with quick visual and power checks, then move to system-level tests; common fixes are simple.
- Check power: a 3.5-inch drive needs 12V plus 5V, while most 2.5-inch laptop drives only need 5V.
- Swap the SATA/USB cable and try a different port to rule out a bad lead for a dead hard drive that’s not detected.
- Verify BIOS/UEFI and Disk Management for visibility before risky writes.
The simple checks below often determine whether the drive is salvageable at home.
Checking Connections
When you inspect connectors, unplug and reseat the SATA and power plugs, look for bent pins or burned smells, and try a known-good cable; if the drive doesn’t spin, suspect the power rail-use a multimeter to verify ~12.0V on the SATA power pin for a 3.5-inch unit. Avoid opening the drive enclosure; do not attempt internal repairs yourself because that risks permanent data loss.
Testing on Another Computer
You should connect the drive to a different machine using a direct SATA connection or a powered USB dock-USB adapters can mask issues. In Windows check Disk Management or run “diskpart /list disk”; on Linux use “sudo fdisk -l” or “lsblk” to see if the device appears and note reported model and size for diagnostics.
For deeper testing, boot the alternate computer into a Linux live USB and inspect dmesg output after connecting the drive (dmesg | tail -n 50) to capture I/O errors or SMART reports (smartctl -a /dev/sdX). Use a powered USB docking station for 3.5-inch drives to avoid under-voltage; avoid running chkdsk or write-heavy tools on a drive showing SMART reallocated sectors or click/noise symptoms, since writes can accelerate failure and reduce recovery odds.
DIY Recovery Methods
Start by swapping cables, trying a different USB‑SATA adapter, power source, or PC and checking BIOS/UEFI for drive detection; if you hear clicking or grinding, it’s likely mechanical and you shouldn’t power it repeatedly. For logical issues you can often recover files with software after imaging the disk. Begin with a full sector‑by‑sector image to another drive and avoid writing to the original to preserve your recovery chances.
Freezing the Hard Drive
If your drive exhibits intermittent spin or head‑stuck symptoms some users try freezing: seal the drive in an anti‑static bag with most air removed, place it in the freezer for 4-8 hours, then you connect immediately and copy your data to a healthy drive. This is a temporary, high‑risk workaround-condensation and head crashes can make recovery impossible, so only attempt it as a last resort and expect low success rates.
Using a Data Recovery Software
Use targeted recovery tools depending on the failure: TestDisk and PhotoRec (free) handle partitions and file carving, Recuva suits Windows NTFS, while EaseUS and R‑Studio are paid options (~$50-$100) with advanced previewing. Make sure you always work from an image, run read‑only scans, and prioritize extracting files to another drive. Do not install recovery software on the failing disk or you’ll overwrite lost files.
You should image with GNU ddrescue to improve outcomes: use ddrescue to create a log‑guided clone (example: ddrescue -f -n /dev/sdX /mnt/target/image.img /mnt/target/recovery.log), then run recovery against that image. If you image a 1 TB drive without many bad sectors expect several hours; with many bad sectors expect days and repeated passes. Imaging protects the original and lets you retry aggressively on the copy.
Important Factors to Consider
Before you start, quickly assess the type of hard drive, the degree of damage, and the value of the data to decide between DIY and professional recovery; logical issues (file deletion, corruption) are often recoverable with tools, while physical faults usually need a lab. Common symptoms include clicking, no spin, or SMART errors such as rising reallocated sector counts; SSD failures often involve controller issues or TRIM. Any further power cycles can worsen physical damage and reduce recovery chances.
- Type of hard drive: HDD (platters/heads) vs SSD (NAND/controller)
- Failure mode: logical vs physical (head crash, PCB, motor)
- Symptoms: clicking, beeping, no spin, SMART errors
- Data value: personal photos vs business-critical databases
- Budget: DIY tools <$100 vs professional $500-$3,000+
Type of Hard Drive
If you have a 3.5″ HDD it’s likely a platter/servo/head design sensitive to shock; 2.5″ laptop drives are similar but smaller. When dealing with SSD, expect controller, NAND, or firmware failures and complications from TRIM that can permanently erase deleted data. You should identify interface type (SATA, IDE, NVMe/M.2) because cloning or connecting methods differ and can affect recovery options.
Degree of Damage
Logical failures like deleted files or filesystem corruption are typically the easiest to fix with software, often yielding recovery rates above 70-90% depending on overwrite; physical problems-head crash, PCB burn, or motor seizure-require cleanroom intervention and have lower success without pro tools. You must judge symptoms (clicking, no spin, repeated power cycles) to estimate whether DIY steps are safe.
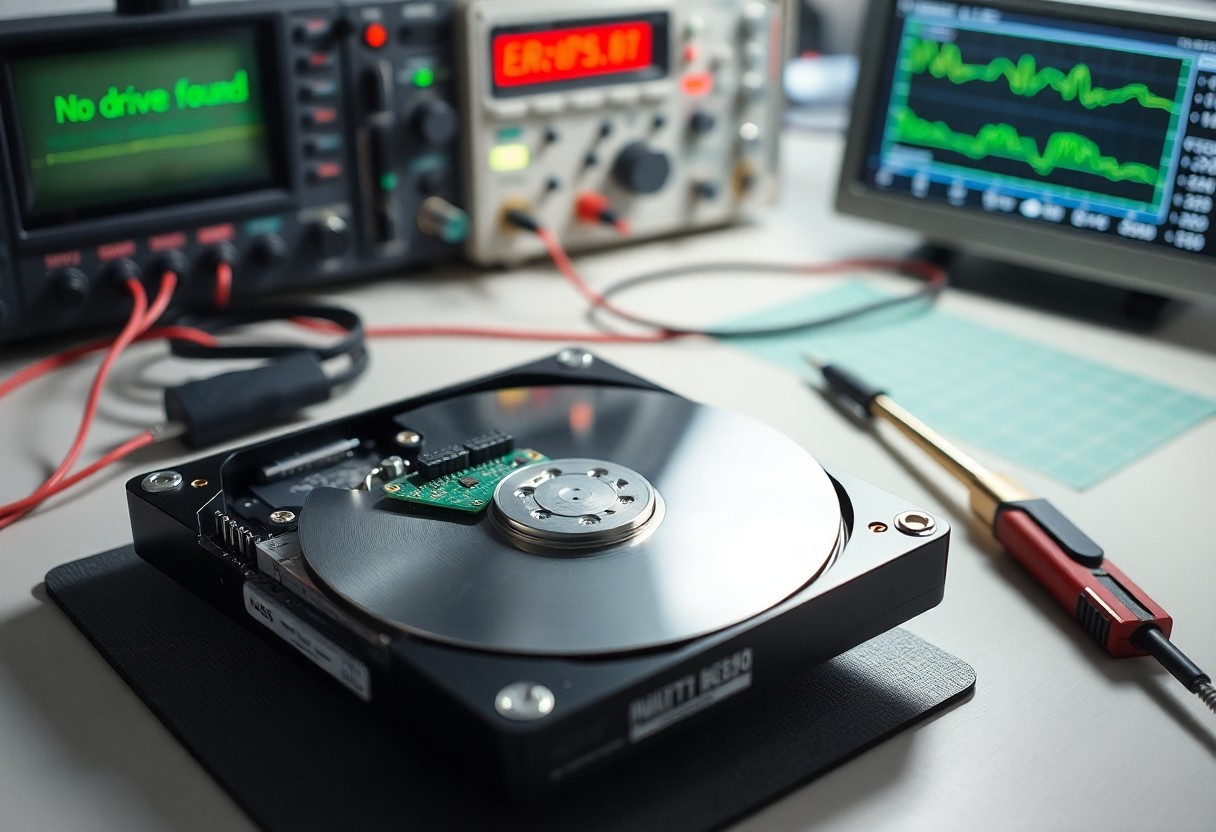
For example, a deleted partition on a 1-4 TB drive can often be rebuilt with free tools in under an hour, whereas a head crash on a 2 TB Seagate may cost $800-$2,000 to recover in a cleanroom and still only yield partial files if platters are scratched. If SMART shows >1,000 reallocated sectors or pending sector counts climbing, you face impending physical failure-stop powering the drive to avoid further platter damage. When the PCB smells burned or the drive fails to spin, replacing the board or using donor heads requires model-matched parts and technician expertise; you should treat those as professional cases rather than DIY projects.
When to Seek Professional Help
When symptoms like repeated clicking, a burnt odor, loud grinding, or the drive not spinning occur, stop DIY attempts and contact a pro. If the data is business-critical, encrypted, or you’ve already powered the drive multiple times, professionals with clean rooms and specialized tools can often recover data-success rates commonly range 70-90% for mechanical failures.
Signs You Need Expert Assistance
If your drive emits persistent clicking, grinding, or a burnt smell, shows visible PCB or platter damage, or the system repeatedly fails to recognize it after 2-3 attempts, you need a professional. Also seek help for RAID degradation, controller failures, or when the data is encrypted-continuing DIY attempts can make recovery harder and may cut your chances roughly in half.
Cost of Professional Data Recovery
You can expect recovery to cost roughly $300-$1,500 for logical recoveries and $800-$2,500+ for mechanical HDD fixes; complex SSD or RAID jobs can exceed $2,000-$10,000. Diagnostics often run $50-$150 and may be waived if you proceed; many labs advertise a “no data, no fee” policy-confirm terms before sending your drive.
You should know price depends on failure type, media, and urgency: HDD head swaps or platter work require clean-room procedures that raise costs, while SSD NAND chip-offs demand specialized skills and often push fees into the four- to five-figure range. Rush service (24-48 hours) typically doubles fees; standard turnarounds run 3-10 business days-ask for an itemized quote and success-rate estimate before you commit.
Preventative Measures for Future Data Loss
Regular Backups
Adopt the 3-2-1 backup rule: keep three copies of your data on two different media with one copy offsite or in the cloud. Automate backups with tools like rsync, Time Machine, Windows File History, or cloud sync and schedule daily backups for critical work and weekly for personal files. Encrypt backups, verify integrity by performing test restores quarterly, and keep at least one versioned backup for accidental deletion or ransomware recovery.
Monitoring Hard Drive Health
Use SMART monitoring and periodic surface tests to catch early signs of failure; tools like smartctl, CrystalDiskInfo, and HD Sentinel can run automated checks and email alerts. Check attributes weekly, watch for rising Reallocated Sector Count or Current Pending Sector values, and track temperature (keep drives below 50°C). When metrics worsen, immediately image the drive before attempting repairs.
Pay attention to specific SMART metrics: Reallocated Sector Count, Current Pending Sector, and Uncorrectable Sector Count-any upward trend is a warning. Look at Power‑On Hours and load cycle counts for wear patterns; manufacturers’ tools can run extended tests. If you see rapid deterioration, create a full disk image with ddrescue or similar, avoid power cycles, and consider migrating data to a healthy drive before faults escalate.
Conclusion
With this in mind, you should methodically try power and cable swaps, alternate enclosures or computers, and use read-only tools to image the drive before running recovery software; if the drive stays undetected or your data is valuable, stop DIY attempts and consult a professional recovery service to maximize retrieval chances while minimizing further damage to your data.