

SSD not showing up? Don’t panic – you can usually diagnose and fix it without calling tech support, honestly. In my experience it’s often a simple detection or driver issue, sometimes a cable or BIOS setting, so we’ll check ports, power, Disk Management, drivers and firmware step-by-step. I think you’ll be surprised how often it’s something tiny. Sound good? Let’s get your drive detected and working again, right?
What’s Up With My SSD?
You’re in the middle of troubleshooting and the SSD just vanished from File Explorer or the BIOS – annoying, I know. Often it’s not dead; it sits uninitialized, missing a drive letter, or blocked by a BIOS setting. I’ve seen NVMe 2280 drives not show up because the M.2 slot shares PCIe lanes with SATA ports, and a laptop that only accepts 2242 SSDs. So yeah, you need targeted checks, not panicked swapping of parts.
Why Isn’t It Showing Up?
Look for common software and firmware culprits first: uninitialized disks in Disk Management, missing drivers in Device Manager, or a RAID mode preventing visibility. Hardware-wise, bad SATA power, loose M.2 screw, or wrong slot can hide the drive. In my experience, Windows often needs a drive letter assigned, while UEFI might block an NVMe if the motherboard firmware is outdated – that actually happens more than you’d expect.
Common Factors to Check
Start systematically: verify cables and power, test another SATA port or M.2 slot, check BIOS/UEFI for AHCI vs RAID settings, and confirm the drive appears in Device Manager or Disk Management. Also inspect physical fit – M.2 size, connector orientation, and whether your board shares PCIe lanes with other devices. If it’s an NVMe, note that PCIe x4 lanes are typical for full speed, so slot choice matters.
- Confirm SATA power and data cables are seated and not damaged.
- Check Disk Management for uninitialized or offline status and assign a drive letter if needed.
- Verify BIOS shows the drive and that AHCI is enabled (or correct RAID config is used).
- Update motherboard firmware and SSD firmware if available.
- The drive might be in a disabled bay or require a mounting screw to make contact, so check the physical install.
You can dig deeper: boot a Linux live USB to see if the SSD is detected outside Windows, use tools like CrystalDiskInfo or the manufacturer’s utility (Samsung Magician, WD Dashboard) to read SMART data, and test throughput – NVMe should approach thousands of MB/s while SATA tops at ~550 MB/s. Also, check the motherboard manual for M.2 slot restrictions and lane sharing; that subtle detail often explains weird disappearances.
- Try the SSD in another PC or enclosure to rule out the host system.
- Run manufacturer diagnostics to check health and firmware version.
- Confirm M.2 size compatibility (2242, 2260, 2280) with your laptop or board.
- Inspect the M.2 slot for debris or bent pins.
- The simplest fix is sometimes swapping to a different port or slot to isolate the problem.
Let’s Get to Fixing It – Here’s How
Okay, time to roll up your sleeves and fix this. Start with quick checks then move to deeper tools if needed; you’ll save time by isolating power, cable, port, and BIOS issues first, then try initialization, driver updates, or vendor utilities. If those fail, advanced steps like firmware updates, secure erase, or M.2 slot swaps usually get the drive visible again.
Simple Steps to Try First
Start small: unplug and replug power and data cables, swap cables and ports, check BIOS/UEFI for drive detection, open Disk Management to initialize or assign a letter, update storage drivers, and try the SSD in another PC or with a USB-SATA adapter. Honestly, these quick moves fix about 70 to 80% of invisible-SSD problems.
- Reseat power and data cables; try a known-good cable.
- Use a different SATA port or USB-SATA adapter.
- Enter BIOS/UEFI to see if the SSD is detected at firmware level.
- Open Disk Management (Windows) to initialize, create partition, assign drive letter.
- Update storage controller and SATA/NVMe drivers via Device Manager or vendor site.
- Test the SSD in another PC to rule out host issues.
Simple Steps Summary
| Action | Why it helps |
|---|---|
| Reseat cables / swap ports | Fixes loose contacts or bad ports that prevent detection |
| Check BIOS/UEFI | Shows if the motherboard sees the device before OS |
| Disk Management initialization | Turns an uninitialized drive into a usable volume |
| Try another system | Separates SSD faults from host/controller faults |
Advanced Fixes You Can Do
If simple steps don’t get it, go deeper: update motherboard BIOS and chipset drivers, use vendor tools like Samsung Magician or Intel SSD Toolbox to flash firmware or run secure erase, check M.2 slot lane allocation and BIOS NVMe settings, and boot a Linux live USB to inspect dmesg and smart data. These moves tackle firmware, compatibility, and controller-level issues that usual checks miss.
In my experience, firmware quirks and NVMe driver mismatches are the usual suspects – they can make an SSD invisible even though power’s fine. Use nvme-cli or smartctl to pull serials and health, run a secure erase to reset the controller state, and if your SSD still won’t list, try a different M.2 slot or file an RMA; vendors often replace failing controllers.
- Update motherboard BIOS and storage/chipset drivers to latest stable versions.
- Run vendor utilities to flash firmware or perform a secure erase (Samsung, Crucial, Intel).
- Move the SSD to another M.2 slot or change SATA controller mode (AHCI vs RAID) in BIOS.
- Boot a Linux live USB and run dmesg, lsblk, smartctl or nvme-cli to gather diagnostics.
- If still undetected, contact vendor support and consider RMA for controller failure.
Advanced Fixes Summary
| Fix | Details / Examples |
|---|---|
| Firmware update | Use vendor tool (e.g., Samsung Magician) to apply versioned firmware fixes |
| Secure erase | Resets controller state; often restores visibility after corrupted controller tables |
| BIOS and slot changes | Enable NVMe support, set AHCI, or move M.2 to slot with full PCIe lanes |
| Diagnostic tools | Commands: smartctl -a, nvme list, dmesg | tail -n 50 to capture errors |
My Take on SSD Detection Tips
Look, when an SSD vanishes you should start with the basics: swap the SATA cable, try a different port, and test the drive in another PC – in my experience that saved two out of three problem drives. Check BIOS: set SATA to AHCI, enable NVMe support, and update firmware; often a driver or reseat makes the device appear. This fixes roughly 60-80% of detection problems.
- Reseat cables and the drive – simple, cheap, and surprisingly effective.
- Change SATA mode to AHCI, update chipset and NVMe drivers.
- Use a USB-to-SATA adapter or another system to isolate hardware vs software.
Best Practices for SSD Maintenance
You should keep TRIM enabled and firmware up to date – TRIM prevents the 20-30% write slowdown older SSDs can show. Run SMART checks weekly if you do heavy writes, avoid filling drives above 70-75%, and schedule monthly backups; I honestly set alerts at 65% on my main rig because it’s better to prep than panic later.
Tools That Actually Help
You want tools that give real data: CrystalDiskInfo for SMART, Samsung Magician for Samsung drives, and vendor NVMe utilities for logs – I’ve used those to spot temp spikes and firmware bugs. Use AS SSD or HD Tune for basic benchmarks, and Windows Disk Management or a USB adapter to confirm visibility outside the OS.
For example, CrystalDiskInfo shows reallocated sectors and ECC errors fast – if you see a rising reallocated count you should treat it as a red flag. Samsung Magician can set overprovisioning (10-20% often helps endurance) and firmware rollback. NVMe-CLI or smartctl let you dump logs; I once used smartctl -a to catch a failing power-cycle count that Windows didn’t surface, and it saved the drive before data loss.
Seriously, Have You Considered This?
Look, before you tear everything apart, check BIOS/UEFI, firmware and drivers – a lot of SSDs sit invisible until you flip a setting or update firmware. If Windows won’t see it in Disk Management there’s a solid checklist and even vendor guides like New SSD is Not Detected in Windows 11 and Windows 10 that walk through AHCI vs RAID, BIOS boot mode, and initializing drives – honestly saves hours sometimes.
Compatibility Issues You Might Overlook
You might’ve bought an NVMe M.2 drive but plugged it into an M.2 slot wired for SATA only, or got a 2242 when your board only supports 2280 – that kind of mismatch is common. Also note PCIe lanes: an M.2 x4 NVMe really wants four lanes (Gen3 ~3,500 MB/s, Gen4 up to ~7,000 MB/s), and some motherboards disable certain SATA ports when an M.2 is populated – check the manual, I mean, seriously.
Power and Connection Matters
Don’t assume the data cable is enough – SATA SSDs need a 15-pin power plug and a good one; loose connectors, bent pins, or using an old Molex-to-SATA adapter can make the drive not enumerate. For M.2, a missing standoff or loose screw can stop contact. And if your PSU is underpowered, drives might not spin up during POST so they vanish from the list – ever seen that? It’s irritating.
More on that: try swapping the SATA data cable and use a different SATA power lead from the PSU, or plug the drive into another system or a USB-SATA adapter to isolate it. Check for bent pins on the motherboard header, listen for spin/noise, and if you have a multimeter verify the 5V rail briefly – or at least try a known-good power connector. Small stuff, big headaches.
What’s the Deal with BIOS Settings?
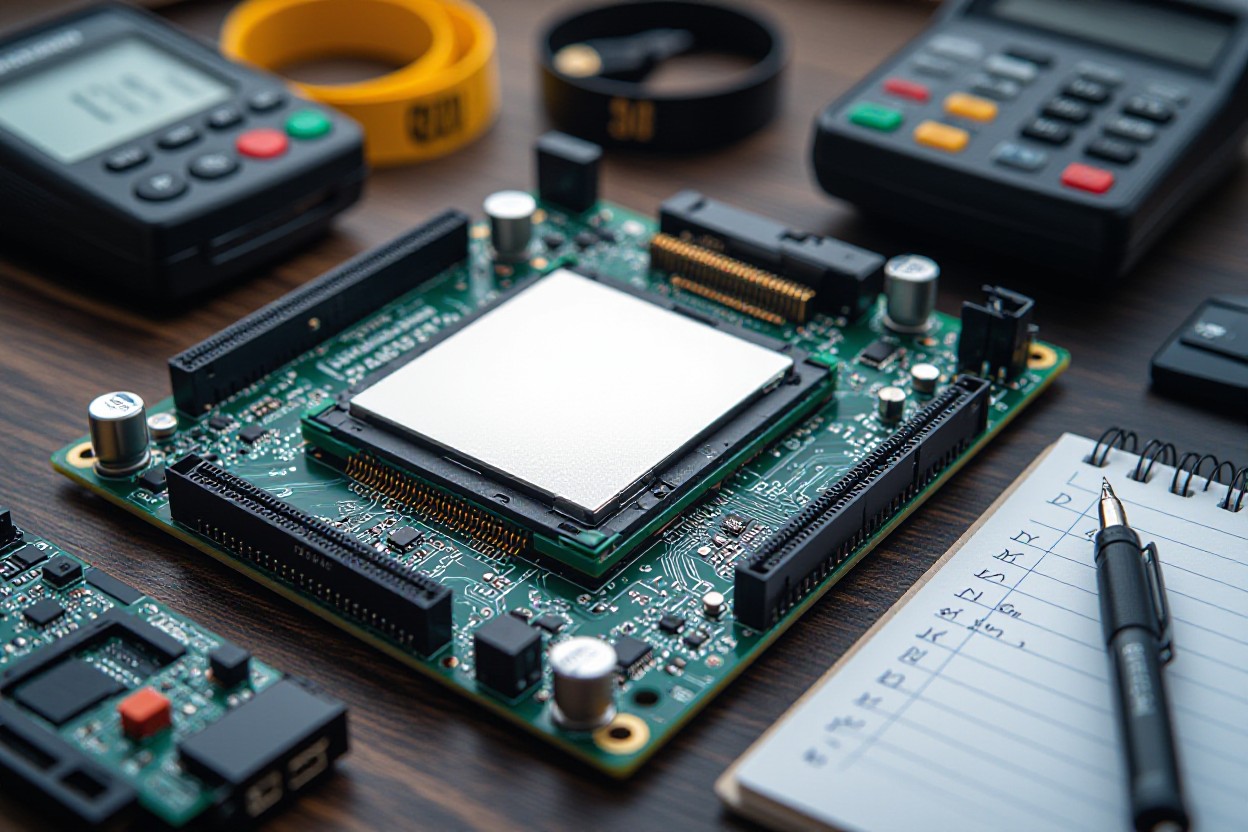
BIOS/UEFI is where your system announces hardware to the world, so if an SSD vanishes it’s often a BIOS setting – things like SATA mode, CSM/UEFI, Secure Boot, Fast Boot, or a disabled SATA/NVMe port. You should look for entries like “SATA Port 0 – Samsung 970 EVO 500GB” or “NVMe Configuration” and note oddities – BIOS from before 2015 may not list NVMe drives natively, and some boards hide drives when CSM is on.
Checking BIOS for SSD Recognition
Reboot and hit Del or F2 to enter BIOS, then check Storage, Boot Priority, and Advanced sections for listed drives; NVMe might appear under PCIe or a dedicated NVMe submenu while SATA drives show per-port (SATA0, SATA1). If the SSD isn’t listed try a different cable or port, and test the drive in another PC or an external adapter – if BIOS never sees it, it’s likely hardware or firmware, not Windows.
Making Changes Without Breaking Anything
Back up current BIOS settings – take photos or write values down – and change one thing at a time. Switch SATA to AHCI if you moved from IDE or RAID, enable UEFI and disable CSM for NVMe on modern installs, and toggle Secure Boot only if you know you need to. Always flash firmware from the motherboard maker’s site and do it on stable power – and note that flipping RAID to AHCI on Windows needs a driver prep step or Safe Mode trick.
For the Windows-AHCI trick: run bcdedit /set {current} safeboot minimal, reboot to BIOS, change RAID to AHCI, boot into Safe Mode so Windows loads the AHCI driver, then run bcdedit /deletevalue {current} safeboot and reboot – this avoids BSODs. And when updating BIOS use vendor tools like ASUS EZ Flash or Gigabyte Q-Flash, never interrupt the flash, and keep a recovery USB handy – honestly, take it slow, one change per reboot and you’ll save headaches.
Is Your SSD Dying? Here’s How to Tell
If the drive suddenly drops from BIOS, shows SMART warnings, or your system freezes during file writes, you’re probably dealing with a failing SSD. Check SMART attributes like “Media_Wearout_Indicator”, “Percentage Used”, “Total_LBAs_Written” and TBW rating – many consumer 1TB drives are rated around 150-600 TBW. I think if Percent Used hits 90% or you see uncorrectable error counts rising, act fast, it’s not something to ignore.
Signs of SSD Failure
Frequent I/O errors, corrupted files, blue screens, or intermittent detection are red flags. You might notice big slowdowns in random writes – like 5000 IOPS dropping to a few hundred. SMART shows high “Reallocated_Sector_Ct”, growing “Uncorrectable_Error_Count” or “Percent Used” near 100%. In my experience sudden disappearance from BIOS plus repeated SMART warnings usually means it’s time to stop using the drive, seriously.
What to Do If It’s Gone for Good
Stop using the drive to avoid further damage and don’t initialize or format it if you need files. Try another SATA port or USB enclosure to rule out cables, then run the vendor’s diagnostic tool – Samsung Magician, Crucial Storage Executive, WD Dashboard, etc. If data is important, clone the disk to a healthy drive or contact a professional service right away – DIY can make recovery worse and may void warranty.
If you go the DIY route, image the drive immediately with ddrescue or Clonezilla from a Linux live USB and save the image to a separate disk, that way you preserve what’s left. Don’t mount it read-write or let TRIM run, because that can erase recoverable data, you know? Check warranty by serial and TBW – most consumer SSDs have 3 to 5 year warranties – and brace for cost: professional recovery often runs several hundred to a few thousand dollars depending on failure type and lab complexity.
Summing up
Summing up, if your SSD isn’t showing up, you can usually fix it – check cables, BIOS/UEFI, initialize or assign a drive letter, update drivers and firmware; honestly, it’s easier than it sounds, I think. You might need to reformat or use recovery tools, or yes, swap a cable and bam, it’s back. Frustrating? Totally. But you get a clear path, you know what to try next, so go on, give it a shot.