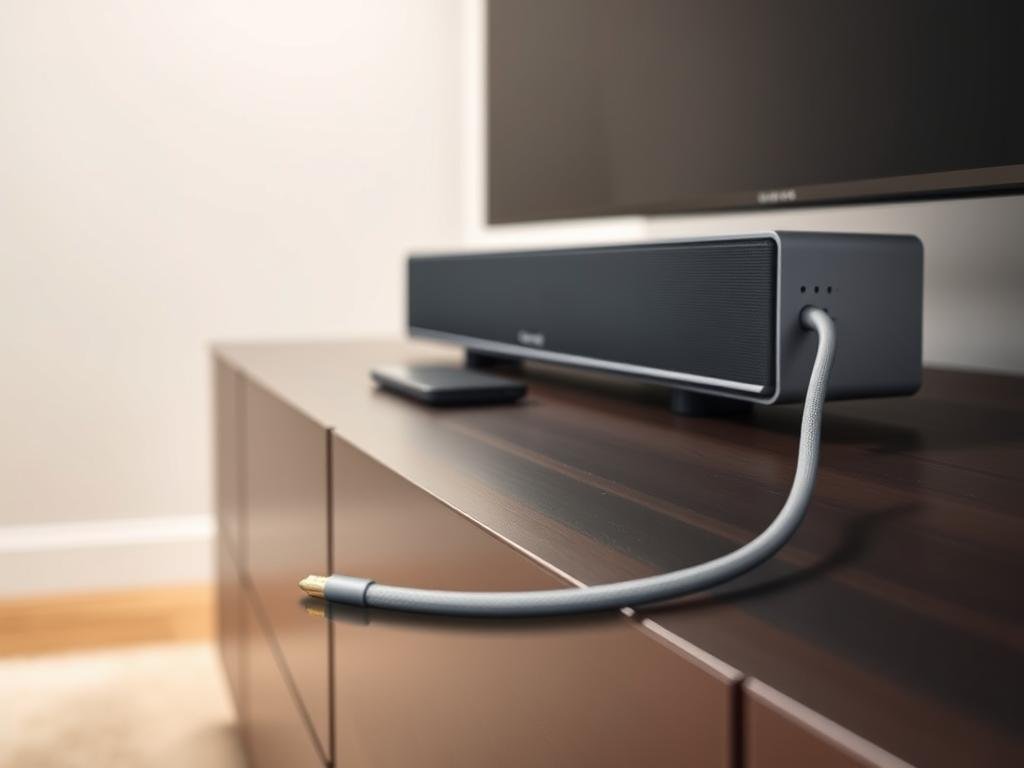

“Technology is best when it brings people together.” — Matt Mullenweg. This guide helps you unlock crystal-clear audio by linking your TV to a soundbar with a digital connection.
Many home theater systems rely on optical cables for pristine sound quality. Unlike HDMI, this method ensures zero signal loss, perfect for Dolby Digital or DTS formats.
Your TCL device likely supports this feature. Just match the ports, adjust your TV’s audio settings, and enjoy immersive sound in minutes. We’ll also cover quick fixes for common hiccups.
Why choose optical? It’s reliable, widely compatible, and delivers superior digital clarity. Let’s dive in.
Why Use an Optical Cable for Your Soundbar?
Digital audio connections offer crisp, interference-free sound that enhances your entertainment experience. While there are multiple ways to link your devices, a fiber optic connection stands out for its reliability and simplicity.
Benefits of Optical Audio Connection
Fiber optic cables deliver pure digital signals without electromagnetic interference. This makes them ideal for maintaining audio clarity across different systems. Here’s why many prefer this method:
- Zero signal loss: Unlike copper wires, fiber optics resist electrical interference, ensuring clean sound.
- Wide compatibility: Works with most TVs, gaming consoles, and home theater devices.
- Durability: The lack of metal components prevents corrosion over time.
These cables support standard 5.1 surround sound, perfect for movies and music. However, they can’t handle advanced formats like Dolby Atmos or DTS:X, which need higher bandwidth.
Optical vs. HDMI: Key Differences
Choosing between these two depends on your needs. HDMI delivers more features but isn’t always necessary. Here’s a quick breakdown:
- Bandwidth: Optical maxes at 5.1 channels, while HDMI supports 7.1+ and lossless audio formats.
- Functionality: HDMI carries both video and audio, whereas optical is audio-only.
- Future-proofing: If you want Dolby TrueHD or DTS-HD Master Audio, HDMI is essential.
For simpler setups, optical works great. But if you’re building a high-end home theater system, HDMI might be the better choice.
What You’ll Need for the Setup
Before diving into the connection process, gather the right tools and confirm your devices support this method. A smooth installation depends on proper preparation and compatibility checks.
Required Equipment and Tools
Here’s what you’ll need:
- A digital optical cable (TOSLINK) – Ensure it’s long enough to span between your TV and audio device without tension.
- Your TV and audio device – Verify both have the correct ports (output on the TV, input on the receiver).
- A flashlight – Helpful for spotting small ports in dimly lit areas.
Opt for high-quality cables to avoid signal degradation. Cheap options may lack durable fiber cores, leading to audio drops.
Checking Compatibility
Not all systems work seamlessly with this connection type. Follow these steps:
- Locate the ports: Check your TV’s back or side panel for a labeled optical out port. Audio devices typically have an optical in port.
- Update firmware: Some TVs require the latest software to pass through Dolby Digital signals. Check your manufacturer’s website.
- Test the cable: Before finalizing the setup, connect and play audio to confirm it works. Compare optical and HDMI if issues arise.
Note: LPCM stereo may be the only supported format on older TVs. For surround sound, ensure your TV outputs Dolby Digital or DTS.
Step-by-Step Soundbar Optical Cable Setup
Modern TVs simplify external speaker setups through intuitive menu navigation. Follow these precise steps to activate crystal-clear audio through your digital connection.
Finding the Right Ports
Locate the square-shaped optical out port on your TV’s rear or side panel. It’s often labeled “Digital Audio Out” or “TOSLINK.” Your audio device will have a matching optical in port, typically near other input options.
Pro tip: Use a flashlight to spot these small ports in dimly lit entertainment centers. Avoid forcing the connector – it should slide in smoothly with the cable’s directional arrow facing upward.
Establishing the Connection
Remove protective caps from both the cable and ports before connecting. Insert one end firmly into your TV until it clicks, then repeat for the audio device. Leave some slack to prevent tension on the connection points.
Important: Never bend the cable sharply near the connectors. Fiber optic strands inside can fracture, causing signal interruptions.
Configuring Your System
Access your TV’s settings menu to enable external audio. Here’s how major brands handle this:
| Brand | Menu Path | Optimal Format |
|---|---|---|
| Samsung | Settings > Sound > Speaker Settings | Bitstream |
| LG | Settings > Sound > Sound Out | PCM (Stereo) |
| Sony | Settings > Display & Sound > Audio Output | Dolby Digital |
Select optical out or “external speakers” as your audio output. For surround sound, choose bitstream format when available. PCM works best for stereo content.
Finally, use your remote control to set the audio device’s input to “D.IN” or “Optical.” Samsung users may need to disable internal TV speakers through separate menu options.
Troubleshooting Common Optical Connection Issues
Even the best digital connections can sometimes face hiccups—here’s how to fix them. Whether your audio cuts out unexpectedly or doesn’t play at all, these solutions will get your system back on track.
No Sound After Connection
First, ensure both devices are powered on and the cable is securely inserted. Dusty ports often cause silent failures—use compressed air to clean them gently.
Next, check your TV’s settings:
- Disable internal speakers in the audio menu to force output to external devices.
- Select bitstream or Dolby Digital as the output format if available.
- Verify the input control on your audio device is set to “Optical” or “D.IN.”
Intermittent Audio or Signal Drops
If sound cuts in and out, inspect the cable for sharp bends (over 90 degrees) or physical damage. Fiber optics are fragile—replace any compromised cables immediately.
For longer runs (over 10 meters), consider:
- Upgrading to a higher-quality cable with reinforced shielding.
- Relocating devices closer to minimize signal loss.
Pro tip: Test with another cable or device to isolate the issue. Sometimes, the problem lies with outdated firmware—update your TV or audio system if needed.
Alternative Connection Methods: HDMI vs. Optical
Choosing between HDMI and optical connections depends on your audio needs and device capabilities. Both deliver digital signals but excel in different scenarios. Here’s how to pick the right one for your setup.
When to Choose HDMI Instead
HDMI cables shine with modern home theaters. They support advanced formats like Dolby Atmos and DTS:X, offering up to 32 channels of immersive sound. This makes them ideal for 4K Blu-ray players or gaming consoles.
Optical connections max out at 5.1 channels. If you crave high-resolution audio or plan to upgrade your system, HDMI is the better investment. It also simplifies wiring by combining video and audio in one cable.
Pros and Cons of Each Method
Consider these factors before deciding:
| Feature | HDMI | Optical |
|---|---|---|
| Bandwidth | Up to 48 Gbps | Limited to 125 Mbps |
| Audio Formats | Dolby TrueHD, DTS-HD | Dolby Digital, DTS |
| Installation | Single-cable solution | Audio-only, separate video needed |
- Cost: High-quality optical cables are cheaper, but HDMI offers more features per dollar.
- Longevity: HDMI ports wear out faster due to frequent plug cycles. Optical cables lack moving parts, making them more durable.
- Compatibility: Optical works with older products, while HDMI suits cutting-edge systems.
For a deeper dive, explore HDMI vs. optical audio pros and cons. Match your choice to your devices and listening preferences for the best results.
Conclusion
Upgrading your home audio doesn’t require complex setups. TCL’s user-friendly models showcase how simple digital connections can transform your listening experience.
For mid-range systems, fiber-based links deliver crisp sound without interference. Before finalizing, test different configurations to find what works best for your space.
Remember:
– Inspect cables for damage
– Update device firmware
– Confirm input settings match your TV’s output
Explore TCL’s range for seamless integration. This guide ensures you get the most from your audio products with minimal hassle.