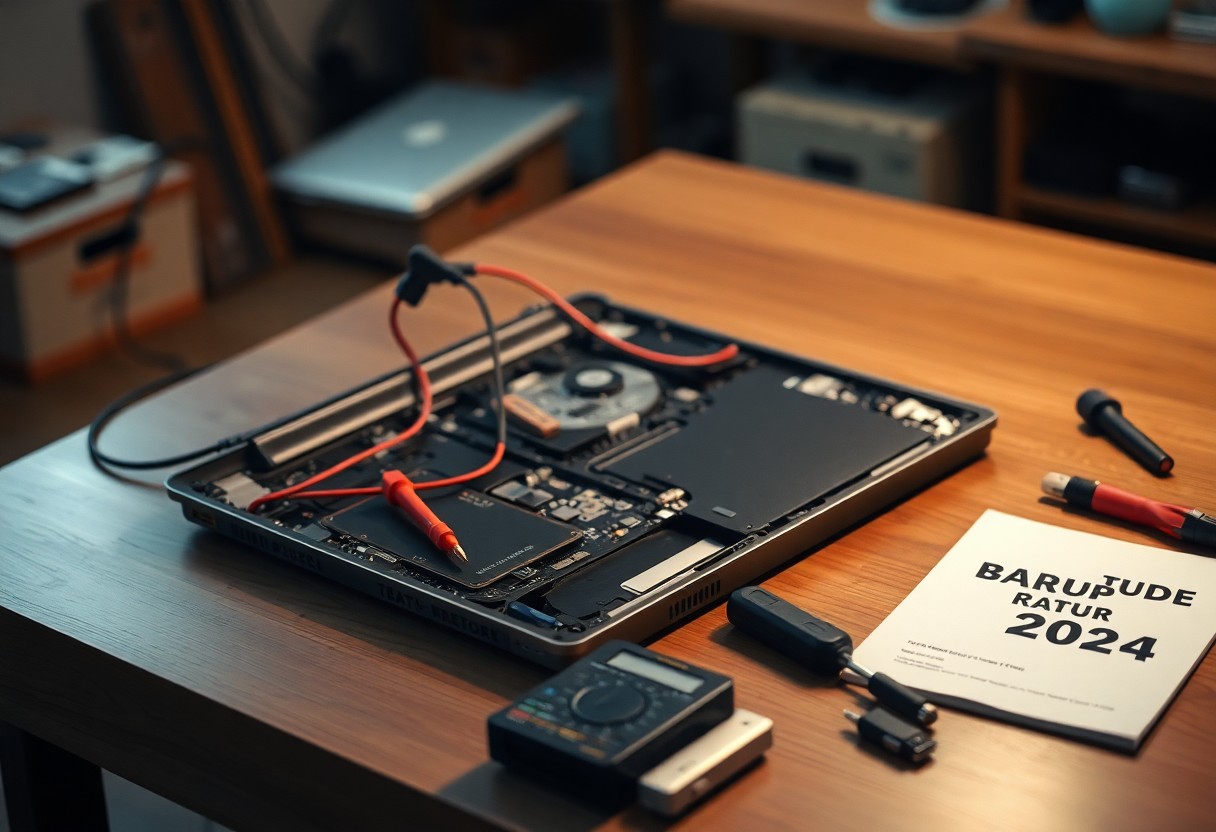

troubleshooting a laptop that won’t turn on even when plugged in requires you to methodically check your power adapter, battery, and internal fuse for faults; if you detect battery swelling or a burning smell, treat it as an immediate hazard and power down, then follow safe, step-by-step fixes to restore your laptop and protect your data.
Common Factors Leading to Power Issues
Loose connections, worn components, and firmware faults are frequent reasons your laptop won’t power on even when plugged in. Shops report roughly 30-40% of cases trace back to a damaged charger or broken DC jack, while battery cells typically fail after 300-500 full cycles and lose capacity. Faulty power rails on the motherboard and corrupted BIOS settings also appear regularly. Knowing which area to check first speeds repairs and avoids unnecessary replacements.
- Battery wear and swelling
- Charger cable or adapter failure
- DC jack damage or loose connector
- AC outlet or power strip issues
- Motherboard power circuitry faults
- BIOS or firmware corruption
Battery Problems
Your battery often deteriorates after about 300-500 full charge cycles, so you may see capacity fall by 20-40% in 1-2 years; swollen cells are dangerous and can deform the chassis. You can check health via Windows’ battery report (powercfg /batteryreport) or macOS System Report, remove the battery if possible to test AC-only boot, and replace with the exact OEM spec if capacity or voltage is out of range.
Faulty Charger
A faulty adapter commonly fails due to frayed cables, damaged barrels, or incorrect output voltage; most laptops use around 19-20V and expect a stable DC output within ±5%. You should inspect the cord for cuts, check the LED on the adapter (if present), and verify the label shows the proper voltage and at least the required amperage before swapping in a replacement.
To test further, first confirm the wall outlet and power strip supply stable AC, then measure the adapter’s DC output with a multimeter-expect the rated voltage within about ±5%. Try the adapter on a known-good laptop of the same spec or use a known-good adapter on yours; if voltage is low, fluctuating, or the barrel plug is loose, replace the adapter with an identical voltage and equal-or-higher amperage unit and correct polarity. Avoid cheap, mismatched chargers and address frayed or exposed wiring immediately to reduce risk of electric shock or fire.
Initial Troubleshooting Steps
Scan for obvious signs: verify the charger LED or laptop power light, test the wall outlet with a phone charger or lamp, and inspect the adapter and cable for damage. If your model has a removable battery, take it out and try powering on with the adapter only. Try a different known-good charger if available. These quick checks isolate whether the problem is the outlet, adapter, battery, or internal power circuitry.
Performing a Hard Reset
Unplug the adapter, remove the battery if possible, then press and hold the power button for 15-30 seconds to drain residual charge; many laptops respond after this. For non-removable batteries, hold power (and on some models power+volume down) for 20-30 seconds or use the manufacturer’s pinhole reset. After the reset, reconnect only the adapter and attempt to power on-this often revives systems stuck in a firmware or charge-state limbo.
Checking Power Source
Test the outlet with another device and check the adapter’s LED: a glowing light usually means the brick is receiving mains power. Measure wall voltage if you can-expect ~110-120V in the US or ~220-240V in many other countries. Inspect for frayed cables or bent DC plugs; exposed wiring or a sparking connector is dangerous and you should stop using the adapter immediately.
For deeper checks use a multimeter: set to AC to confirm mains, then to DC to measure adapter output-most laptop adapters output around 18-20V DC (common examples: many Dell/HP adapters are 19.5V, 45-90W; USB‑C chargers range 30-96W). If the adapter shows correct voltage but the laptop still won’t power, suspect a damaged DC jack, internal power circuit, or faulty battery. Avoid probing exposed conductors with bare hands; unplug before replacing parts.
Advanced Troubleshooting Techniques
When basic fixes fail, you move into component-level diagnostics: roughly about 50% of no-power cases trace back to the AC adapter or DC jack, while the rest involve internal boards, SMC/EC faults, or shorted power MOSFETs. Use a multimeter to verify common rails (many laptops use ~19V or 5-20V rails), document every reading, and work methodically to narrow the fault to a replaceable part.
- Verify adapter output and DC jack continuity with a multimeter.
- Disconnect and test the internal battery and CMOS battery.
- Reseat or swap RAM, SSD/HDD, and peripheral modules.
- Inspect solder joints and flex cable connectors for damage.
- Trace power rails on the motherboard for voltage drops or shorts.
- Replace suspected components (DC jack, MOSFET, SMC) or consult board-level repair.
Essential Tools & Their Use
| Tool | Use |
| Digital multimeter ($10-$40) | Measure adapter voltage, rail voltages, continuity, and shorts. |
| Precision screwdriver set | Remove 10-20 screws typical on consumer laptops and access internals. |
| ESD wrist strap & mat | Prevent static damage when touching MOSFETs, RAM, or CPU sockets. |
| Plastic spudger & tweezers | Safe pry of clips and connectors without scratching boards. |
| Flux, soldering iron, desoldering braid | Repair loose DC jacks or replace small SMD parts at the board level. |
Disassembling the Laptop
You should power down, unplug, and remove the external battery first, then ground yourself with an ESD strap. Keep screws organized – many models have 10-20 different screws and hidden clips – and take photos of connector locations as you go. Avoid forcing ribbon cables; use a spudger to release ZIF locks and label parts to speed reassembly.
Inspecting Internal Components
You want to scan the motherboard for bulging capacitors, burn marks, swollen battery packs, or fractured solder joints. Check DC-in areas for loose or lifted pads, examine connector pins under magnification, and note any burnt smell or discoloration that indicates overheating or shorted components.
For deeper inspection, use your multimeter to measure expected voltages: test the adapter at the barrel and the DC jack solder points (expect ~19V on many models), then check for continuity from jack to primary power rail. If you see very low resistance (under 1-2 Ω) between Vcc and ground, suspect a shorted MOSFET or capacitor. In models like older Dell Inspiron and some HP Pavilion lines, DC jack fractures and blown MOSFETs are common – replacement parts typically cost $5-$35, so weigh repair vs. board-level service.
Tips for Preventing Future Issues
Keep vents and fans dust-free by cleaning with compressed air every 3-6 months; blocked airflow can raise internal temps by >20°F and damage components. Use a surge protector, avoid leaving batteries at 0% or 100%-lithium cells often last 300-500 cycles-and apply BIOS/driver updates within 1-3 months to fix power bugs. Unplug peripherals when idle to lower failure risk. Knowing you’ll prevent most sudden power failures and extend your laptop’s lifespan.
- Battery
- Charger
- Overheating
- Firmware
- Surge protector
Regular Maintenance
Schedule basic maintenance every 3-6 months: blow out vents, run S.M.A.R.T. checks and disk scans, and generate a battery report (Windows: powercfg /batteryreport) to track capacity loss. Apply OS and driver updates monthly or within a few weeks of release to address power-related fixes. Use gentle compressed air and avoid inserting tools into fans; physical intervention can cause permanent damage.
Proper Handling Practices
Always carry your laptop in a padded case and avoid sudden drops-falls from 1-2 meters can crack the chassis and fracture cells, risking shorts. Operate between roughly 0-35°C and keep the device off soft surfaces that block vents, since trapped heat raises component stress. When unplugging, grip the plug, not the cable, to prevent connector damage.
Treat spills immediately: power off, unplug, and remove any removable battery, then tilt to drain and let dry 24-48 hours before powering on. Keep liquids at least 30 cm away and use a keyboard cover if needed. Clean ports every 3 months with compressed air and never force connectors; bent pins and moisture can cause permanent damage and void warranties, so ground yourself before working on internals to avoid ESD.
When to Seek Professional Help
If your own steps haven’t revived the laptop and you see smoke, a burning smell, bulging battery cells, or sparks, stop trying fixes and get professional help to avoid fire or data loss. For non-emergencies, seek a technician when diagnostics show no POST, repeated hard-drive errors, or motherboard faults, especially if the device is under warranty or contains irreplaceable data.
Signs You Need an Expert
When the unit emits unusual odors, you notice physical damage like a swollen battery, or the system gives persistent beep codes and won’t reach BIOS, you should escalate. Also seek pros for liquid spills, intermittent power with no charge LED, or when multi-step fixes (reset CMOS, swap chargers, test RAM) fail-these often indicate board- or power-rail level repairs.
Choosing the Right Technician
Prefer repair shops with verifiable credentials such as CompTIA A+ or manufacturer authorization, clear parts sourcing, and a written warranty (commonly 30-365 days). Expect diagnostic fees of roughly $30-$80 and repair totals often between $75-$300 for common fixes; get a written estimate and timeline before approving work.
Check online reviews across at least three platforms, confirm they return replaced parts on request, and ask for a detailed fault report. If your laptop is under manufacturer warranty, prioritize an authorized center to avoid voiding coverage. For sensitive data, insist on technician policies for data privacy and ask if they offer on-site service or secure shipping with tracking and insurance.
Building a Backup Plan
Map your irreplaceable data and follow the 3-2-1 rule: keep at least three copies, on two different media, with one offsite. Combine a weekly full disk image with daily file syncs for active work; external SSDs (≥500 GB) cost-effectively complement cloud plans (1-2 TB). Automate with Time Machine, File History, or Acronis, and verify backups monthly to ensure restorability after a power-related failure or hardware fault.
Data Recovery Considerations
When you need recovery, stop using the affected drive to avoid further corruption. Start with logical-recovery tools like TestDisk, Recuva, or ddrescue for bad sectors; escalate to professional services when mechanical failure is suspected-expect typical costs of $300-$2,000 depending on damage. Prioritize recent, unique files first and document error messages so a technician can triage faster.
Safeguarding Important Files
Segment files by importance and apply layered protection: use local encrypted backups (BitLocker/FileVault with AES-256), cloud storage with versioning, and at least one offsite copy. Enable selective sync for sensitive folders, keep file versions for 30-90 days, and protect accounts with strong passwords plus two-factor authentication to prevent unauthorized access.
For practical steps, classify files into three tiers (critical, important, archival), set automated hourly or daily sync for Tier 1, create weekly full images for Tier 2, and archive Tier 3 to cold storage. Maintain three copies (local, external, offsite), run monthly restore tests, and use checksums or hash verification to confirm backup integrity before you rely on them.
Summing up
From above, you can systematically diagnose power issues by checking the charger, battery, power jack, and performing power resets and minimal-boot tests; update firmware, test RAM and storage, and consult service if hardware faults persist. Follow safety steps, document changes you make, and prioritize steps that isolate the fault so you regain a working laptop efficiently.