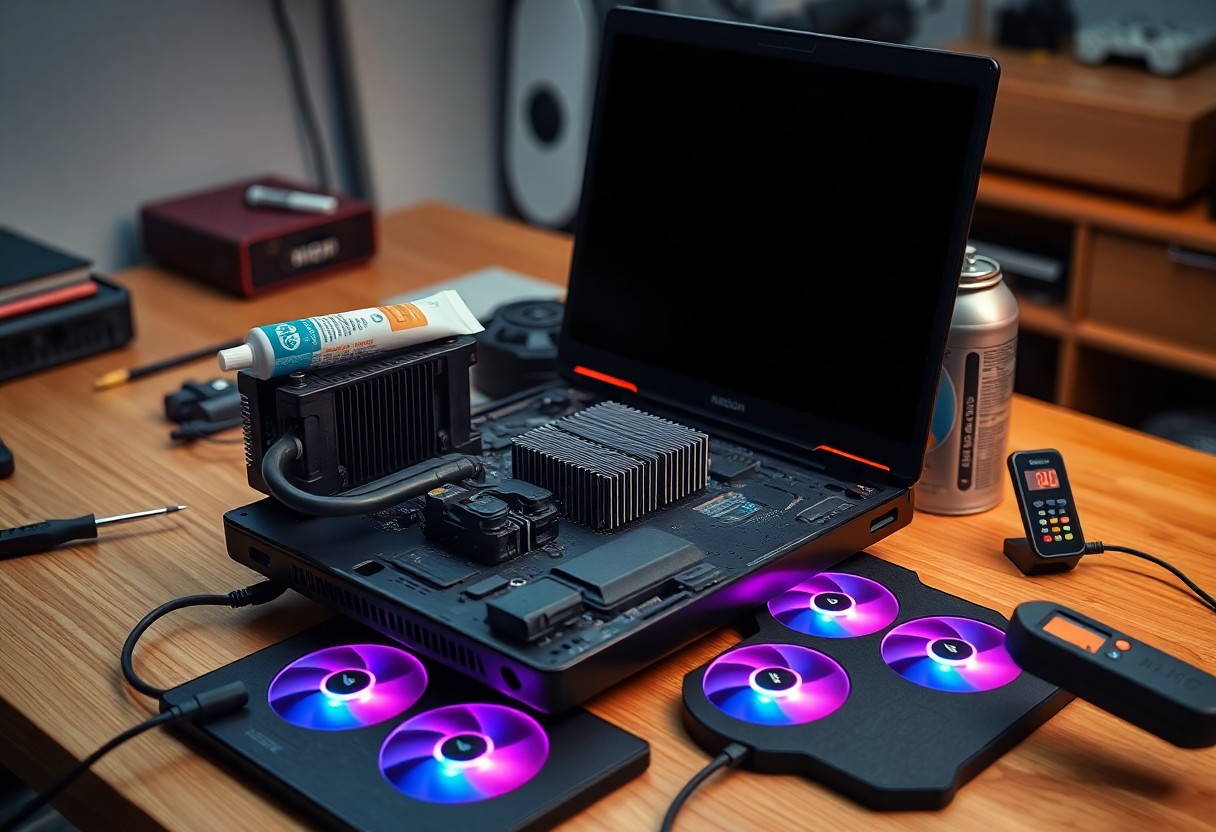

Just because your laptop shuts down during gaming doesn’t mean you can’t fix it: you should address obvious airflow blockages, clean vents and fans, check and replace old thermal paste, adjust power and fan settings, and use a quality cooling pad to prevent permanent component damage while restoring stable performance.
Understanding Laptop Overheating
When your laptop overheats, the CPU and GPU will reduce clocks to avoid damage, cutting performance during gaming or heavy tasks; sustained temps above 90°C shorten component life and many systems force a shutdown near 100-105°C. You’ll experience lower FPS, louder fans, and shorter battery runtime, so you should verify temps with a monitoring tool and act to restore proper cooling.
Factors Contributing to Overheating
Several factors raise internal temperatures quickly:
- Dust buildup in heatsinks and vents
- Blocked vents or using the laptop on soft surfaces
- Failing fans or worn bearings
- Poor or dried thermal paste
- High CPU/GPU load from gaming, streaming, or multitasking
- High ambient temperature or direct sunlight
This mix often forces sustained thermal throttling or emergency shutdowns.
Signs Your Laptop is Overheating
You’ll notice abrupt shutdowns after 10-60 minutes of gaming, fans spinning at max RPM (often >5000-7000 RPM), frequent FPS drops, and chassis hotspots exceeding 45-55°C; a burning odor or battery bulging signals immediate danger. Use HWiNFO or MSI Afterburner to log temps and fan speeds so you can correlate performance drops with temperature spikes.
For example, a laptop CPU running at 4.0 GHz can throttle to 1.5 GHz when temps hit 90-95°C, halving performance in games within minutes; many OEMs set hard shutdown around 100-105°C to protect silicon. Monitor for consistent patterns-short-term spikes are normal under load, but repeated thermal throttling or shutdowns means you must clean intake/exhaust, check fan behavior, and consider reapplying thermal paste or improving airflow.
Basic Cooling Solutions
Start with simple, high-impact fixes: clear dust, check fan operation, reapply thermal paste if temps are +10-20°C above idle, and use targeted external cooling. You can often drop operating temperatures by 5-15°C with cleaning and repasting alone; combine that with power/profile tweaks or a cooling pad for sustained gaming sessions to avoid sudden shutdowns.
Cleaning Your Laptop’s Vents and Fans
When you clean, remove the bottom panel if comfortable and safe for your warranty, then use short 1-2 second bursts of canned compressed air and a soft brush to dislodge dust; hold the fan hub to stop overspinning. Dust buildup can raise temps by up to 10-15°C. Avoid vacuuming the board (static risk) and consider professional service if seals or thermal stickers are present.
Using a Cooling Pad
Choosing an active cooling pad with 1-5 fans (typical fan RPM 800-2,000) can reduce CPU/GPU temps by roughly 3-10°C under load; ensure fan placement aligns with your laptop’s bottom intake vents for best effect. Most pads draw USB power, some offer adjustable speed and tilt to improve airflow while keeping noise between ~20-40 dB.
Look for a pad with a metal mesh surface, adjustable height (5°-15°), and measured airflow (CFM) if available-higher CFM gives better cooling. For example, a 2,000 RPM fan delivering ~30-40 CFM typically outperforms a single low-RPM unit; prioritize alignment with intake vents and a stable platform to prevent blocking vents on soft surfaces.
Advanced Cooling Techniques
When simple fixes fall short, target higher-impact mods that shave significant degrees: you can often cut sustained gaming temps by 5-20°C with better thermal interfaces, improved airflow paths, or upgraded cooling assemblies. Practical examples include swapping to a high-performance paste like Arctic MX-4, installing an aluminum or copper pad replacement, or tuning fan curves in BIOS/EC. Be aware that sustained die temps above 95°C will force shutdowns and that some interventions can void your warranty.
-
Replace thermal paste Expect a 5-15°C drop if original paste is dry; use 90%+ isopropyl for cleaning and apply a pea-sized or thin line for CPUs/GPUs. -
Upgrade heatsink / heat pipes Swap to assemblies with more copper or additional heat pipes where available; community mods often add a 3rd pipe to reduce hotspot temps by ~7°C. -
Use liquid metal carefully Liquid metal can cut temps by 10-20°C but is electrically conductive and may void warranty-only use on clean CPU/GPU IHS with insulating pads near traces. -
Replace fans or shrouds Higher-flow fans or reshaped shrouds improve CFM; a ~10% airflow gain often lowers junction temps by several degrees during sustained loads.
Replacing Thermal Paste
If your laptop still runs hot after dusting, you should remove the heatsink and replace the paste: clean old residue with 90%+ isopropyl, apply a pea-sized drop (or thin line for long dies), then re-seat the heatsink tightening screws in a cross pattern to specified torque if listed. Using a high-quality paste like Arctic MX-4 or Noctua NT‑H1 typically yields a noticeable 5-15°C improvement on degraded systems.
Upgrading Hardware Components
You can lower temperatures by replacing fan assemblies, upgrading to higher-capacity heatsinks where supported, or swapping thermal pads for higher-conductivity variants; some serviceable laptops (e.g., certain Clevo, Eurocom, Alienware models) allow MXM GPU or upgraded cooling modules that deliver 5-12°C gains. Keep in mind compatibility and potential warranty impact.
For a deeper upgrade, consult your service manual to confirm modular parts: switching to a thicker copper heatsink, adding extra heat pipes, or installing a higher-RPM fan assembly often requires matching mounting points and BIOS fan tables. Community guides show that adding a third heat pipe or replacing standard pads with graphite or higher W/m·K pads can cut hotspot temps by 7-15°C. Professional replacement costs vary from about $50-$200 depending on parts and labor; weigh the thermal gains against warranty and resale considerations before proceeding.
Software Adjustments
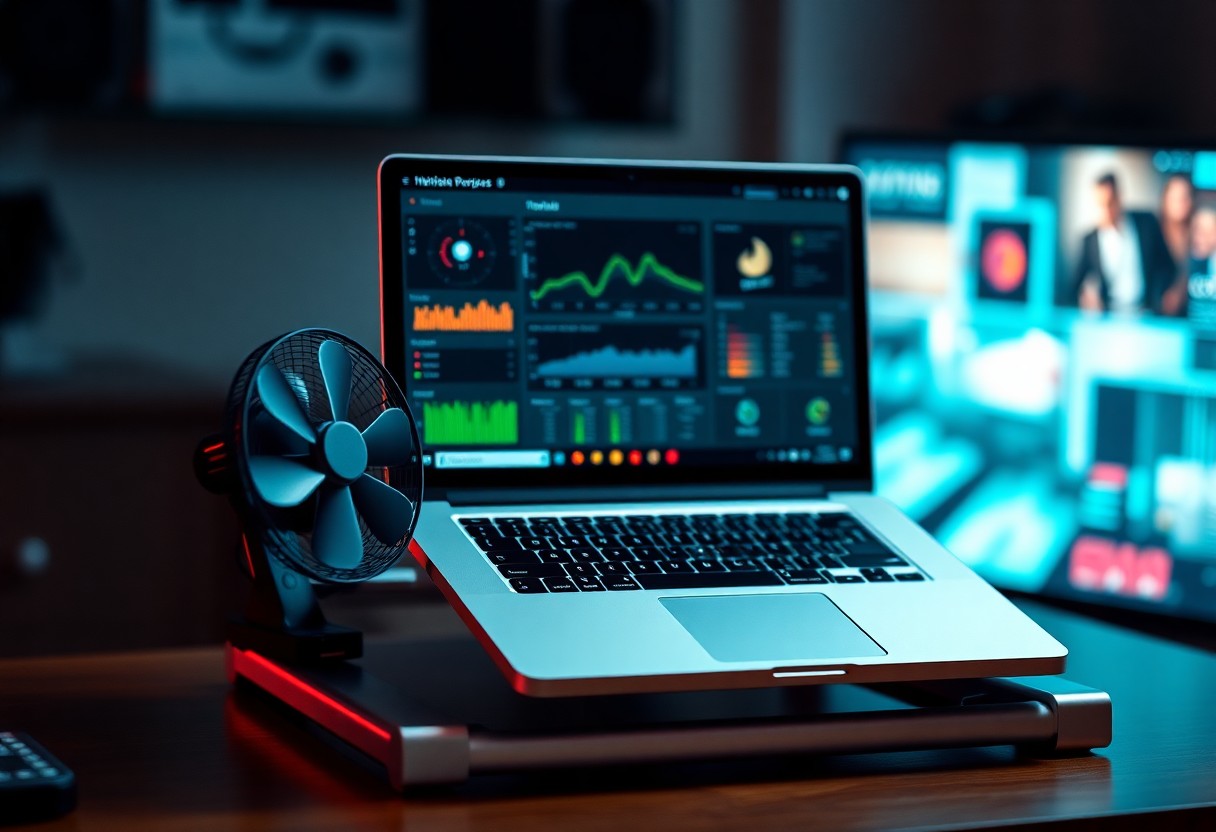
When hardware fixes don’t fully stop shutdowns, you can often recover significant thermal headroom by tuning software: update GPU/BIOS drivers, close high-CPU background apps, apply a modest undervolt (e.g., -100 mV can drop temps by 5-10°C), and cap CPU/GPU power to shave wattage. If sustained temps approach 95°C you’ll hit thermal shutdowns, so prioritize fixes that lower sustained load and enable logging to verify improvements.
Software Adjustments Overview
| Action | Effect / Notes |
| Update drivers & BIOS | Improves efficiency and fan control; fixes regressions |
| Undervolt CPU/GPU | Lower voltage (≈-80 to -120 mV) reduces temps 5-12°C |
| Limit TDP / Max CPU% | Cut power draw 10-30% with minor performance loss |
| Close background tasks | Frees headroom; prevents combined CPU+GPU spikes |
Managing Power Settings
You can blunt heat by lowering peaks: set Windows max processor state to 80-90%, switch GPU power mode to “Adaptive” or lower the power target by 10-20% in MSI Afterburner or vendor utilities, and disable unnecessary high-priority background services. Doing so often reduces temps enough to avoid throttling while keeping frame drops under 10-20% in many games.
Power Settings Quick Guide
| Setting | How to change / Effect |
| Max processor state | Power Options → Advanced → set to 80-90% to cut peaks |
| GPU power target | MSI Afterburner / AMD WattMan reduce 10-20% to lower temps |
| Power plan | Use Balanced or create a custom profile for gaming |
| Background apps | Disable startup services and overlays that use CPU |
Monitoring Temperature with Software
Use HWiNFO, MSI Afterburner, or HWMonitor to track temps, clocks, and power in real time, enable OSD for in-game visibility, and set alerts at ~90°C so you act before shutdown. Logging at 1s-5s intervals helps correlate spikes with game scenes; many users find sustained 80-85°C indicates you should lower settings or fan profiles.
Monitoring Tools
| Tool | Use / Notes |
| HWiNFO | Detailed sensors, logging, alerts; best for diagnosis |
| MSI Afterburner | OSD, fan curves, power target control |
| HWMonitor / CoreTemp | Quick readings for temps and voltages |
| GPU-Z | GPU clocks, temps, and power draw |
For deeper diagnosis, enable sensor logging in HWiNFO at 1s intervals, use RivaTuner to display temps/frames in-game, and create an alert to run a script or reduce clocks when temps exceed 90°C. Correlate logs with FPS drops or throttling events to pinpoint whether CPU or GPU thermal limits trigger shutdowns, then apply targeted limits (power target, max CPU%) to eliminate the spikes.
Monitoring Configuration Tips
| Tip | Why / How |
| Log interval 1s | Captures short spikes otherwise missed |
| Enable OSD | See temps in real time while gaming |
| Set alerts 85-90°C | Gives warning before shutdown; automates mitigation |
| Correlate logs | Identify whether CPU or GPU causes thermal limit |
Tips for Preventing Overheating During Gaming
You can limit overheating by optimizing load and physical setup:
- Keep vents clear and elevate the laptop to improve airflow.
- Cap frame rates or use power-saving profiles to reduce sustained GPU/CPU heat.
- Use a quality cooling pad or external fans for extra convection.
Recognizing early thermal throttling or fan changes lets you act before shutdowns occur.
Optimal Gaming Environment
You should keep the room under about 24°C and avoid soft surfaces that block vents; place your laptop on a hard desk or a dedicated cooling pad. Position intake/exhaust away from walls, curtains, or carpets, and use a small desk fan to create directed airflow. Shorter play sessions with 5-10 minute breaks every hour reduce sustained heat buildup and component stress.
Regular Maintenance Tips
You should perform basic maintenance every 3-6 months to maintain fans and clear dust:
- Blow compressed air through vents to remove dust that impedes airflow.
- Swap old thermal paste every 1-3 years on high-use systems.
- Check fan operation and clean fan blades gently.
Any severe dust buildup or a failing fan requires prompt cleaning or replacement to prevent shutdowns.
You can perform deeper maintenance safely with the right tools and care:
- Work on an ESD-safe surface and keep screws organized when removing the bottom panel.
- Clean heatsink fins and fan blades thoroughly, then apply a pea-sized amount of quality thermal paste when reseating the heatsink.
- Replace noisy or wobbling fans-parts often cost $20-$60; professional labor ranges $50-$120.
Any persistent performance drop after maintenance usually signals a missed step or failing part that needs re-checking.
When to Seek Professional Help
Signs you should consult a technician
If your laptop continues to hit 95°C+ under load or still shuts down after cleaning and reapplying thermal paste, you should get professional diagnostics. Often it’s a failing fan bearing, cracked heatpipe, faulty VRM, or solder joint-e.g., a 2018 gaming laptop that kept crashing post-paste was fixed by replacing the motherboard VRM. Also seek help if you detect burning smells, visible liquid damage, or if the device is under warranty.
Summing up
So you can stop shutdowns by cleaning vents, replacing thermal paste, improving airflow, using a quality cooling pad, undervolting your CPU/GPU, tuning fan curves, and updating drivers; monitor temps and run diagnostics, and if problems persist get professional repair to test fans, heatsinks, or thermal sensors.