

USB ports may stop recognizing devices after a Windows update, and you can methodically restore functionality by checking Device Manager, reinstalling USB controllers, updating or rolling back drivers, power-cycling your laptop, and using System Restore or rollback if needed; also back up your data to avoid loss while troubleshooting.
Understanding the Issue
After an update your laptop can stop recognizing peripherals because cumulative Windows patches sometimes replace OEM drivers, alter USB power settings, or provoke the “Unknown USB Device (Device Descriptor Request Failed)” entry in Device Manager. You often see multiple devices fail at once-especially on systems with third‑party chipset drivers or external hubs-and symptoms usually begin immediately after the reboot that completes the update.
Common Factors Leading to USB Malfunction
Frequent root causes include overwritten drivers, aggressive power management, and firmware/BIOS incompatibilities; you should inspect Device Manager, Event Viewer, and power options to narrow the fault. Thou, as you diagnose, prioritize testing with a known-good device and a powered hub.
- Driver corruption or mismatch
- USB power management disabling ports
- Chipset drivers overwritten by Windows Update
- BIOS/UEFI firmware conflicts
- Hardware failure in hubs or ports
- Antivirus/registry changes blocking drivers
Impact of Windows Updates on USB Ports
Windows updates can modify kernel-mode USB behavior or replace signed drivers, leading to all USB devices not recognized across internal hubs and external controllers; you may experience device loss, intermittent disconnects, or boot-time peripheral failures. In some deployments this has affected an estimated 5-20% of endpoints depending on vendor driver compatibility and BIOS state.
When an update causes widespread USB failure you should check whether the patch installed a new USB controller driver or disabled root hubs, review Device Manager for error codes (e.g., Code 43), and perform driver rollback or reinstall vendor chipset packages. Data integrity is at risk with failing external drives, so restore stable drivers or recover files from known-good media before further changes.
Quick Troubleshooting Tips
You can run a few fast checks to isolate the issue: verify cables and devices, try different ports, and inspect Device Manager for errors or disabled controllers. If a recent Windows Update coincides with failure, consider rolling back the update or the USB driver. Test with a known-good flash drive and a powered hub if devices need extra current. Any missed quick step often reveals whether the problem is with your hardware, drivers, or the update.
- Swap cables and test a different port to rule out a bad cable or jack.
- Use a known-good device to confirm the laptop, not the peripheral, is at fault.
- Check Device Manager for error codes (e.g., error code 43) and reinstall drivers.
- Disable USB selective suspend and power-saving for USB Root Hubs in Power Options.
- Try a system rollback if the issue began after a Windows Update.
- If all devices fail, focus on the chipset/xHCI controller – this is likely where USB ports not working manifests.
Restarting Your Laptop
You should perform a full power cycle: save work, shut down, unplug the charger and any peripherals, then hold the power button for 10-15 seconds to drain residual power before restarting. A cold boot often forces the firmware and USB controllers to reinitialize when a simple restart doesn’t. If your laptop has a removable battery, take it out for ~30 seconds before reinserting. This step frequently resolves driver or enumeration glitches caused by recent Windows Update changes.
Checking USB Device Functionality
Start by testing each peripheral on another computer to confirm it’s working, and swap cables-many failures are due to data-only or damaged cords. Use a powered USB hub for high-draw devices like external drives; note that USB 2.0 supplies ~500mA while USB 3.0 supplies ~900mA. If the device works elsewhere, the issue points to your laptop’s ports or drivers rather than the device itself.
For deeper verification, inspect Device Manager for the device entry and any error codes (43, 28), check the xHCI/eXtensible Host Controller status, and run manufacturer diagnostics or USBDeview to see recent USB events. Also test with both USB-A and USB-C ports if available, replace suspect cables (data vs power-only), and try a powered hub to eliminate power-limit problems; these steps quickly separate hardware faults from driver or update-induced failures.
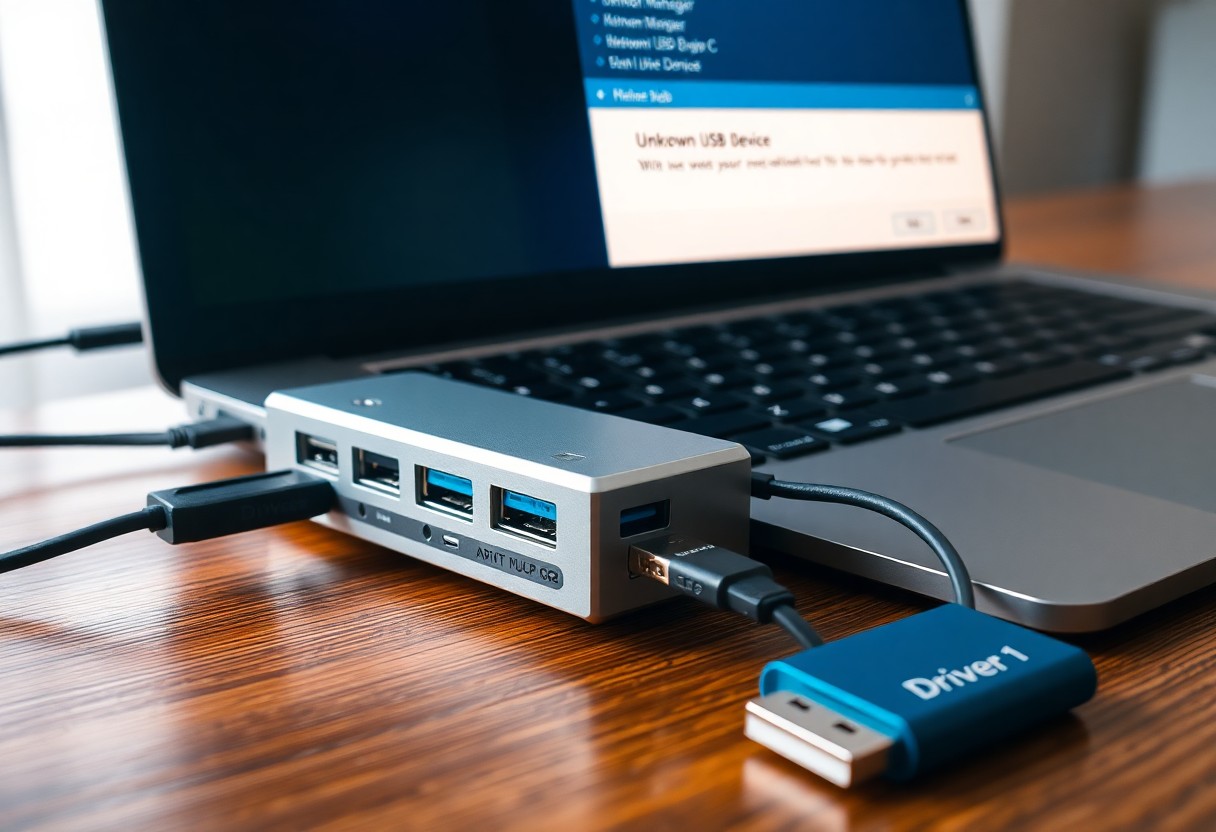
Updating Drivers
Accessing Device Manager
Press Win+X and choose Device Manager, or press Win+R, type devmgmt.msc and Enter. Expand “Universal Serial Bus controllers” and inspect for yellow exclamation marks, “Unknown device”, or error codes like Code 43. Right‑click to Update driver, Disable, or Uninstall then reboot so Windows can reinstall. If ports vanish, enable View → Show hidden devices to expose phantom entries and check each Host Controller and USB Root Hub (xHCI).
Finding and Installing the Latest Drivers
Start at your laptop manufacturer’s support page using the model/serial number and download the latest USB or chipset driver (Intel, AMD, Realtek). Prefer the OEM package over generic Windows Update when the version/date is newer. Run installers as Administrator and reboot after completion. If Device Manager offers an update, choose “Browse my computer” to point to the OEM driver. Avoid installing unsigned or mismatched drivers that can disable ports.
Check driver versions in Device Manager → Properties → Driver tab; for example, moving from Intel chipset 10.1.1.45 to 10.1.2.35 has restored USB 3.0 functionality in support cases. Update each controller: xHCI Host Controller, USB Root Hub, and chipset. Create a system restore point before major driver changes so you can roll back if the new driver causes instability.
Adjusting Power Management Settings
Open Device Manager and Power Options to stop Windows from powering down USB hardware: in Device Manager tweak each hub, and in Power Options disable selective suspend for USB. For Windows 10/11, changing both the “Allow the computer to turn off this device to save power” boxes on every “USB Root Hub” (including “USB Root Hub (USB 3.0)”) and setting USB selective suspend to Disabled often restores recognition for all devices.
Modifying USB Root Hub Settings
Press Win+X → Device Manager, expand “Universal Serial Bus controllers”, right-click each “USB Root Hub” (and any “Generic USB Hub”/”USB 3.0 eXtensible Host Controller”), choose Properties → Power Management, and uncheck “Allow the computer to turn off this device to save power”. Repeat for every hub instance, then unplug and replug a USB device or restart to apply changes.
Preventing Power Saving Mode
Go to Control Panel → Power Options → Change plan settings → Change advanced power settings → USB settings → USB selective suspend setting, and set both “On battery” and “Plugged in” to Disabled (for desktops just disable “Plugged in”). This prevents the OS from suspending ports and resolves intermittent detection problems for keyboards, mice, and external drives.
Disabling selective suspend can increase battery drain slightly-typically a few percent depending on workload-so weigh that against functionality: if you need always-on USB for external audio interfaces or backup drives, keep it Disabled. After changing settings, you should restart or at least disable/re-enable the USB controller in Device Manager to ensure the new policy takes effect.
System Restore Options
If a recent update knocked out all USB devices, using System Restore can revert Windows to a known-good state by applying a restore point dated before the update. You can launch it with rstrui.exe or via Control Panel; the rollback usually takes 10-30 minutes. Be aware System Restore removes recently installed apps and drivers but leaves personal files intact, so back up any unsaved work before proceeding.
Using System Restore to Roll Back Updates
Run rstrui.exe (Win+R) or navigate to Control Panel > Recovery > Open System Restore, then choose a restore point created before the problematic update-check timestamps and descriptions. Typical recovery restores drivers and system files but can uninstall apps or drivers installed after that point, so note dates and make a list of recent installs to reapply if needed; expect the process to need a restart and 15-30 minutes total.
Creating a Restore Point
Open System Properties (sysdm.cpl) → System Protection → Configure, enable protection and set Max Usage (5% is a common default), then click Create and give it a clear name like “Pre-Update – 2025-12-23.” You should create a restore point before major updates or driver changes so you have a rollback snapshot available if USB or other hardware stops working.
For more control, you can automate restore-point creation: run PowerShell as admin and use Checkpoint-Computer -Description “Pre-Update” -RestorePointType “Modify_Settings”, or schedule that command before monthly patch Tuesday. Creation is quick (often under a minute); Windows prunes older points when the allocated disk space is used, and System Restore won’t back up your personal files, so keep separate backups for critical data.
Hardware Diagnostics
Run targeted checks: use the built-in troubleshooter, inspect every port, test with two known-good devices (e.g., phone and flash drive), and verify BIOS/UEFI USB settings. If you find intermittent power or visible damage like melted pins or scorch marks, stop using the port and plan for repair; software fixes won’t help physical failures.
Running Built-in Hardware Troubleshooter
Press Win+R, type msdt.exe -id DeviceDiagnostic and run the troubleshooter, or go to Settings → System → Troubleshoot → Other troubleshooters on Windows 11. Follow prompts to detect device/driver faults, apply suggested fixes, then restart. Running the tool as administrator increases its ability to repair driver and permission issues.
Checking Physical USB Connections
Visually inspect each port for debris, bent pins, or burn marks and test with a known-good cable and device across multiple ports; flaky connections often present as intermittent detection or power loss. If you see melted pins or scorch marks, stop using the port and seek professional service, and always disconnect external power before probing ports.
Measure VBUS with a multimeter-USB should read about 5 V; USB 2.0 supplies up to 500 mA, USB 3.0 up to 900 mA; 0 V or wildly fluctuating voltage indicates a power-rail fault. Use compressed air or a non-metal tool to clear lint, try a different cable/hub, and only reseat internal connectors if you’re comfortable and accept warranty risk.
Summing up
Hence you can resolve USB failures after a Windows update by rolling back or reinstalling your USB and chipset drivers, uninstalling USB controllers and scanning for hardware changes, checking power and USB selective suspend settings, updating BIOS/UEFI and Windows, trying System Restore or booting safe mode, and testing ports with known-working devices or a powered hub to isolate hardware faults.