

Most charging faults are fixable if you methodically check hardware and software so you can restore reliable power. You should first disconnect power, remove the battery if possible, and avoid working on a swollen or hot battery, then test the adapter, power port, drivers, and power settings. Follow targeted resets (battery driver uninstall, BIOS/firmware update) to diagnose faults and, when safe, replace the battery to achieve successful charging and extended battery life.
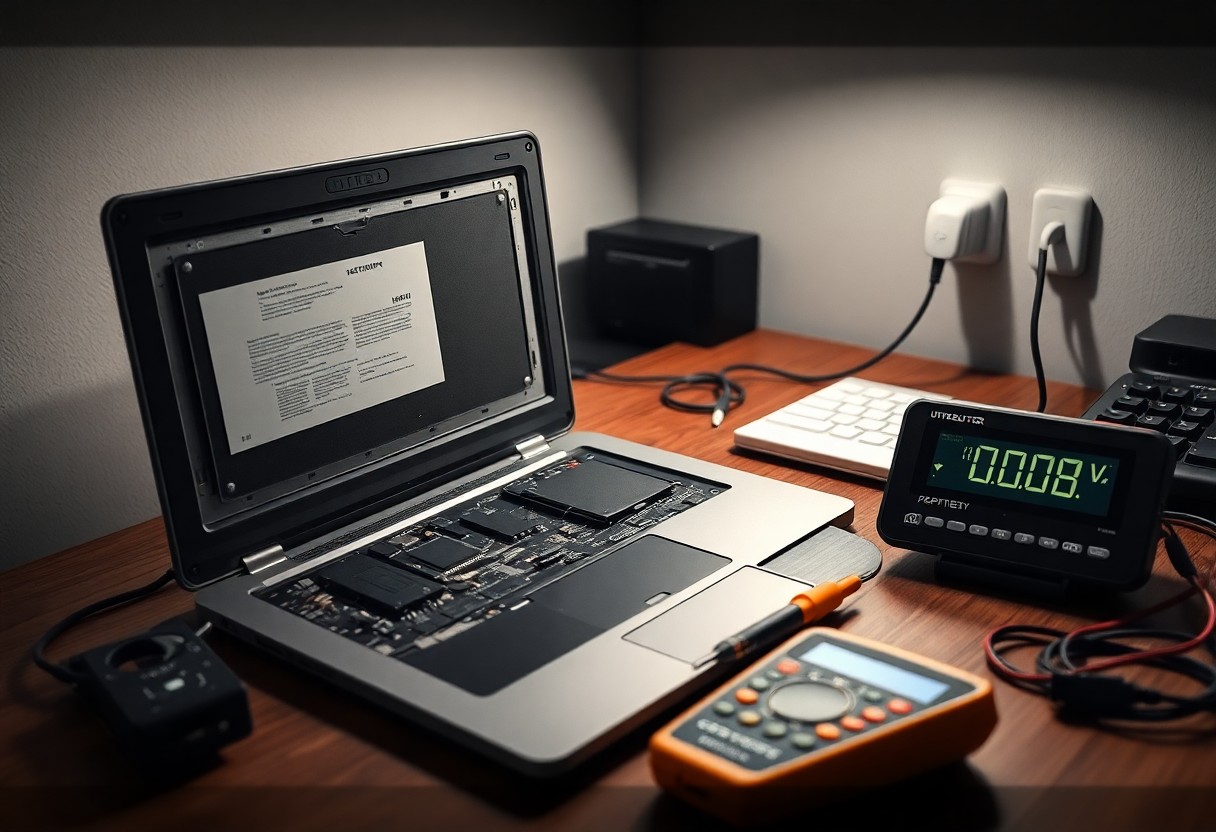
Understanding the Problem
Battery faults usually trace to the cell pack, the charging circuit, or firmware/OS communication. You can confirm issues by checking battery health (full charge vs design capacity), adapter specs (for example, 19V/65W), BIOS/EC error logs, and temperature history. Thermal trips, sensor failures, or a battery that falls below 70% of design capacity commonly stop charging even when the charger appears connected.
Common Symptoms of Battery Issues
You’ll encounter the battery stuck at 0% with the status “plugged in, not charging,” blinking charge LEDs, or rapid capacity loss (battery life dropping from 5 hours to under 1). Unexpected shutdowns under 20% and powercfg or battery-report outputs showing full charge capacity far below design (for example, 4,000 mWh vs 6,000 mWh) are typical diagnostic clues.
Why Your Laptop Battery May Not Charge
Failures stem from a bad AC adapter or DC jack, a damaged charging IC on the motherboard, worn lithium cells after hundreds of cycles, or driver/ACPI communication errors. Firmware or thermal protection can disable charging once temps exceed 60°C. Devices with over 500 cycles commonly exhibit severely reduced capacity and may refuse to accept charge despite a working adapter.
Verify adapter voltage with a multimeter – it should be within ±5% of its rating (e.g., 19V ±0.95V). Generate a battery report (powercfg /batteryreport) to check cycle count; lithium-ion packs often last 300-800 cycles and can lose ~20% capacity in two years. Try an EC/BIOS reset or disconnect the battery briefly, but avoid shorting terminals and the risk of damaging cells.
Basic Troubleshooting Steps
You should power-cycle the laptop and adapter first: shut down, unplug, press and hold the power button 15-30 seconds, then reconnect. Check your battery/report in Windows with powercfg /batteryreport and BIOS charge status. If the adapter reads less than rated voltage on a multimeter (e.g., ~19V for many models), swap with a known-good adapter of the same voltage and polarity (45W-90W). Remove a removable battery and test on AC only, and avoid using damaged surge strips while watching LED behavior.
Checking the Power Adapter
You must inspect the adapter label for rated voltage and current (e.g., 19V 3.42A), matching polarity and plug size. Test output with a multimeter expecting ±5% of the label value; many laptops use 45W, 65W or 90W adapters. Check for frayed insulation, exposed wires, or a warm adapter housing (>40°C). If cable flexing breaks connection, a known-good adapter with correct specs often restores charging-mismatched wattage can cause slow charging or no charge.
Inspecting the Charging Port
Inspect the port for debris, bent pins, or a loose barrel; debris can block contact and a bent center pin often prevents charging. When you gently wiggle the plug-if charging only when pressed, the jack is likely loose. You should avoid forcing the connector; forceful probing risks shorting the board. Note corrosion (green/white residue) which indicates moisture damage and usually needs professional repair.
You should use a bright flashlight and a 5-10× magnifier to spot lint, hair, or solder splashes; compressed air at ~30-40 psi dislodges debris safely. Use a wooden toothpick or plastic spudger to remove gunk; metal probes on a live jack can short the circuit-do not insert metal tools while plugged in. If pins are bent or the jack is loose, a board-level replacement or resolder by a technician typically costs $50-150 depending on model.
Power Management Settings
Adjusting Battery Settings in Windows
Open Settings → System → Power & sleep → Additional power settings, then Edit plan settings → Change advanced power settings. Under Battery set Low Battery at ~20% and Critical at ~5-7%, and confirm actions for each state. Use vendor utilities like Lenovo Vantage or Dell Power Manager to enable charging thresholds (common: 50-80%) and disable Fast Startup via Control Panel if charging isn’t detected.
Resetting SMC on Mac
For Intel MacBooks without removable batteries: shut down, press and hold left Shift + Control + Option and the power button for 10 seconds, release and power on. For Macs with a T2 chip: hold right Shift + left Option + left Control for 7 seconds, then add the power button for another 7-10 seconds before releasing. Apple Silicon Macs do not use an SMC; instead shut down and wait 30 seconds.
SMC controls charging, fans, and LED indicators, so a reset can fix a stuck 0% readout or “plugged in, not charging.” Before resetting disconnect chargers and external devices, note the exact key combo for your model, and allow the Mac to complete two full charge cycles after the reset to recalibrate battery reporting.
Battery Calibration
Calibration helps align your laptop’s battery meter with the pack’s actual capacity and can often resolve a stuck 0% or false “plugged in, not charging” status by resetting the fuel‑gauge estimation. You should perform a controlled deep discharge and full recharge cycle to correct state‑of‑charge errors, and limit full deep cycles for Li‑ion packs to roughly once every 1-2 months to avoid extra wear.
Why Calibration Is Important
Your battery controller estimates state of charge from voltage, temperature and historical cycles; over time that estimate can drift by 15-30%, causing unexpected shutdowns or persistent 0% readings. Calibration realigns the controller to actual capacity, improving runtime accuracy and diagnostics. If your pack has lost >20% capacity within 12-24 months, recalibration helps determine whether replacement is warranted.
Step-by-Step Calibration Process
Charge the battery to 100% and keep it plugged for 1-2 hours to balance cells. Disable sleep and hibernate, unplug and run normal workloads until the battery reaches about 5% or the system shuts down. Wait 5-10 minutes, then charge uninterrupted to 100% without booting, leaving it an extra 2 hours. Repeat the cycle once and then every 1-2 months if you need accurate SOC readings.
If the battery refuses to discharge, check BIOS/UEFI fast‑charge and OEM conservation settings and disable them for the cycle. Use Windows powercfg /batteryreport to capture design vs full charge capacity before and after; a healthy pack shows <10% difference. When calibration doesn’t change reported numbers, the pack most likely needs replacement.
Calibration Steps & Notes
| Step | Notes / Timing |
|---|---|
| Charge to 100% | Keep plugged 1-2 hours to equalize cell voltages |
| Disable sleep/hibernate | Prevents interruptions during discharge |
| Discharge to ~5% or shutdown | Run normal tasks; target 5% to avoid deep‑cell damage |
| Wait 5-10 minutes | Allows residual current to settle before charging |
| Charge uninterrupted to 100% | Do not boot; leave an extra ~2 hours after 100% |
| Verify with battery report | Use powercfg /batteryreport (Windows) to compare capacities |
Hardware Solutions
When software fixes fail, focus on physical components: inspect the adapter, DC jack, battery contacts, and internal connectors. You can measure adapter output with a multimeter (many adapters deliver ~19V; battery packs are often 11.1-14.8V). Reseating cables or swapping a known-good charger often isolates the fault. If you find a swollen battery, exposed terminals, or burn marks, stop using the laptop immediately and prioritize replacement or professional repair.
Replacing the Battery
Buy an OEM or reputable third‑party battery that matches your model and voltage, typically between 11.1V and 14.8V; capacity is measured in mAh or Wh. If your pack has >300-500 cycles or reported capacity under 80%, replacement is common and can restore 2-5+ hours of runtime. Expect consumer laptop batteries to cost roughly $30-$150 depending on brand and capacity. Avoid cheap, unverified sellers to reduce safety risks.
Checking for Hardware Damage
Visually examine the battery, charger, and DC jack for deformation, frayed wiring, or discoloration; a swollen pack or burnt smell indicates a fire risk. Gently wiggle the power plug-intermittent contact suggests a damaged jack. Use a multimeter to confirm adapter voltage; if output is absent or unstable, replace the adapter before probing internal components.
More thorough testing: power off, remove the battery (if removable), then measure adapter voltage under load-common laptop adapters are 45-90W and should read within ±0.5V of the label (many are 19V or 19.5V). Check battery terminal continuity and motherboard solder joints for cracks; a bent pin or cold solder joint often causes the “plugged in, not charging” error. If you lack soldering skills, seek a technician to avoid further damage or voiding warranties.
Tips for Maintaining Battery Health
Keep maintenance simple and regular: avoid deep discharges below 5%, prevent constant 100% charging for long periods, and stop using the laptop on surfaces that trap heat; aim to replace cells after roughly 300-500 cycles and always use OEM or certified adapters to reduce voltage anomalies.
- Use OEM or certified adapter
- Prevent sustained heat above 35°C
- Calibrate the battery every 2-3 months
- Track the cycle count and capacity
Thou must stop using a swollen battery and disconnect the charger immediately if you observe bulging, extreme heat, or a persistent plugged in not charging error.
Best Practices for Charging
Favor partial charges: keep your daily range around 20-80% to slow degradation, avoid leaving the laptop at 100% while plugged in for days, and if you store it for weeks set the charge to ~50%. Also limit fast-charging sessions and prevent battery temperature from exceeding 45°C to protect cell chemistry.
Usage Tips to Extend Battery Life
Reduce power draw by dimming the screen to 30-50%, using integrated GPU for light tasks, and closing unused background apps; throttle CPU to 60-80% for long unplugged sessions and keep vents clear to avoid thermal spikes that damage cells.
- Lower screen brightness
- Use integrated GPU where possible
- Disable unnecessary background apps
- Keep air vents unobstructed
After you implement these changes, check the Windows battery report or your OS power diagnostics monthly to verify reduced cycle usage and improved remaining capacity.
Use power plans and app-level limits to tune consumption: set a custom plan limiting max CPU to 60-80%, enable battery saver at 20%, dim keyboard backlight, and prefer sleep over hibernate for short breaks; closing 10-20 idle browser tabs can cut background CPU by 15-25% on heavy pages.
- Enable power plan limits
- Turn on battery saver
- Restrict background sync for apps
- Manage thermal throttling to prevent heat damage
After monitoring these metrics, tune settings to balance your performance needs with longer battery life.
To wrap up
From above you can troubleshoot and often resolve a laptop battery stuck at 0% by cycling power, reseating or replacing the charger, updating power drivers and BIOS, testing with a known good adapter, or calibrating or replacing the battery if degraded. If it persists, contact technical support or a qualified technician to avoid further damage.