There’s nothing more frustrating than a wireless printer that won’t cooperate, especially when deadlines loom. You can enhance printing performance and extend your device’s lifespan with a few simple steps. Regularly cleaning your printer, both inside and out, can resolve most issues, including streaky prints or connectivity problems. This guide will equip you with effective hacks to clean your printer efficiently, ensuring it operates smoothly and meets your printing needs without a hitch.

Understanding Common Wireless Printer Issues
Wireless printers often face a variety of challenges that can disrupt your printing experience. Recognizing these issues allows you to troubleshoot effectively. Problems such as connectivity failures, poor print quality, and software hiccups are common but can usually be resolved with a few simple strategies. Promptly addressing these concerns saves time and ensures your printer operates smoothly.
Connectivity Problems
Connectivity problems can arise due to various factors, including weak Wi-Fi signals or incorrect network settings. If your printer fails to connect, check that it is within range of your router. Additionally, ensure that your printer and computer are connected to the same network. A quick power cycle of the printer and router often resolves temporary connectivity glitches.
Print Quality Issues
Poor print quality may manifest as streaks, smudges, or faded colors. These issues can stem from low ink levels, clogged nozzles, or improper paper settings. Regular maintenance and cleaning of the print heads can improve output significantly, while using high-quality paper ensures optimal results.
To combat print quality issues, check ink levels frequently to avoid running low unexpectedly. Performing a nozzle check and cleaning cycle can clear clogs that hinder ink flow, while adjusting your printer settings to match the type of paper you’re using can enhance clarity and vibrancy. Additionally, keeping the print heads clean and replacing cartridges when needed will lead to more reliable printing outcomes.
Essential Cleaning Tools and Supplies
To effectively clean your wireless printer, gather crucial tools and supplies. A microfiber cloth is ideal for gently wiping surfaces without scratching. Compressed air can dislodge dust from hard-to-reach areas, enhancing performance. Use a soft brush for cleaning print heads and other delicate parts. For stubborn residues, consider a dedicated printer cleaning solution. If issues persist, visit Fix Wireless Printer Issues for further guidance.
Recommended Cleaning Solutions
Utilizing the right cleaning solution is key to maintaining your printer’s performance. Opt for isopropyl alcohol or manufacturer-recommended cleaning fluids, as they effectively break down ink residue without causing damage. Avoid harsh chemicals that could harm sensitive components. Apply these solutions sparingly with a microfiber cloth to ensure a thorough yet gentle clean.
Tools for Maintenance
Regular maintenance requires specific tools that keep your printer running smoothly. A print head cleaning kit often includes specialized cleaning solutions and tools designed for nozzle unblocking. A dual-ended brush helps to reach tight spaces, while a soft vacuum can extract accumulated dust. Additionally, a lint-free cloth ensures a streak-free finish when cleaning exterior surfaces.
Investing in these tools not only simplifies the cleaning process but also extends the lifespan of your printer. Print head cleaning kits are particularly effective, as they include tailored solutions for flushing ink passages. A dual-ended brush helps to clear out debris that may lead to paper jams or printing inconsistencies. Using a vacuum designed for electronics prevents static build-up while efficiently removing dust, ensuring your printer operates at peak performance.
Step-by-Step Guide to Cleaning Your Wireless Printer
| Step | Description |
|---|---|
| 1 | Power off the printer and unplug it from the wall. |
| 2 | Use a microfiber cloth to wipe down all exterior surfaces. |
| 3 | Open printer access doors to reach interior components. |
| 4 | Carefully remove ink cartridges and set them aside. |
| 5 | Use compressed air to dislodge dust inside. |
| 6 | Wipe down the print head and other surfaces with the cloth. |
| 7 | Reassemble the printer and test for print quality. |
Cleaning the Exterior
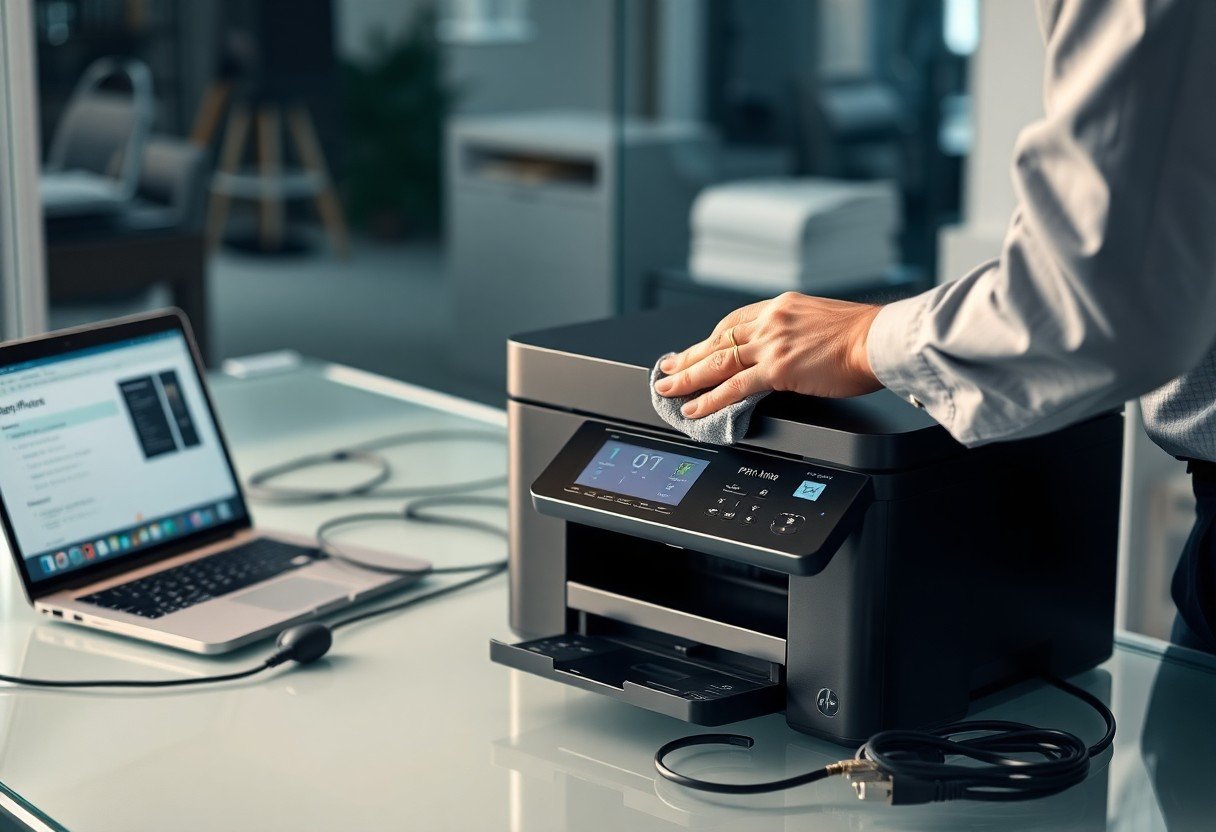
Start by turning off your printer and unplugging it. Use a microfiber cloth dampened with water or a gentle cleaner to wipe the exterior surfaces, including the control panel, to remove fingerprints and dust. Avoid harsh chemicals that can damage finishes. Regular cleaning helps maintain your printer’s appearance and ensures proper functioning.
Cleaning the Interior Components
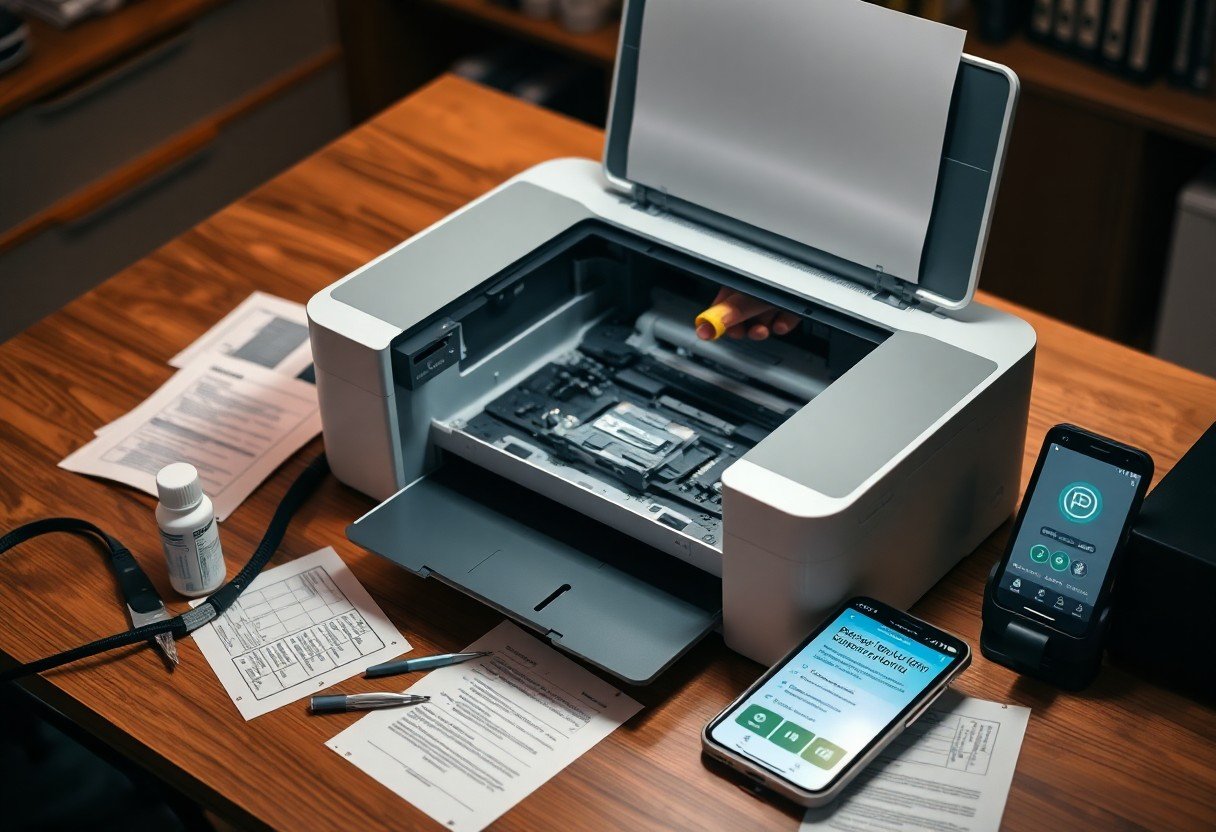
Accessing the interior is imperative for maintaining print quality. After removing ink cartridges, use compressed air to clear out dust and debris from the print head and surrounding areas. Dampen a microfiber cloth to gently wipe accessible surfaces inside, ensuring not to touch delicate mechanisms directly.
Pay special attention to the print head, as ink residue can accumulate over time, causing clogs that affect print performance. If your printer allows, check alignment mechanisms and any rollers for dust or ink. Regular interior maintenance can significantly enhance print clarity and longevity, so perform this thorough cleaning every few months.

Troubleshooting Wireless Connectivity
Wireless connectivity issues can be frustrating, but many problems are easily resolved. Start by ensuring that your printer is within the range of your Wi-Fi router and that there are no physical obstructions causing interference. If problems persist, check if a firmware update is available for your printer model. Additionally, clean the printhead for better performance by visiting How to Clean Printhead for Better Ink Efficiency.
Reconnecting to Wi-Fi
To reconnect your printer to Wi-Fi, access the printer’s control panel and navigate to the wireless settings. Select your network name (SSID) and enter the password. Ensure that the printer successfully recognizes the network; a status indicator will usually confirm this. If your printer offers a “test” option, use it to verify connectivity.
Resetting the Printer
Resetting your printer often resolves persistent connectivity issues. Locate the reset option in the settings menu, and follow the prompts to restore factory defaults. This procedure may vary by model, so consulting your user manual can provide specific instructions. After the reset, reconfigure your network settings and attempt to reconnect.
After resetting, your printer will clear all previous network settings, which can resolve conflicts or glitches that might be causing connectivity issues. Be prepared to re-enter your Wi-Fi network credentials and any other customized settings. This fresh start often results in improved functionality, allowing for a more stable and reliable printing experience.
Enhancing Print Quality
Achieving optimal print quality goes beyond cleaning; it involves maintaining your printer and adjusting its settings. Regular checks on ink levels, alignment, and print head cleanliness can significantly improve output. Quality prints depend not just on hardware but also on the materials you use, such as high-quality paper and compatible ink cartridges tailored for your specific printer model.
Regular Maintenance Tips
Regular maintenance ensures your printer consistently delivers brilliant results. Keep an eye on these key areas:
- Check and replace ink cartridges as needed.
- Run print head cleaning cycles regularly.
- Ensure paper feeds are clean and free of dust.
- Update printer drivers for optimal performance.
Knowing these tips will keep your wireless printer functioning at its best.
Optimizing Printer Settings
Adjusting your printer settings can transform your print quality. Set the correct paper type, choose the appropriate print quality mode, and ensure the resolution is optimal for your printing needs. Always select a quality or high-quality setting for photos or important documents to achieve vibrant colors and sharp details.
In many printer interfaces, options like “Best Quality” or “High Resolution” directly influence the print output and can use more ink but dramatically enhance the final appearance. If you’re printing text documents, switching to a standard or draft quality can save ink while still delivering legible results. Knowing how to effectively navigate these settings not only preserves ink but can also reduce the frequency of maintenance interventions, ensuring your printer remains in prime condition.
Maintenance Schedule for Your Wireless Printer
Establishing a regular maintenance schedule for your wireless printer helps ensure optimal performance and longevity. Setting specific times for cleaning and upkeep can prevent printing problems and save you time and money in the long run. Aim for a routine that incorporates daily, weekly, and monthly tasks to keep your printer operating smoothly and efficiently.
Daily, Weekly, and Monthly Tasks
Your daily tasks should include checking ink levels and ensuring paper is loaded correctly to prevent jams. Weekly, clean the exterior with a microfiber cloth and perform a print test for quality. Monthly maintenance involves deeper cleaning, such as checking the interior for dust and debris and unclogging printhead nozzles if necessary.
Signs Your Printer Needs Immediate Attention
Be proactive by watching for signs that indicate your printer requires immediate attention. Experiencing frequent paper jams, inconsistent print quality, or error messages on your display screen means it’s time to troubleshoot. Additionally, strange noises or overheating can signal underlying issues that may require professional servicing.
For instance, if you encounter constant paper jams, inspect the feed mechanism for misaligned components or torn paper. Inconsistent print quality, such as streaks or faded prints, often points to clogged printheads or low ink. Addressing these problems quickly can prevent further damage and costly repairs, helping you maintain uninterrupted printing capabilities.
To wrap up
With these considerations, you can efficiently clean your wireless printer and quickly resolve common printing problems. Adopting these genius hacks not only enhances the functionality of your device but also prolongs its lifespan. Regular maintenance ensures optimal print quality and minimizes frustrating interruptions. By taking proactive steps, you empower yourself to tackle issues as they arise, keeping your printing tasks running smoothly and effectively.
FAQ
Q: How do I clean the printhead of my wireless printer?
A: To clean the printhead, access the printer settings from your computer or printer control panel. Look for the maintenance section and select the ‘clean printhead’ option. Follow the prompts to initiate the cleaning process. If the issue persists, remove the printhead and clean it manually with a lint-free cloth and distilled water.
Q: What steps can I take if my wireless printer is not connecting to my network?
A: First, ensure that your printer is turned on and within range of the Wi-Fi network. Restart both the printer and your router. Next, check the printer’s network settings to confirm it is connected to the correct SSID. If it still does not connect, reset the printer’s network settings and attempt the setup process again.
Q: How can I resolve smudged or streaky prints from my wireless printer?
A: Start by checking the printer’s ink levels; low ink can cause poor print quality. Run the printhead cleaning cycle from your printer settings to remove any clogs. If that doesn’t work, inspect the paper type and adjust settings accordingly. Lastly, clean the printer’s rollers to ensure proper paper feeding.
