“The best way to predict the future is to create it.” – Peter Drucker. This quote perfectly captures the essence of managing your digital life efficiently. If you’re looking to free up space on your device and ensure your memories are safely stored, transferring your media is a smart move.
With the latest iOS and Windows 10/11 compatibility, the process is simpler than ever. Whether you’re using a USB cable, iCloud, or a wireless method, each approach offers its own advantages. For first-time users, the Microsoft Photos app is a reliable choice, ensuring a seamless experience.
One thing to keep in mind is the HEIC format, which may require conversion for older computers. By moving your photos and videos, you not only save space but also create a backup for your cherished moments. Start today and take control of your digital storage.
1. Transfer Photos Using a USB Cable
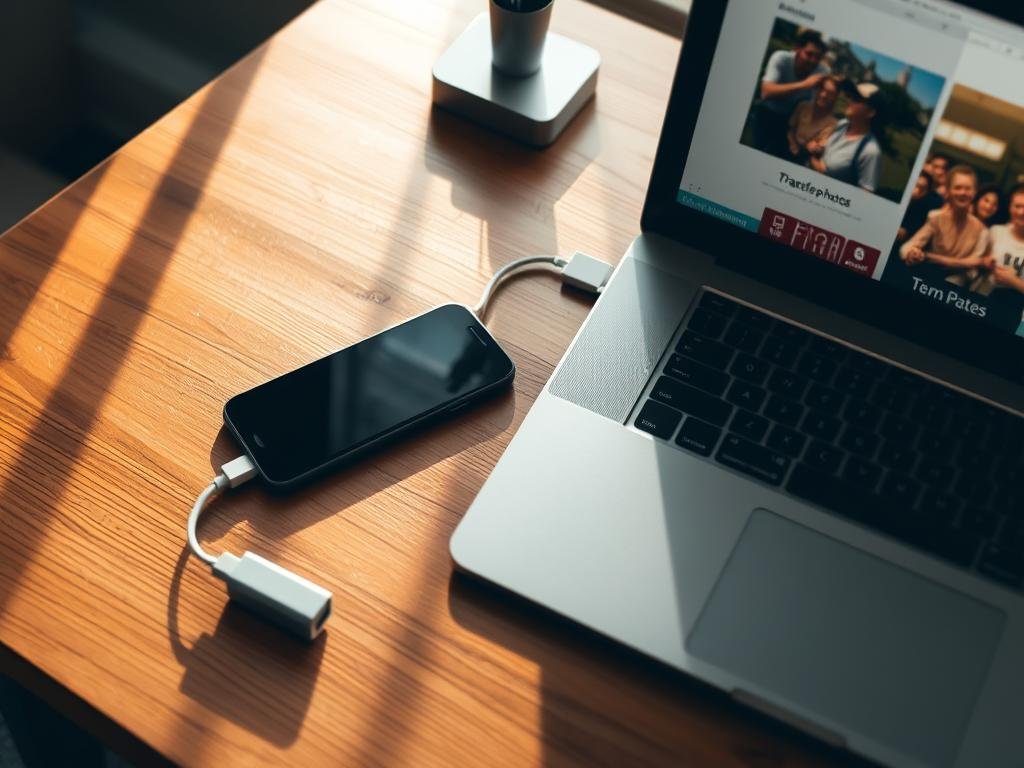
Using a USB cable is one of the most straightforward methods to move your media files. This approach ensures a secure and direct connection between your devices. Below, we’ll guide you through the process step by step.
Step 1: Connect Your iPhone to Your PC
First, unlock your device and use a USB-C or Lightning cable to connect it to your computer. Ensure the cable is in good condition to avoid connection issues. If your PC doesn’t recognize the device, try using a different cable.
Step 2: Trust the Computer on Your iPhone
Once connected, your device will prompt you to trust this computer. Use Face ID or Touch ID to confirm. This step is crucial for establishing a secure connection.
Step 3: Use the Windows Photos App to Import Photos
Open the Windows Photos app on your PC. Click the import button to begin. You can choose to import all new files or manually select specific ones. For iCloud users, ensure the Download and Keep Originals setting is enabled.
Step 4: Select and Save Your Photos
After selecting your files, choose a folder or location to save them. The app also offers OneDrive integration for automatic backups. Alternatively, you can use File Explorer to view files organized by year and month.
“Organization is key to managing your digital memories effectively.”
| Step | Action | Tip |
|---|---|---|
| 1 | Connect devices | Use a high-quality cable |
| 2 | Trust the computer | Verify with Face ID/Touch ID |
| 3 | Import files | Use the Windows Photos app |
| 4 | Save photos | Organize into folders |
2. Use iCloud to Transfer Photos iPhone to PC
iCloud offers a seamless way to keep your media accessible across all devices. Whether you’re managing a large library or just a few albums, this method ensures your files are always within reach. With automatic syncing, you can access your pictures from any Apple device or Windows computer.
Step 1: Enable iCloud Photos on Your iPhone
Start by opening the Settings app on your device. Tap your Apple ID, then select iCloud. From there, enable iCloud Photos. This ensures all your media is uploaded to the cloud and ready for syncing.
Step 2: Download iCloud for Windows
Next, download the iCloud for Windows app from the official Microsoft Store or Apple’s website. Install it on your computer and sign in with your Apple ID. This step bridges the gap between your devices and allows for smooth file access.
Step 3: Sync and Access Your Files on PC
Once installed, open the app and enable iCloud Photos. Your media will begin syncing automatically. You can access your pictures through the File Explorer or the Microsoft Photos app. For detailed steps, check out this guide on how to transfer iCloud photos to PC.
Managing your storage is crucial, especially with large libraries. Consider using optimized storage to save space or moving older files to an external drive. With iCloud, your media is always organized and accessible.
3. Transfer Photos Wirelessly with LocalSend
Looking for a wireless solution to move your media? LocalSend is a powerful open-source app that simplifies the process. It’s perfect for those who prefer a cable-free method and want to keep their workflow efficient. With its user-friendly interface, you can quickly share your files across devices.

Step 1: Install LocalSend on Your iPhone and PC
First, download the LocalSend app on both your devices. It’s available for free and supports multiple platforms, including Windows, macOS, and Android. Installation is straightforward, and no account creation is required, making it a hassle-free choice.
Step 2: Connect Both Devices to the Same Network
Ensure both your iPhone and computer are connected to the same Wi-Fi network. This step is crucial for establishing a secure connection. LocalSend uses your local network to transfer files, ensuring fast and reliable performance without relying on external servers.
Step 3: Select and Transfer Photos
Open the app on both devices. On your iPhone, select the photos or videos you want to move. Tap the send button, and choose your computer from the list of available devices. Your files will be saved to the Downloads folder by default, but you can specify a different location if needed.
LocalSend supports batch transfers, allowing you to move up to 999 files in one session. Its cross-platform compatibility and security features make it a reliable alternative to AirDrop, especially for Windows users. If you encounter connection issues, ensure both devices are on the same network version and restart the app.
Conclusion
Managing your digital storage effectively ensures your memories are safe and accessible. Depending on your technical level, there’s a method that suits your needs. For quick, large-scale moves, the USB approach is ideal. If you prefer automated backups, iCloud is your best bet. Tech-savvy users will appreciate the wireless convenience of LocalSend.
Remember to check for HEIC format compatibility if you’re using older systems. The Microsoft Photos app is a reliable tool for organizing your files. Choose the option that aligns with your workflow and keep your digital life streamlined.
FAQ
Can I use a USB cable to move my pictures from my phone to my computer?
Yes, you can. Connect your device to your computer using a USB cable, trust the computer on your phone, and use the Windows Photos app to import and save your files.
How do I enable iCloud Photos on my device?
Go to Settings, tap your name, select iCloud, then Photos, and toggle on iCloud Photos. This will sync your images across all your Apple devices.
What is LocalSend, and how does it work?
LocalSend is a free app that allows you to wirelessly send files between devices on the same network. Install it on both your phone and computer, connect to the same Wi-Fi, and select the files you want to transfer.
Do I need to download iCloud for Windows to access my images on my PC?
Yes, you need to download and install iCloud for Windows. Once installed, sign in with your Apple ID, enable iCloud Photos, and your images will sync to your computer.
What should I do if my computer doesn’t recognize my phone?
Ensure your device is unlocked and that you’ve trusted the computer when prompted. Also, check if your USB cable is working properly or try using a different port.
Can I transfer both pictures and videos using these methods?
Yes, all the methods mentioned—USB cable, iCloud, and LocalSend—allow you to move both pictures and videos from your phone to your computer.
