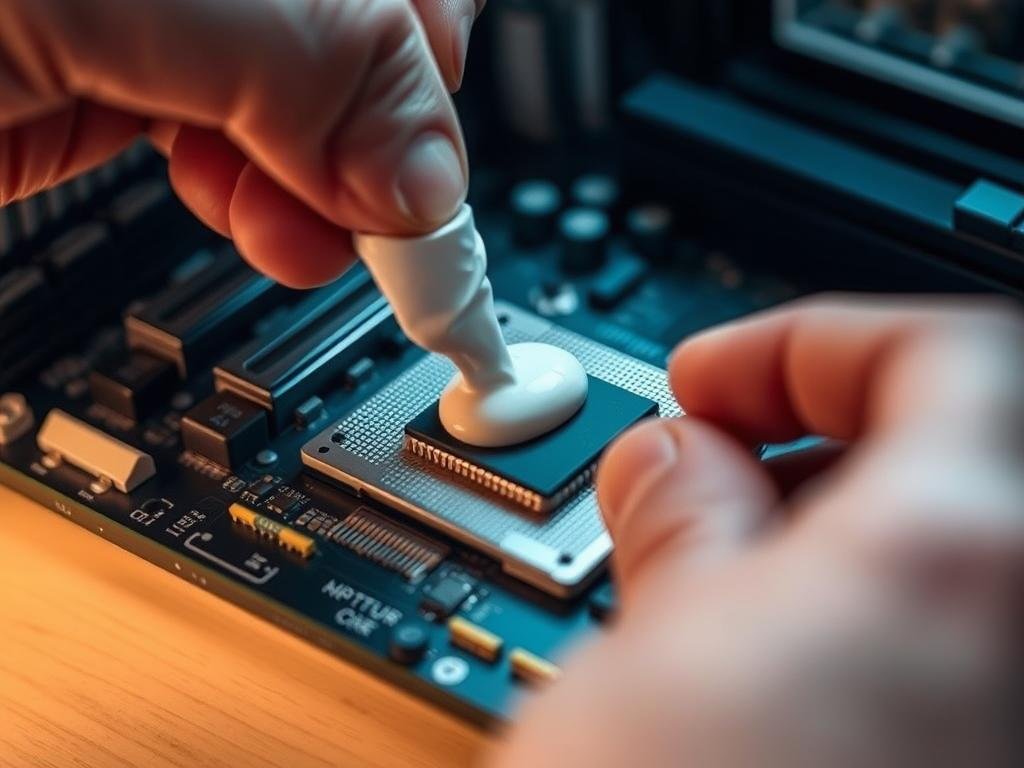
Tom’s Hardware says that making thermal paste work right is getting harder. This is because CPUs are getting more powerful. If you don’t apply thermal paste correctly, your processor might not work as well.
Changing the thermal paste on your PC is easy to do yourself. It can make your computer run better. Just follow a simple guide to keep your CPU cool and working well.
Key Takeaways
- Understand the importance of thermal paste for CPU cooling.
- Learn how to choose the right thermal paste for your processor.
- Discover the steps involved in safely replacing thermal paste.
- Find out how to apply thermal paste correctly for optimal CPU performance.
- Explore tips for maintaining your CPU’s temperature after thermal paste replacement.
Understanding Thermal Paste and Its Importance
Thermal paste is key to keeping your CPU cool. It helps transfer heat efficiently. Let’s look at what it is, how it works, and why it needs to be replaced.
What is Thermal Paste?
Thermal paste, or TIM, is applied between the CPU and the heat sink. It improves heat transfer. It fills tiny gaps between the surfaces.
Experts say thermal paste stops air pockets. This boosts heat transfer. Keeping your CPU cool is vital.
How Does Thermal Paste Work?
Thermal paste helps transfer heat from the CPU to the heat sink. It fills tiny gaps. This ensures good contact between the two.
“The effectiveness of thermal paste lies in its ability to minimize thermal resistance between the CPU and the cooler.”
Why Replace Thermal Paste?
Thermal paste can break down over time. This makes it less effective. It can cause your CPU to overheat, leading to damage.
| Reasons for Replacement | Description |
|---|---|
| Degradation Over Time | Thermal paste dries out, losing its effectiveness. |
| Increased Thermal Resistance | Leads to higher CPU temperatures. |
| Performance Issues | Can cause throttling, reducing CPU performance. |
Replacing thermal paste keeps your CPU healthy. It’s best to do it every few years. Or when you see a big jump in CPU temperatures.
Knowing about thermal paste helps keep your PC running well. It’s all about maintaining performance and longevity.
Signs You Need a Thermal Paste Replacement
Overheating and performance issues are signs your thermal paste needs a change. This paste is key to keeping your PC’s processor running smoothly.
Overheating Symptoms
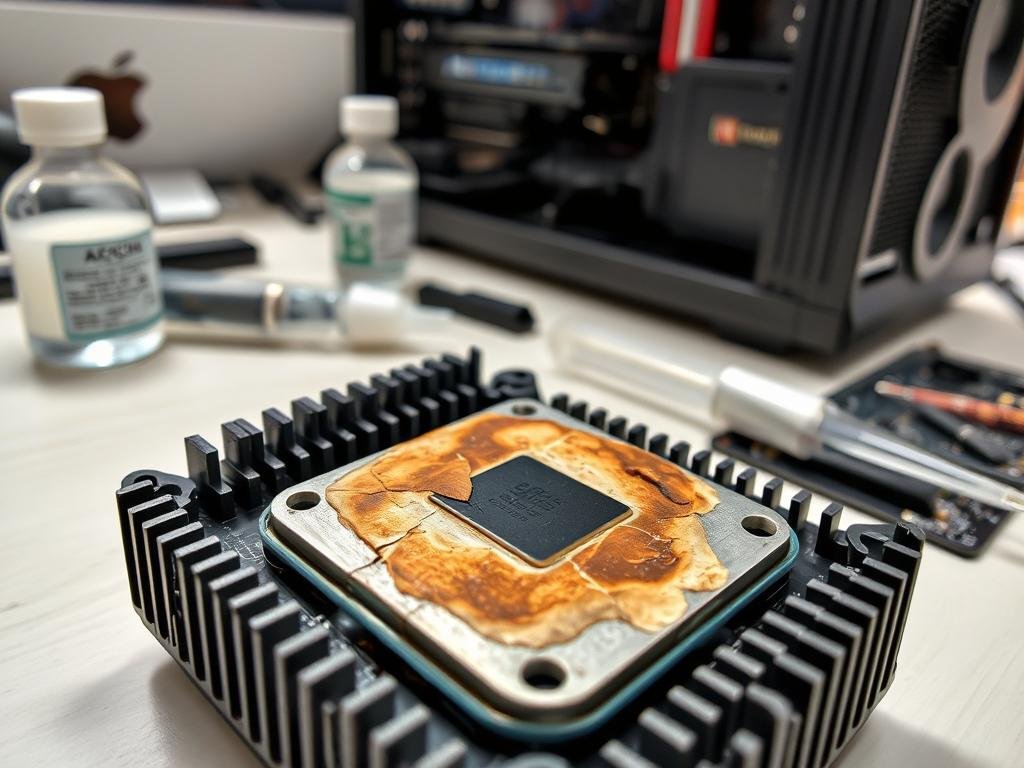
If your computer overheats often, it might mean the thermal paste is failing. Overheating can cause your processor to slow down to avoid damage, making your system less responsive.
Common signs of overheating include:
- High CPU temperatures during normal use
- Frequent shutdowns or restarts due to heat
- Loud fan noise as it tries to cool down
Performance Issues
As thermal paste ages, it loses its heat transfer ability. This can cause your system to overheat and slow down.
“The degradation of thermal paste over time can significantly impact system performance, leading to a noticeable decrease in computing efficiency.”
Performance problems might show up as:
- Slower application loading times
- Lower frame rates in games
- General system slowness
Lifespan of Thermal Paste
The life of thermal paste depends on its quality and your PC’s environment. Top-notch thermal pastes can last 2 to 5 years.
| Thermal Paste Quality | Average Lifespan |
|---|---|
| Low Quality | 1-2 years |
| Medium Quality | 2-3 years |
| High Quality | 3-5 years |
Choosing a high-quality thermal paste can greatly enhance your system’s cooling and performance. It’s worth the investment for better results.
Tools and Materials You’ll Need
Before you start, make sure you have all the tools and materials needed. This will make the process easier and prevent last-minute trips to the store.
Essential Tools
You’ll need a few key tools to start. These include:
- A screwdriver set for removing the CPU cooler
- Lint-free cloth or cotton swabs for cleaning the processor
- Isopropyl alcohol for removing old thermal paste
- Tweezers for handling small components
Recommended Thermal Pastes
Choosing the right thermal paste is key for good performance. Some top picks include:
| Thermal Paste | Description | Price Range |
|---|---|---|
| Arctic Silver 5 | High-performance thermal paste with excellent heat conductivity | $5-$10 |
| Noctua NT-H1 | High-quality thermal paste with a long lifespan | $10-$15 |
| Thermal Grizzly Kryonaut | High-performance paste suitable for extreme overclocking | $8-$12 |
Safety Gear
Working with electronics requires safety. You should wear:
- Anti-static wrist strap or mat to prevent static electricity damage
- Gloves to protect your hands from chemicals and sharp edges
- Safety glasses to protect your eyes from debris
With the right tools and materials, you’re ready to replace the thermal paste. Use a Thermal Paste Selection Guide to pick the best paste for your needs.
Preparing Your PC for Thermal Paste Replacement
Getting your PC ready for thermal paste replacement is key. It makes the process safe and effective. First, you must shut down your system properly and remove parts to get to the CPU.
Powering Down Your System
To prevent damage or shock, completely power down your PC. Unplug the power cord from the back. This is vital for your safety and the safety of your PC’s parts.
Also, ground yourself by touching a metal object or wearing an anti-static wrist strap. This helps protect your PC’s internal parts from static electricity damage.
Removing Cables and Components
After powering down, remove cables and parts to reach the CPU. Start by unplugging peripherals. Then, take out the side panel of your PC case. Remove any parts blocking your way to the CPU, like the CPU cooler.
| Component | Action Required |
|---|---|
| Power Cord | Unplug from the back of the PC |
| Peripherals | Disconnect all peripherals |
| Side Panel | Remove to access internal components |
| CPU Cooler | Carefully remove to access the CPU |
By doing these steps, you’ll safely get your PC ready for thermal paste replacement. Always handle parts with care and follow anti-static precautions.
Removing the Old Thermal Paste
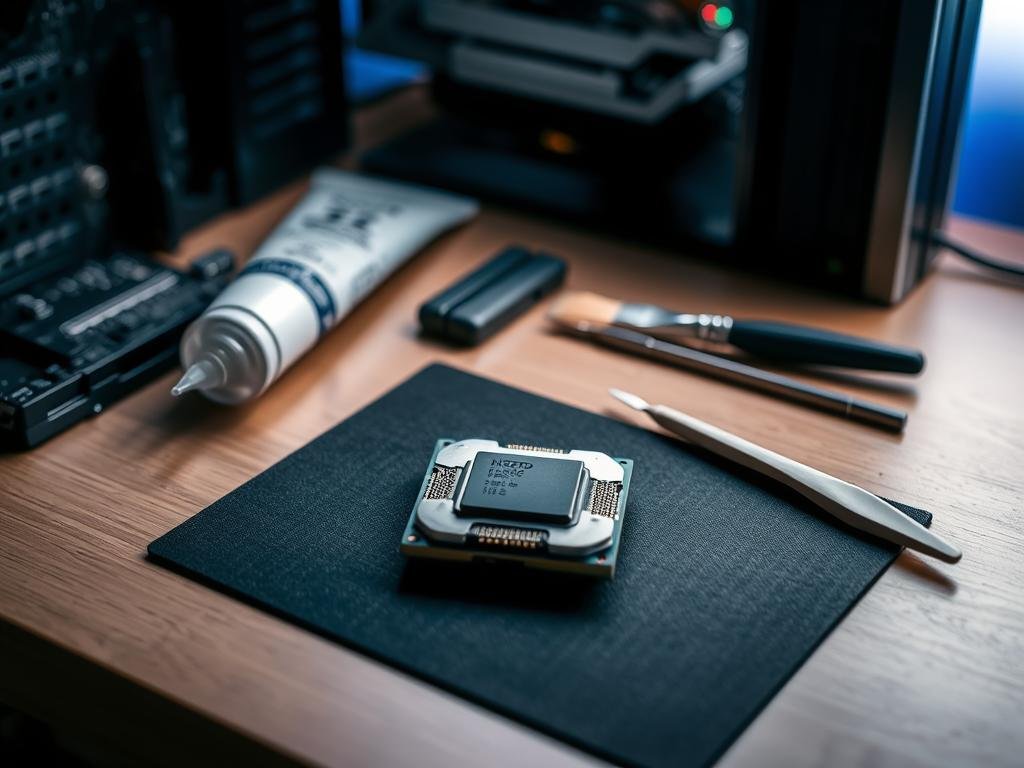
Before you put on new thermal paste, you must get rid of the old one. This is key for your CPU to cool well. It also helps your processor work better and last longer.
Types of Processors
Not all processors are the same when it comes to thermal paste. Intel and AMD processors have different designs. Knowing your processor type helps you clean it right.
Cleaning Techniques
To clean off old thermal paste, you need the right tools. Isopropyl alcohol and lint-free cloths are best. Use them to wipe the area until it’s clean.
If some paste is hard to get off, a soft brush can help. It gently scrubs without harming your processor.
Proper Disposal of Old Paste
After you’ve cleaned off the old paste, dispose of it right. It’s electronic waste and must be handled as such. Look up your area’s rules for throwing away electronic waste.
By doing these steps, you prepare your CPU for new thermal paste. This boosts its cooling and performance.
Applying the New Thermal Paste
To get the best out of your CPU, applying thermal paste right is key. This step keeps your PC running smoothly and efficiently.
Choosing the Right Amount
The right amount of thermal paste depends on your CPU type. For most modern CPUs, a small dot or pea-sized amount is enough. Too much can cause overheating, as it spreads to other parts.
Tip: For newer CPUs with integrated heat spreaders (IHS), a single small dot in the center is best. For CPUs without an IHS, like some older models, a thin layer might be needed. But, this is rare with today’s CPUs.
Application Methods (Dot vs. Spreading)
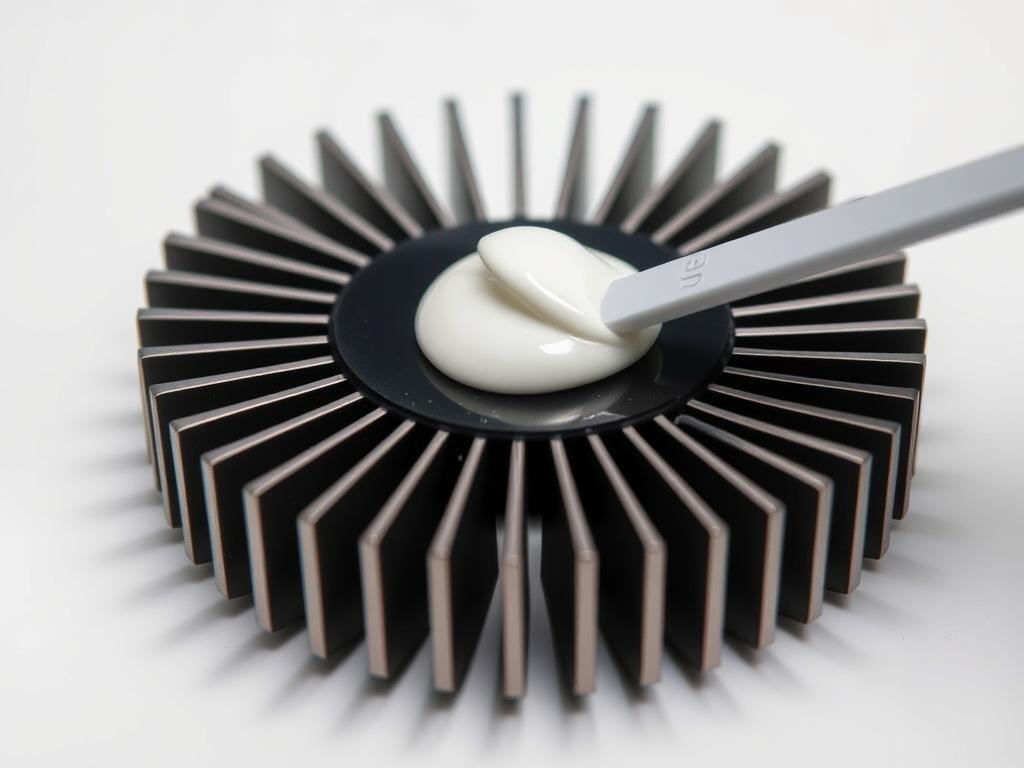
There are two main ways to apply thermal paste: the dot method and spreading. The dot method puts a small dot in the CPU’s center. It’s best for most modern CPUs, as it spreads evenly with the CPU cooler.
The spreading method uses a credit card or similar tool to spread the paste. While it covers the area, it can also introduce air bubbles. These bubbles can make the paste less effective.
- Dot Method: Place a small dot in the center. Ideal for most modern CPUs.
- Spreading Method: Manually spread a thin layer. Use with caution to avoid air bubbles.
It’s important to make sure the thermal paste is spread evenly across the CPU die after applying the CPU cooler.
Reassembling Your PC
Now that you’ve applied new thermal paste, it’s time to put your PC back together. This involves several important steps. These steps help make sure your system works well and is put back together right.
Installing the CPU Cooler
To put the CPU cooler on, start by placing it on top of the processor. Make sure it’s lined up with the mounting holes. The ifixit guide suggests tightening the screws in a crisscross pattern. This ensures even pressure and good contact between the cooler and the processor.
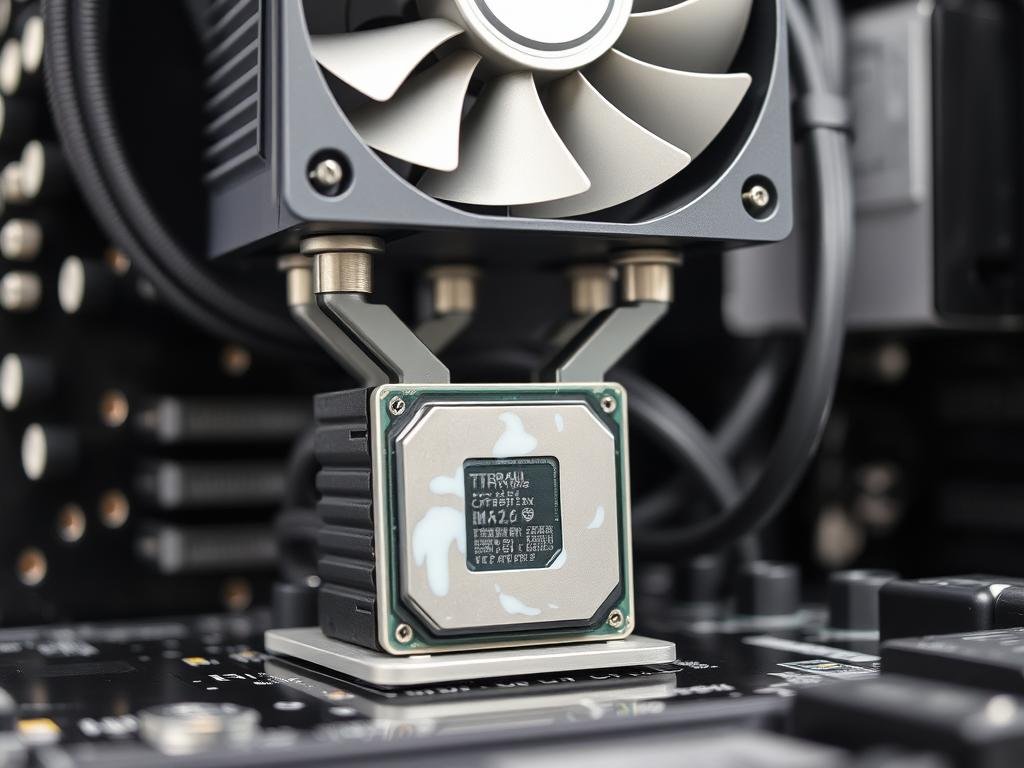
- Align the CPU cooler with the mounting holes.
- Tighten the screws in a crisscross pattern.
- Ensure the cooler is securely fastened.
Connecting Components Back
After installing the CPU cooler, reconnect the components you took out. Be careful not to touch the components by the middle to avoid static damage.
Components to reconnect:
- CPU power cable
- CPU cooler fan cable
- RAM modules
- Graphics card (if applicable)
Checking Connections
After reconnecting everything, double-check all connections. Make sure the CPU cooler is tight and all cables are in the right places on the motherboard.
“A well-assembled PC is not just about connecting parts; it’s about ensuring that every component is given the right environment to perform at its best.”
By following these steps, your PC will be reassembled right after the thermal paste replacement. This will improve thermal performance and possibly extend your hardware’s life. The Thermal Paste Guide and Thermal Paste Benefits show how this can make your system more stable and less likely to overheat.
Testing Your System After Replacement
After replacing the thermal paste, it’s important to test your system. This ensures it runs cool and works well. It’s a key step to keep your system safe and efficient.
Monitoring Temperature Levels
To check if the thermal paste worked, watch your CPU’s temperature. Use HWiNFO to see temperature changes live. This shows if the paste is cooling your processor right.
Watch temperatures under different loads to see how well your system cools. Run stress tests or benchmarking tools. If your CPU stays below 80°C under load, it means the paste worked.
Benchmarking Performance
After putting in new thermal paste, benchmark your system. This checks how well it performs and compares to before. It shows if the new paste made your system better.
Some people have problems after changing thermal paste, like no display. If you have issues, check TechPowerUp for help.
Here are some tips for benchmarking:
- Run tests many times for consistent results.
- Compare scores before and after the paste change.
- Watch temperatures during tests to keep them safe.
By doing these steps, you can make sure the thermal paste worked. And your system is running at its best.
Common Mistakes to Avoid
When you replace thermal paste, it’s important to avoid common mistakes. This ensures your PC runs well and lasts longer. If you do it right, your system will cool better. But, mistakes can hurt your PC’s performance or even damage it.
Using Too Much or Too Little Paste
Getting the right amount of thermal paste is key. Too much can push out and mess up other parts, causing electrical problems. Too little won’t cover the CPU well, leading to poor cooling.
Experts say to use a small dot or pea-sized amount. Always check your CPU cooler’s manual for the best way to apply it.
Failing to Clean Old Paste
Not cleaning off old paste can mess up the new one. Old paste can block the new paste from working well.
To fix this, use a lint-free cloth or cotton swab with isopropyl alcohol. Make sure both surfaces are clean and dry before applying the new paste.
“Cleaning the CPU and cooler surfaces before applying new thermal paste is key for good heat transfer and system performance.”
Over-tightening Hardware
Don’t over-tighten your CPU cooler. Too much pressure can harm the CPU or motherboard, leading to expensive fixes or making your system unusable.
To avoid this, follow the instructions for your CPU cooler’s mounting. Usually, this means tightening screws in a diagonal pattern for even pressure.
| Mistake | Consequence | Prevention |
|---|---|---|
| Using too much or too little paste | Suboptimal heat transfer or mess | Use a pea-sized amount; consult manual |
| Failing to clean old paste | Reduced effectiveness of new paste | Clean with isopropyl alcohol and lint-free cloth |
| Over-tightening hardware | Damage to CPU or motherboard | Follow manufacturer’s instructions for mounting |
Maintenance Tips for Long-Lasting Thermal Paste
Proper care and maintenance are key to a long-lasting thermal paste. By following simple guidelines, you can keep your CPU cool. This ensures your system runs smoothly.
Regular Monitoring
Keeping an eye on your CPU temperatures is vital. Use software to track temperature changes. This helps spot issues early, extending your thermal paste’s life.
Key monitoring tips:
- Use reputable temperature monitoring software.
- Check temperatures during normal usage and under heavy loads.
- Look for sudden spikes or consistent high temperatures.
Scheduled Replacements
Thermal paste has a limited lifespan, even with care. High-quality pastes can last up to five years. But, it’s wise to replace it every 2-3 years, based on usage and environment.
Scheduling regular replacements prevents overheating. It keeps your system running well. Consider these factors when planning replacements:
| Usage Level | Recommended Replacement Interval |
|---|---|
| Low | 3-5 years |
| Moderate | 2-3 years |
| High | 1-2 years |
By following these maintenance tips, your thermal paste will work better. This leads to a stable and long-lasting system. For more on thermal paste, check out our Thermal Paste Guide.
Frequently Asked Questions
Understanding thermal paste replacement can be tricky. FAQs help clear up confusion. You might wonder about the best practices and common mistakes.
How Often Should You Replace Thermal Paste?
How often to replace thermal paste varies. It depends on the paste type and your PC’s use. Usually, replace it every 2 to 5 years. But, if your PC overheats or runs slow, you might need to do it sooner.
- Check the manufacturer’s guidelines for the recommended replacement interval.
- Monitor your system’s temperature levels to identify any potential issues early.
- Consider the environment in which your PC operates, as dust and high temperatures can affect thermal paste performance.
Can I Use Any Thermal Paste?
No, not all thermal pastes are the same. The Thermal Paste Selection Guide helps pick the right one for your CPU. Think about your processor, cooler, and temperatures. The right Best Thermal Paste boosts your system’s performance and life.
For more detailed guidance on replacing thermal paste, check our guide on how to replace thermal paste.
Knowing these answers helps you make smart choices about thermal paste replacement. This ensures your PC runs smoothly.
Conclusion
Replacing thermal paste is key to keeping your CPU running well. It affects both performance and how long your CPU lasts. By following this guide, you can make sure your system stays cool.
Key Takeaways for Effective Replacement
Applying thermal paste right is essential for keeping your CPU cool. Regular checks and timely replacements stop overheating and slowdowns. This keeps your system running smoothly.
Empowering Your DIY Skills
Now you know how to replace thermal paste confidently. Taking care of this task yourself can make your CPU last longer and perform better.
By using this guide, you’ve learned a lot about replacing thermal paste. This ensures your PC works at its top level.
FAQ
How often should you replace thermal paste?
Replacing thermal paste depends on how often you use your computer and the environment. You should replace it every 2-5 years or if your CPU gets too hot.
Can I use any thermal paste on my CPU?
No, not all thermal pastes are the same. Look for one that matches your CPU and cooler. Brands like Arctic Silver, Noctua, and Thermal Grizzly are good choices.
What is the best way to apply thermal paste?
There’s a debate on the best way to apply thermal paste. You can use the dot method or spreading. The best method depends on your CPU and cooler.
How do I know if my thermal paste is working?
If your CPU gets hotter, your system slows down, or fans work harder, it’s time for new paste. Use software to check your CPU’s temperature.
Can I reuse thermal paste?
No, don’t reuse thermal paste. It loses its effectiveness after being applied and removed. Always use fresh paste for the best results.
What are some common mistakes to avoid when replacing thermal paste?
Avoid using too much or too little paste, not cleaning off old paste, and over-tightening. These mistakes can harm your CPU or cooler.
How do I choose the best thermal paste for my CPU?
Look at the paste’s thermal conductivity, viscosity, and compatibility. Research and read reviews to find the best one for your CPU and cooler.
