Connect Subwoofer to Soundbar

“Music is the divine way to tell beautiful, poetic things to the heart.” — Pablo Casals. A powerful audio setup transforms movies and music into emotional journeys. Pairing a subwoofer with your soundbar unlocks deep bass, making every scene feel alive.

Modern systems, like Samsung’s, simplify connections with automatic pairing. Yet, issues like failed links or reset needs can frustrate users. Compatibility matters—most subwoofers work only with their matched units.

This guide covers seamless pairing, troubleshooting tips, and room placement tricks. Whether automatic or manual, we’ll help you achieve theater-quality sound at home.

How to Automatically Connect Your Subwoofer to a Soundbar

Effortless audio integration starts with automatic pairing for rich bass. Most modern systems sync with minimal effort, but understanding the steps ensures success.

Step 1: Power On the Soundbar and Subwoofer

Plug both devices into wall outlets. Ensure the cords are secure. The subwoofer often wakes automatically when powered. A soft hum or LED glow confirms it’s ready.

Step 2: Verify the LED Connection Indicator

Look for a blinking light during pairing. A solid blue means the connection is active. If the light stays red, check the distance—keep components within 10 feet.

Common Issues with Automatic Pairing

Interference from other electronics can disrupt the process. Move routers or microwaves away. Factory resets may require manual re-linking. For optimal sound, place the subwoofer near a corner.

Manual Soundbar Subwoofer Setup: Step-by-Step Troubleshooting

When automatic pairing fails, manual methods ensure your audio system delivers deep bass without delay. Some models require hands-on steps to establish a stable link between components. Follow these protocols to resolve issues efficiently.

Using the ID SET Button for Manual Pairing

Locate the ID SET button on the rear or side of your bass unit. Press and hold it for 5 seconds until the LED blinks rapidly. On the main speaker, press the pairing button within 30 seconds to sync.

Note the LED pattern: A steady light confirms success. If it flashes red, repeat the process. Keep both units within 3 feet during pairing.

Remote Control Alternatives for ID SET

Some Samsung models use the remote instead. Try pressing the Mute or Volume Up button for 10 seconds. Check your manual—brands vary in remote protocols.

For older units, a factory reset may erase prior connection history. Power both devices off for 2 minutes before retrying.

Resolving Failed Connection Attempts

Interference is a common reason for drops. Move wireless routers or cordless phones away. Ensure power is stable—fluctuations disrupt the process.

If issues persist, wait 10 minutes between attempts. Overheating can temporarily disable pairing functions. For brand-specific fixes, consult Samsung’s support page.

Why a Subwoofer Enhances Your Soundbar Experience

Deep bass transforms audio from flat to cinematic, elevating every note in your favorite tracks. Premium units handle frequencies below 200Hz, adding layers standard speakers miss. This creates a surround sound effect that pulls you into the action.

Immersive Bass for Movies and Music

Low-frequency effects in films—like explosions or thunderstorms—rely on precise bass reproduction. A dedicated unit ensures these moments feel visceral, not just audible. Note the difference during a orchestral crescendo: cellos and drums gain weight without distortion.

detailed interior of a cozy living room, showcasing the strategic placement of a powerful subwoofer to enhance the soundbar experience. the subwoofer is positioned in the corner, leveraging the room's natural acoustics to deliver deep, rumbling bass that seamlessly integrates with the soundbar's audio. the room is bathed in warm, diffused lighting that creates a inviting ambiance, with subtle reflections on the hardwood floors and plush furniture. the layout features a spacious, open-concept design, allowing the sound waves to propagate freely and envelop the listener. the overall scene conveys a sense of immersion and high-fidelity sound that elevates the home theater experience.

Music benefits equally. Hip-hop beats and electronic synths demand clean 20–200Hz range handling. Stock models often compress these tones, while upgraded designs preserve clarity. The reason? Larger drivers and reinforced enclosures minimize vibration leaks.

Optimizing Room Placement for Best Performance

Corners amplify bass due to reflected sound waves. But too close to walls, and tones become boomy. For balanced sound, position the unit 1–2 feet from intersecting walls. Test spots by playing a bass-heavy track and walking the room.

Phase alignment matters. Adjust settings so bass peaks sync with your main speakers. This avoids canceling out certain frequencies. In open layouts, central placement often works best for even coverage.

Upgrading? Aftermarket models outperform OEM units with tighter control. Look for sealed enclosures if accuracy matters, or ported designs for louder output. Match decibel levels to your system’s output for seamless blending.

Conclusion

Mastering both automatic and manual pairing ensures your audio system delivers surround sound with deep, crisp bass. Whether using Samsung’s seamless sync or manual ID SET, proper placement and interference checks boost performance.

For lasting quality, keep firmware updated and avoid signal-blocking obstacles. Enthusiasts may explore multi-unit setups for richer acoustics—some models support dual bass units.

Need advanced help? Check LG’s pairing guide for extra information. Fine-tuning transforms movies and music into immersive experiences. Ready to elevate your setup? Explore professional calibration tools today.
Fast Soundbar Subwoofer Setup: Easy Step-by-Step Guide

“The details are not the details. They make the design.” — Charles Eames.

You want clear, reliable audio for your home system without fuss. This short guide gives practical information so you can go from power-on to a confirmed wireless link fast.

Many bundles auto-pair the included subwoofer the first time you plug them in. Look for a solid blue LINK LED on some Samsung units or a solid amber LED on other brands to confirm the wireless connection.

If automatic pairing fails, use the manual ID SET or rear PAIR button plus the sound bar remote to complete pairing. You’ll also learn simple power and safety steps, when to update firmware, and how eARC or audio format choices can improve playback.

Follow this guide and you’ll finish with a quick checklist and clear next steps, including when to contact brand support for help.

Before You Start: Power, Placement, and Quick Checks

Start with the basics to avoid common pairing and audio problems.

Verify power and rear connections: Plug each power cord into the back of its unit first, then into a grounded wall outlet. Confirm both devices show power indicators before moving on. Many subwoofers power on immediately when plugged in.

  • Keep the bar centered under your TV with a clear line of sight to listeners.
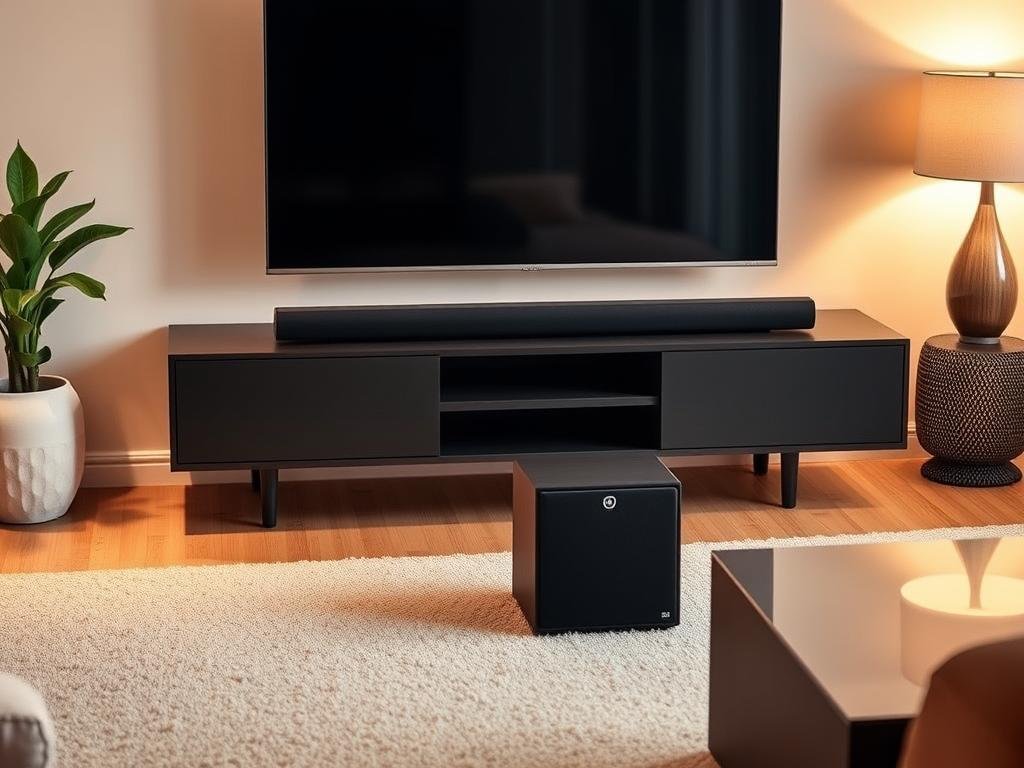
  • Place the subwoofer on the floor near a wall for stronger bass and allow a few inches of clearance around ports.
  • Avoid metal shelves or tight cabinets that can block wireless antennas and reduce signal strength.

Minimize interference: Move Wi‑Fi routers, cordless phones, and microwaves a few feet away if you see dropouts. Keep the bar and subwoofer in the same room and within the manufacturer‑recommended range for best connection.

Know your LED indicators: On many Samsung units a solid blue LINK LED means a successful connection; a blinking blue LED means pairing failed. Some other brands use a solid amber LED for a confirmed link. During auto pairing do not press the rear PAIR button.

For model‑specific pairing behavior, check the Samsung pairing guide before pressing buttons or re‑positioning your speakers.

Check What to do Why it matters
Back power cord Seat firmly into the back of each unit and plug into wall Prevents intermittent power and pairing failures
Placement Subwoofer near a wall; bar centered under TV Improves bass coupling and wireless link quality
LED behavior Blue solid = connected (Samsung), amber solid = connected (other) Quick visual confirmation of the wireless connection
Interference Move routers and cordless devices away Reduces dropouts and audio glitches

Soundbar Subwoofer Setup: Automatic Pairing Made Simple

Power both units and wait—many systems will link wirelessly without any button presses.

Turn on the bar and the subwoofer and give them up to a minute to pair automatically. Most bundles are designed to connect on first use. Watch the LED on the sub unit for a visual cue.

The LED indicator guide is simple: a solid blue LINK LED on many Samsung bars or a solid amber LED on other brands confirms a successful connection. If the LED keeps blinking, pairing did not finish.

  • Ensure each unit has stable power from wall outlets and check that cords at the back are fully seated.
  • Move the subwoofer closer to the bar and keep both items in the same room to improve the wireless link.
  • Reduce interference by moving routers and cordless devices away, or change location slightly.
  • If blinking persists, power-cycle both units: turn off, unplug for 30 seconds, then plug in and retry auto pairing.
  • Avoid pressing the rear PAIR button during auto pairing on models that warn against it.

Symptom Quick action Why it helps
LED stays blinking Check back power cords and outlets Fixes intermittent power that stops pairing
Weak link Move sub unit closer to the bar Improves signal strength and stabilizes the connection
Interference Relocate routers or wireless devices Reduces 2.4/5 GHz noise that causes dropouts

Manual Pairing, Fixes, and Pro Tips for a Strong Connection

When automatic linking fails, a clear manual routine often restores reliable audio fast.

  1. Set the subwoofer to pairing mode: unplug both units, plug the subwoofer into wall power, then press and hold the rear ID SET with a small pointed object until the LINK led blinks rapidly.
  2. Prepare the sound bar remote: with the bar off, press and hold Mute (or Up on some models) until the display shows ID SET.
  3. Power the bar on: turn the bar on while the subwoofer’s blinking LED is active. A solid blue LINK confirms success; if blinking continues, repeat step 2.

Rules of thumb: use the back button only when doing manual pairing. On many models pressing the button during auto pairing can stop a quick link.

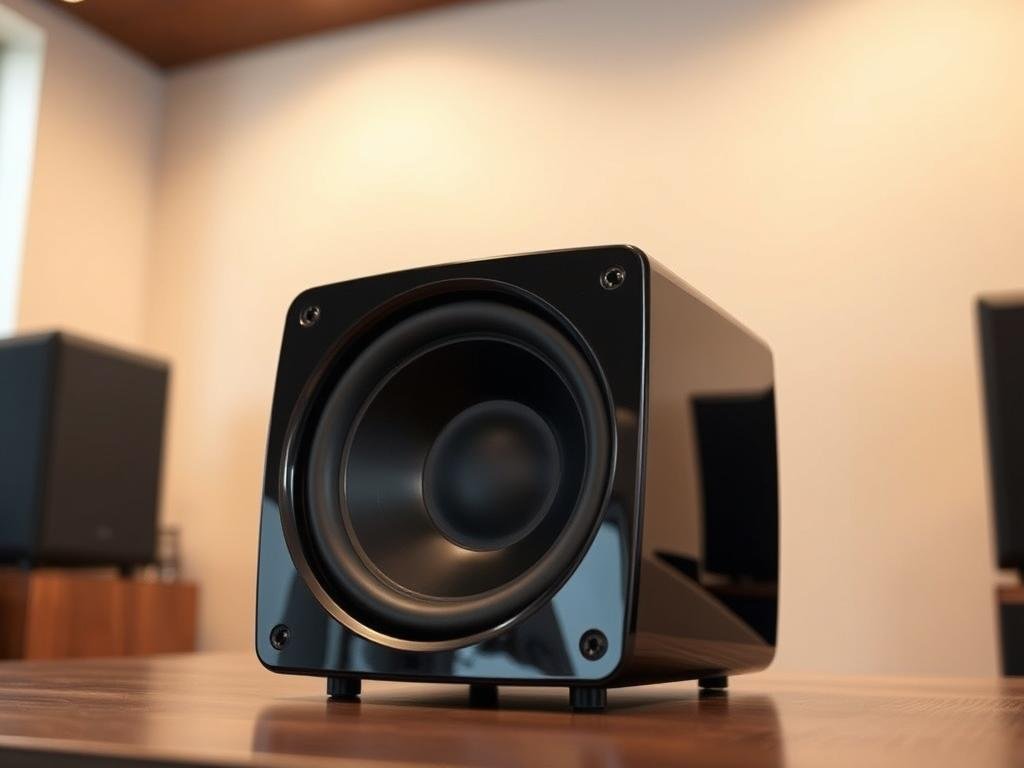
a sleek, powerful subwoofer rests on a wooden surface, its glossy black exterior reflecting the warm lighting overhead. the front grille features a bold, circular design, hinting at the deep, rumbling bass it is capable of producing. the subwoofer sits slightly elevated, allowing for optimal airflow and positioning. the angle of the camera captures the subwoofer's imposing presence, emphasizing its role as a crucial component in a high-quality audio setup. the background is subtly blurred, keeping the focus on the subwoofer's striking appearance and technological prowess.

  • Keep both units on stable wall power; avoid switched strips that cut power mid‑pairing.
  • Update bar firmware, enable eARC on compatible TVs, and set audio formats for best fidelity.
  • Expand the system with wireless rear speakers and set TV remote control integration for easier control.

“Have your model and serial numbers, firmware version, and a short step list ready before you contact support.”

Issue Action Result
Blinking LED Retry manual pairing steps; check back button timing Stable connection or repeatable diagnostics
Dropouts Move bar and sub closer; reduce router interference Improved wireless range and fewer glitches
Post‑service reconnection Perform manual pairing after factory reset Restores original link to the speakers

If you still have questions: gather model numbers, firmware details, and the steps you tried before contacting support for faster help.

Conclusion

Finish strong: a quick check of the LEDs and power confirms your wireless link. A solid blue or amber light means you are paired. If the LED blinks, revisit power, placement, and the manual ID SET steps, then power the bar while the subwoofer’s LED blinks.

Keep your system current. Update firmware, enable eARC if available, and verify audio formats when you add sources or upgrade TVs. Good cable routing and sensible placement help deliver tight, even bass without rattles.

Save this content and the model details. If you still have questions, contact brand support with the steps you tried for faster help and clearer answers.

FAQ

How do I verify power and connections at the back of each unit?

Check that both the bar and the subwoofer are plugged into grounded wall outlets or a surge protector. Inspect the power cords and rear panel connectors for firm seating. Confirm the power indicator LED on each unit lights up when turned on. If a unit shows no LED, try a different outlet and test the cord for damage before contacting support.

Where should I place the sub and the bar for the best audio and wireless signal?

Position the bar centered under or above your TV, aligned with the listening area. Place the subwoofer near a front corner for stronger bass, but avoid blocking ports or placing it inside closed cabinets. Keep at least a few feet between the sub and other wireless devices to reduce interference and maintain a clear connection.

What safety checks should I perform before powering the system?

Use a dedicated wall outlet or a quality surge protector. Ensure cables aren’t pinched or run across high-traffic areas. Confirm that ventilation around both units is clear and that power indicators function. If you smell burning or see smoke, shut off power immediately and contact the manufacturer.

What do LINK or LED indicators mean on my units?

Solid blue or amber typically indicates a successful wireless link between the units. Blinking LEDs usually signal pairing in progress, weak connection, or interference. A red or off LED can indicate no power or a fault. Consult your product manual for brand-specific LED colors and patterns.

How does automatic pairing work for the bar and the sub?

Turn on both units and place them within the recommended distance. Most systems attempt automatic pairing shortly after power-up. Wait a few minutes; the LED will change to a steady color when paired. Keep other wireless devices away during this process to reduce interference.

What should I do if the LED keeps blinking and won’t connect?

Recheck power and ensure both units are within range. Move potential interference sources—Wi‑Fi routers, cordless phones, or microwave ovens—away from the units. Power-cycle both devices, then try automatic pairing again. If blinking persists, proceed to manual pairing steps.

How do I perform manual pairing using the ID SET or PAIR button?

Locate the ID SET or PAIR button on the back of the sub or bar. With both units powered on, press and hold the button for the time specified by your manufacturer (usually a few seconds). Use the remote if required by your model to initiate pairing. Watch the LEDs: they should change to a solid color when pairing completes.

Are there brand-specific notes about when not to press PAIR during auto pairing?

Yes. Some brands recommend avoiding the PAIR button during automatic pairing, as pressing it can interrupt the process. If your system begins auto pairing, wait at least five minutes before attempting manual pairing. Always check your product guide for instructions unique to your brand.

What do you do if automatic connection fails or after a factory reset?

After a reset, restore factory defaults on both units, place them close together, and attempt manual pairing. Update firmware if available, power-cycle both units, and ensure no other devices are attempting to pair. If you still can’t connect, note error LED patterns and contact manufacturer support with your model and a description of steps taken.

How can updating firmware and adjusting audio formats help?

Firmware updates fix bugs and improve wireless stability. Check the manufacturer’s app or website for updates and install them before troubleshooting further. Also confirm your TV’s audio output format (PCM, Dolby Digital, eARC) matches what the bar supports to avoid sync or compatibility issues.

Can I add wireless rear speakers to this system and how do I tune them?

Many systems support optional wireless rears. Follow the same pairing process for each wireless module and place them behind the listening area at ear height. Use your receiver or the bar’s app to adjust levels, distance settings, and crossover frequencies to balance surround effects and bass distribution.

What are some wall-mounting tips and cable management tricks?

When wall-mounting the bar, use the manufacturer’s bracket and follow weight and clearance guidelines. Run power and HDMI cables through cable channels or in-wall rated conduits where allowed. Secure loose cables with clips or raceways to keep the installation neat and prevent strain on ports.

When should I contact support and what information should I have ready?

Contact support if LEDs show fault patterns, firmware updates fail, or the units won’t pair after basic troubleshooting. Have your model numbers, serial numbers, purchase date, a description of the issue, LED behaviors, and steps you’ve tried. This speeds diagnosis and helps the agent provide precise guidance.

Leave a Comment