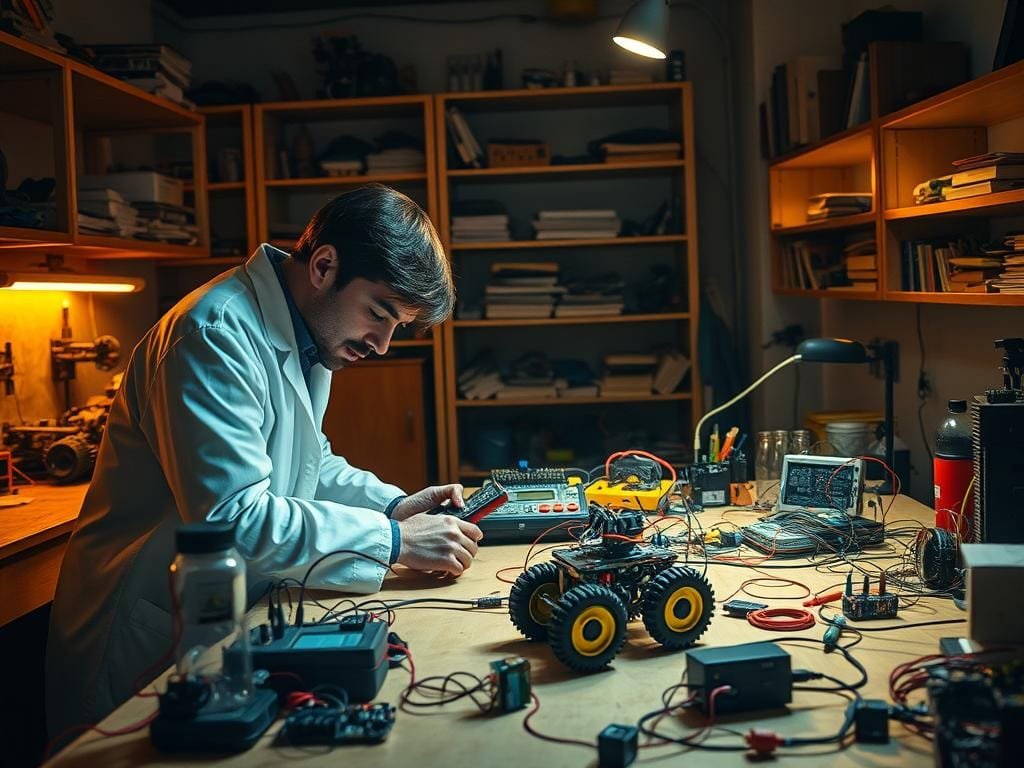
You don’t need to be an expert to start building robots. DIY robotics makes it easy to create your own robots at home. You just need simple materials and tools.
Imagine being able to build a robot that can water your plants, detect objects, or even launch foam darts! These are just a few examples of the exciting projects you can build with minimal equipment.
You can explore various beginner-friendly robotics projects. For example, you can build a person detection security robot or an AI companion robot. These projects introduce you to robotics basics in a fun and interactive way.
Key Takeaways
- Learn the basics of DIY robotics and start building your own robots at home.
- Explore various beginner-friendly robotics projects, such as a plant watering robot and object detection light bulb.
- Discover how to create interactive robots using simple materials and tools.
- Get started with building robots that can detect objects, launch foam darts, or even serve as a security system.
- Develop your skills in robotics and take the first step towards creating your own AI companion robot.
What Is Robotics and Why Should You Learn It?
Robotics is a field that mixes science, engineering, and technology. It creates machines that can do tasks on their own. This mix helps make robots for many uses, like in factories and hospitals. Learning about robotics opens up a world of possibilities and benefits.
The Science and Art of Creating Robots
Robotics is about designing, building, and running robots. It needs technical skills, creativity, and problem-solving. By getting into robotics, you learn robotics basics and how to make your ideas real with machines.
Educational Benefits of Learning Robotics
Robotics teaches many skills, like solving problems, being creative, and thinking critically. It’s a hands-on way to use what you learn. Here are some key benefits:
| Benefit | Description |
|---|---|
| Problem-Solving Skills | Robotics teaches you to solve problems by doing. It boosts your analytical skills. |
| Creativity | Building robots lets you be creative. It’s a way to make your ideas real. |
| Critical Thinking | Robotics helps you think critically. You learn to improve your projects. |
Essential Tools and Components for DIY Robotics
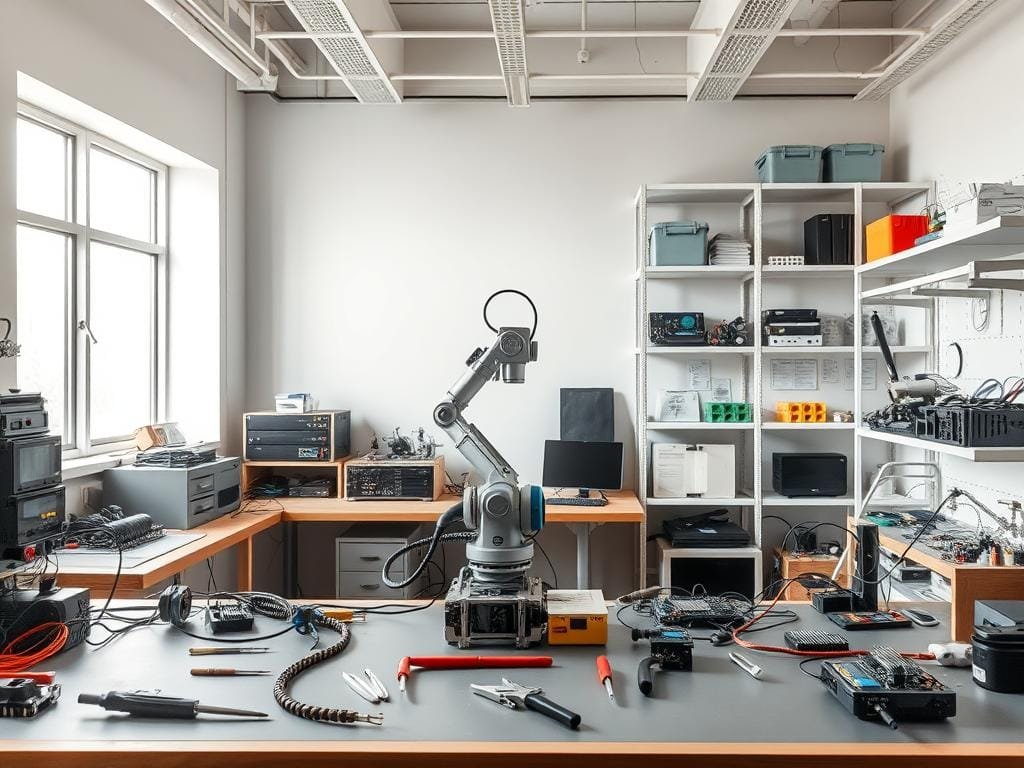
Starting a DIY robotics project needs the right tools and parts. To begin with robot building for beginners, having a good workbench is key.

Must-Have Tools for Your Robotics Workbench
Your workbench should have basic tools like a soldering iron, wire cutters, and a breadboard. A soldering iron is needed for connecting parts. Wire cutters help with wire management and trimming. A breadboard lets you test circuits without soldering.
Basic Electronic Components Explained
Knowing basic electronic parts is important for beginner robotics projects. Parts like resistors, capacitors, and microcontrollers are key. Resistors manage voltage, capacitors store energy, and microcontrollers are the robot’s brain.
“The right components can make or break your robotics project. Understanding their functions is key to success.”
Budget-Friendly Starter Kits Worth Buying
For newbies, easy robotics projects can start with affordable starter kits. These kits have various parts and tutorials. They’re a great, budget-friendly way to start your robotics adventure.
With the right tools and parts, you’re ready to dive into beginner robotics projects.
Robotics for Beginners: Core Concepts You Need to Know
To start with robotics, you must learn about the basic parts of a robot. Knowing these core concepts will help you build your DIY robotics projects.
Understanding Sensors, Actuators, and Controllers
Sensors are like your robot’s eyes and ears. They help it see and hear its surroundings. Actuators are what make your robot move, like motors. The controller is the brain, processing information and giving commands.
It’s important to know how these parts work together. This knowledge is key to making a robot that works well.
Basic Mechanical Principles in Robotics
Understanding basic mechanical principles is essential in robotics. Kinematics is about how your robot’s parts move. Dynamics is about the forces that make it move.
Knowing these principles helps you design robots that move well. By applying these, you can make robots that do tasks accurately.
Setting Up Your Robotics Workspace
A well-organized workspace is key for robotics projects, even for beginners. Having a dedicated area keeps your tools and parts in order. This makes it easier to build and fix your robots.
Creating an Efficient Building Environment
Start by picking a specific area for your robotics projects. Make sure it’s well-lit and has enough space for your workbench, tools, and parts. Use bins, drawers, and pegboards to organize your tools and parts.
This helps you find what you need quickly. It saves time and reduces frustration when assembling your robots.

| Workspace Element | Purpose | Tips for Setup |
|---|---|---|
| Workbench | Primary workspace for building and testing robots | Ensure it’s sturdy and at a comfortable height |
| Tool Organization | Keeping tools within easy reach | Use pegboards or toolboxes to keep tools organized |
| Component Storage | Storing electronic components and parts | Use labeled bins or drawers to categorize components |
Safety Precautions When Working with Electronics
When working with electronics, safety is the most important thing. Always unplug your workbench and equipment when not in use. Avoid wearing loose jewelry that could get caught in tools or circuits.
Wear protective gear like safety glasses and anti-static wrist straps. This prevents damage to components and injury to yourself. Keeping your workspace clean and clutter-free also reduces the risk of accidents.
Introduction to Microcontroller Platforms
The world of robotics is now open to everyone thanks to platforms like Arduino and Raspberry Pi. These tools help beginners in robot programming for beginners to make complex and interactive robots.
Microcontrollers are the heart of robotics, controlling sensors and actuators. For robotics for beginners, learning to use these platforms is key to making their projects real.
Getting Started with Arduino for Robotics
Arduino is a top pick for beginners because it’s easy to use and has lots of support. It has many boards and shields for beginner robotics projects. Its IDE is simple, helping newbies to code their robots easily.
Exploring Raspberry Pi for Smart Robots
Raspberry Pi is great for more advanced robotics projects. It runs a full operating system, allowing for complex programming and device integration. It’s perfect for making smart robots.
Other Beginner-Friendly Platforms
Other platforms like ESP32/ESP8266 are also popular for IoT and robotics. They have Wi-Fi, making them ideal for projects needing internet access.
Choosing the right platform depends on your project’s needs. For robot programming for beginners, pick one that’s easy to use but also powerful.
Basic Programming Concepts for Robot Control
To make your robot come to life, you must learn basic programming. Robot programming for beginners means knowing how to tell your robot what to do. You need to understand key programming ideas.
Understanding Code Structure and Logic
Code structure and logic are key for robot programming. You should know how to write clear, efficient code. For example, reading this research paper can help you learn the basics.
It’s important to know about loops, if-else statements, and functions. These help create a program that can make choices and repeat tasks.
Simple Commands to Make Your Robot Move
After learning about code, you can start with simple commands for your robot. Commands like “move forward,” “turn left,” or “stop” are easy for your robot to follow. Use platforms like Arduino or Raspberry Pi to write these commands and watch your robot move.
By practicing these simple commands, you can do more complex tasks. This will make your robot more capable.
Project1: Build a Vibrating Brush Robot
Let’s start an easy robotics project by making a vibrating brush robot. It’s perfect for beginners who want to learn by doing. This project teaches robotics and is also useful for cleaning.
Materials List and Cost Breakdown
To begin, you’ll need these items:
- Vibrating motor
- Brush attachment
- Robot chassis
- Batteries
- Wiring and basic electronics tools
Step-by-Step Assembly Instructions
Here’s how to put your vibrating brush robot together:
- First, attach the vibrating motor to the robot chassis.
- Then, connect the brush to the motor shaft.
- Put in the batteries and wire the motor to the power source.
- Test the robot to make sure the brush vibrates right.
Double-check that everything is connected well and the robot is steady before you test it.
Customization Ideas and Challenges
You can make your robot better by changing the brush size or adding sensors. A challenge might be making the robot stable and keeping the power steady.
Try using different materials for the brush and chassis to see if it works better.
Project2: Create an Obstacle-Avoiding Robot
Now that you know more about robotics, it’s time to build a robot that can avoid obstacles. This project will challenge you and teach you more about robotics.
Components and Tools Needed
To make an obstacle-avoiding robot, you’ll need a few things:
- Arduino Uno or similar microcontroller
- Ultrasonic sensor (HC-SR04)
- Motor driver (L298N)
- DC motors (2)
- Wheels and chassis
- Jumper wires
- Breadboard
- Power source (batteries)
You’ll also need tools like a soldering iron, screwdrivers, and wire cutters to put your robot together.
| Component | Quantity | Estimated Cost |
|---|---|---|
| Arduino Uno | 1 | $20 |
| Ultrasonic Sensor | 1 | $5 |
| Motor Driver | 1 | $10 |
| DC Motors | 2 | $15 |
| Wheels and Chassis | 1 set | $20 |
Assembly Guide with Photos
Building your robot is a few steps. First, attach the motors to the chassis and add the wheels. Then, place the ultrasonic sensor at the front. Connect the motors to the motor driver and then to the Arduino. Lastly, connect the ultrasonic sensor to the Arduino.

Check the diagram for a detailed wiring guide. Make sure all connections are tight to avoid problems.
Programming Your Robot’s “Brain”
To make your robot avoid obstacles, you’ll need to write code for it. The code will tell the robot to detect obstacles and change direction.
// Sample code for obstacle-avoiding robot
const int trigPin = 2;
const int echoPin = 3;
const int motorLeftForward = 4;
const int motorLeftBackward = 5;
const int motorRightForward = 6;
const int motorRightBackward = 7;

void setup() {
pinMode(trigPin, OUTPUT);
pinMode(echoPin, INPUT);
pinMode(motorLeftForward, OUTPUT);
pinMode(motorLeftBackward, OUTPUT);
pinMode(motorRightForward, OUTPUT);
pinMode(motorRightBackward, OUTPUT);
}

void loop() {
int distance = readUltrasonicSensor();
if (distance
Upload the code to your Arduino Uno and test your robot. You might need to tweak the code to make it better at avoiding obstacles.
Project3: Design a Line-Following Robot
In this project, you’ll learn to make a robot that follows a line. It uses sensors and programming. This is a great way to improve your skills in beginner robotics projects and see how robots work in different ways.
Materials and Circuit Diagram
To make a line-following robot, you need a few key parts. These include a microcontroller, sensors, motors, and a power source. You can start with an Arduino-based line-follower robot design for a simple project. The circuit diagram will vary based on your chosen components. It usually connects sensors to the microcontroller and motors to the motor driver.
Building Your Line Follower Step-by-Step
Begin by putting together the robot’s body and attaching the motors. Next, connect the sensors to the microcontroller and the motors to the motor driver. Always follow safety rules when working with electronics. For robot building for beginners, it’s key to check all connections before turning on the robot.
After setting up the hardware, start writing the robot’s program. This means creating code to read sensor data and control the motors.
Code Explanation and Testing Tips
The robot’s code reads sensor data, figures out its position, and adjusts motor speeds to stay on track. For robotics for kids, start with simple code and add more complexity as they get better at programming.
When testing your robot, start with a simple track and then make it harder. Adjust the sensor sensitivity and motor speeds to get smooth line following.
Troubleshooting Your DIY Robot Projects
Starting your DIY robotics journey means learning to troubleshoot. You might face mechanical, electrical, or programming problems. Knowing how to solve these issues can save you a lot of time and stress.
Common Mechanical Issues and Solutions
Mechanical problems often come from parts that are not aligned or loose. Make sure all parts are tightly fastened and correctly placed. For example, if your robot’s wheels are shaking, check the axles and wheel attachments.
Regularly oil moving parts to prevent mechanical failures. This simple step can make a big difference.
| Issue | Possible Cause | Solution |
|---|---|---|
| Wobbly Wheels | Misaligned Axles | Adjust Axle Position |
| Robot Not Moving | Loose Motor Connections | Secure Motor Connections |
Diagnosing Electrical Problems
Electrical issues can be hard to figure out. First, check the power source and make sure all connections are tight. If using a battery, make sure it’s fully charged.
For more complex problems, check out EZ-Robot’s DIY Robotics Overview for help with electrical issues.
Fixing Programming Bugs
Programming bugs are common, but fixable. First, look for syntax errors. Use debugging tools to step through your code and find problems.
For logic errors, review your code’s logic. Make sure it matches your project’s needs.
By learning these troubleshooting tips, you’ll get better at robotics. You’ll be able to finish your DIY robot projects successfully.

Taking Your Robotics Journey Further
Now that you’ve learned the basics, it’s time for more advanced projects. You’ll find new challenges and chances to be creative.
Advanced Projects to Try Next
Try building a robotic arm or a robot that can solve mazes. These projects will improve your programming and design skills.
- Build a robotic arm using servo motors and Arduino
- Create a maze-solving robot with sensors and algorithms
- Develop a robotic vehicle with advanced navigation systems
Online Communities and Learning Resources
Join online forums to learn from others and share your projects. Sites like Robotics Stack Exchange and GitHub have lots of robotics resources.
“The best way to learn is by doing, and sharing your projects with others can provide valuable feedback and insights.” – Robotics Expert
Robotics Competitions for Beginners
Robotics competitions are a great way to test your skills and show off your projects. Events like the Robotics Olympiad and RoboGames have beginner categories. They offer a supportive place to compete.
Conclusion
You now have a solid foundation in robotics for beginners. You’ve learned the core concepts and even tried your hand at simple DIY robot projects. This has given you practical skills in building and programming robots.
As you continue your robotics journey, remember that the possibilities are endless. You can use the skills you’ve learned for more complex projects. Explore new areas like artificial intelligence, computer vision, or robotic arms. The world of robotics is always changing, and there’s always something new to discover.
With the knowledge and confidence you’ve gained, you’re ready for new challenges. So, what will you build next? The future of robotics is in your hands, and the journey is just beginning.
FAQ
What is the best way to start with robotics for beginners?
Begin by learning the basics of robotics. Understand sensors, actuators, and controllers. Start with simple DIY projects and then move to more complex ones.
What are the essential tools needed for DIY robotics projects?
You’ll need basic tools like a soldering iron, wire cutters, and a breadboard. Consider a starter kit for all the necessary components.
What is the difference between Arduino and Raspberry Pi?
Arduino is great for simple robotics projects. Raspberry Pi is a single-board computer for more complex projects.
How do I program a robot for beginners?
Learn programming basics with Arduino or Raspberry Pi. Start with simple commands and then move to more complex ones.
What are some easy robotics projects for kids?
Start with simple projects like a line-following robot or a vibrating brush robot. These projects help kids develop problem-solving skills and introduce them to robotics.
How do I troubleshoot common issues in DIY robot projects?
Identify the problem first. It could be mechanical, electrical, or programming. Then, use online resources or guides to fix it.
What are some advanced robotics projects for beginners?
After gaining experience, try more complex projects like robotic arms or autonomous robots. Explore online communities and resources for inspiration.
Are there any robotics competitions for beginners?
Yes, there are robotics competitions for beginners. They’re a great way to show your skills and learn from others.


