You can bring back the fun of old video games by making your own classic gaming system with Raspberry Pi. Over 40 million people worldwide love playing vintage video games. This makes retro gaming consoles very popular.
This guide will help you make your own DIY retro gaming console. It will have all your favorite classic games. It’s great for those who love vintage video games but don’t want to deal with old hardware.
Building your own retro gaming console lets you make it your own. With Raspberry Pi, you can build a small but powerful system. It can play lots of classic games.
Key Takeaways
- Create a customized retro gaming console using Raspberry Pi.
- Relive the nostalgia of vintage video games with a DIY project.
- Enhance your gaming experience with a compact and efficient system.
- Load your favorite classic games onto your retro gaming console.
- Customize your console to suit your gaming preferences.
Introduction to Retro Gaming Consoles
Retro gaming consoles are loved by gamers who miss their childhood games. These devices let players relive old memories and enjoy classic games again.
What is a Retro Gaming Console?
A retro gaming console plays old video games using special technology. It can be the real thing or a new version, like one made with Raspberry Pi.
There are different kinds of retro gaming consoles. They include:
- Original vintage consoles, like the Nintendo Entertainment System (NES) and Sega Genesis.
- Modern retro-style consoles, like the NES Classic Edition and Sega Genesis Mini.
- DIY retro gaming consoles, built using components like Raspberry Pi.
The Appeal of Retro Gaming
Retro gaming is loved for its nostalgic charm and simple, yet challenging, games. Gamers enjoy it for:
- Nostalgic charm, bringing back memories of childhood.
- Timeless gameplay, with many classic games fun today.
- Retro aesthetic, featuring pixel art and chiptune music.
Retro gaming also lets gamers see how gaming has changed over time.
Brief History of Arcade Machines
Arcade machines started in the early 1970s with Computer Space and Pong. The late 1970s and early 1980s brought hits like Space Invaders, Pac-Man, and Donkey Kong. These games became huge hits.
The golden age of arcades was full of competition, innovation, and creativity. Many classic games are loved today. Arcade machines’ legacy keeps inspiring new games.
Why Choose Raspberry Pi for Your Console
The Raspberry Pi is a top pick for DIY retro gaming console builders. It’s small, affordable, and powerful. It’s perfect for playing classic games.
Benefits of Using Raspberry Pi
The Raspberry Pi is great for gaming because of its strong processing power. It’s tiny but can handle tough games smoothly. Plus, it’s very cheap, which is a big plus for those on a budget.
It also works well with many emulators. This means you can play lots of classic games from different consoles and arcade machines. Its power and wide compatibility make it a top choice for a retro gaming console.
Comparison with Other Platforms
Compared to other options, the Raspberry Pi is a great value. It’s cheaper than gaming PCs or special retro consoles but doesn’t skimp on the fun. You can also customize it to fit your needs.
Other systems might have some perks, but they’re pricier and less flexible. The Raspberry Pi has a big community and lots of help online. This makes it easier to fix problems, find new games, and make your console your own.
In short, the Raspberry Pi is a fantastic choice for a retro gaming console. It’s a mix of power, price, and flexibility. It’s perfect for anyone looking to build a retro gaming console for endless fun.
Essential Components for Your DIY Console
Your retro gaming journey starts with gathering the right parts for your console. To make a fun retro gaming console with Raspberry Pi, you need a few key parts.
List of Required Hardware
The parts you need for your DIY retro gaming console are key for its performance. Here are the must-haves:
- Raspberry Pi Board: This is the brain of your console, handling games and the operating system.
- MicroSD Card: This is where you store your operating system, games, and data. Aim for at least 16GB.
- Power Supply: You’ll need a power adapter that fits your Raspberry Pi. Make sure it’s compatible and powerful enough.
- Display: You’ll need a monitor or TV to see your games. Make sure it has an HDMI input.
- Controls: You’ll need joysticks and buttons to play games. You can use original arcade controls or buy kits.
Here’s a quick summary of the parts you need in a table:
| Component | Description | Recommendation |
|---|---|---|
| Raspberry Pi | The main processing unit | Raspberry Pi 4 for better performance |
| MicroSD Card | Storage for OS and games | At least 16GB, Class 10 or higher |
| Power Supply | Power for Raspberry Pi | Official Raspberry Pi Power Supply |
| Display | Monitor or TV for output | HDMI-compatible display |
| Controls | Joysticks and buttons for gameplay | Original arcade controls or pre-made kits |
Recommended Accessories for Improved Play
While the basic parts are essential, some accessories can make your gaming better:
- Cabinet or Enclosure: A custom cabinet can protect and look great with your console.
- Cooling System: A cooling system, like a fan, can keep your console from overheating.
- Speakers or Headphones: Good sound quality can really improve your gaming. Think about using external speakers or headphones.
- Wiring and Connectors: Make sure you have the right cables and connectors for all your parts.
By focusing on these key parts and accessories, you can create a retro gaming console that’s both fun and functional.
Getting Started with Raspberry Pi
Your retro gaming adventure starts here: setting up Raspberry Pi for your DIY console. The Raspberry Pi is a versatile and powerful device. It can be transformed into a retro gaming console with the right setup.
Setting Up Raspberry Pi
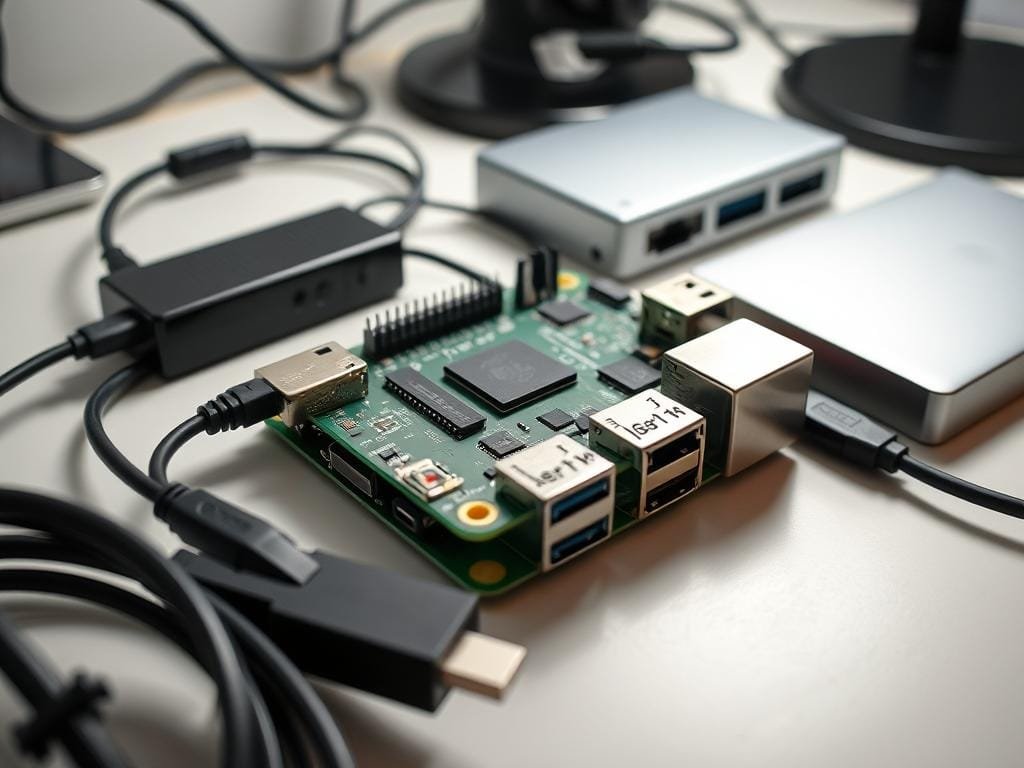
To begin, you’ll need to unbox and physically set up your Raspberry Pi. Make sure you have a compatible power supply, an SD card with enough storage, and a way to connect it to a display. Carefully insert the SD card into the Raspberry Pi, and then connect the power supply.
Once powered on, you’ll need to configure your Raspberry Pi. This involves setting up the language, keyboard layout, and network connections. Follow the on-screen instructions to complete the initial setup.
Installing the Operating System
The next step is to install a suitable operating system for your retro gaming console. Raspberry Pi OS is a popular choice, but you may also consider other OS options designed for retro gaming.
- Download the desired operating system image from the official Raspberry Pi website or other reputable sources.
- Use a tool like BalenaEtcher to flash the OS image onto your SD card.
- Insert the SD card into your Raspberry Pi and boot it up.
With your Raspberry Pi set up and the operating system installed, you’re one step closer to enjoying your retro gaming console. The next steps will involve installing emulators and loading your favorite games.
Choosing Your Retro Gaming Emulators
The heart of your retro gaming console is the emulators you pick for your Raspberry Pi. Emulators act like the old gaming consoles, letting you play their games on your DIY arcade machine.
Popular Emulators for Raspberry Pi
Raspberry Pi can run many emulators thanks to its flexible OS and strong hardware. Top choices include RetroPie, EmulationStation, and PiSX. These can play games from Nintendo, Sega, and Sony consoles.
When picking an emulator, think about your Raspberry Pi model and the games you want. RetroPie is great because it’s easy to use and works with many ROMs.
Legal Considerations for ROMs
Emulators are legal, but ROMs can be tricky. Downloading ROMs of games you don’t own is piracy and illegal in many places. Always download ROMs from games you legally own or have permission to play.
To stay legal, buy your games digitally or get them from official sources. Some companies re-release classic games legally, making it easy to enjoy retro gaming without breaking the law.
Building the Arcade Cabinet
The arcade cabinet is the heart of your DIY retro gaming console. It needs careful planning and execution. A well-made cabinet not only improves your gaming but also looks great.
Designing the Cabinet Layout
When planning the cabinet layout, think about the space for the Raspberry Pi, monitor, and controls. Make sure it’s comfy and easy to use for players.
A common layout includes:
- A marquee at the top for the game’s title
- A monitor in the middle for the game screen
- Controls at the bottom, like buttons and joysticks
Here’s a simple table to help plan your cabinet’s size:
| Component | Width (inches) | Height (inches) |
|---|---|---|
| Marquee | 20 | 5 |
| Monitor | 18 | 12 |
| Control Panel | 20 | 8 |
Materials Needed for Construction
The materials for your arcade cabinet depend on your design and budget. You can use plywood, MDF, or solid wood. You’ll also need screws, glue, and trim to finish it.
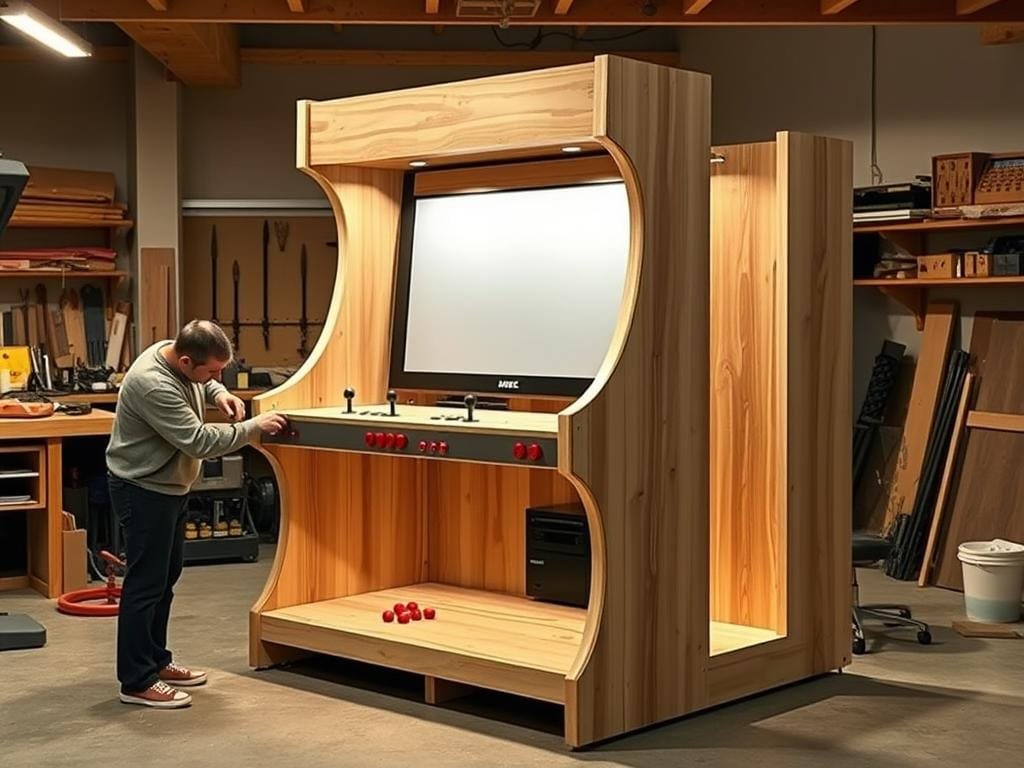
For a strong cabinet, consider 3/4-inch plywood or MDF. They’re affordable and easy to work with. Make sure your design can hold the monitor and other parts.
Wiring the Controls and Display
Setting up your DIY retro gaming console is exciting. You need to connect buttons, joysticks, and a display monitor to the Raspberry Pi. It’s important to do this right for a great gaming experience.
Connecting Buttons and Joysticks
First, find the GPIO pins on your Raspberry Pi. The GPIO guide on Instructables helps a lot. You’ll map your controls to the right GPIO pins for each button and joystick.
For arcade controls, connect the ground and signal pins to the Raspberry Pi’s GPIO. Use a breadboard or direct wiring for secure connections. As retro gaming enthusiasts often say, “the authenticity of the gaming experience lies in the controls,” so take your time here.
Setting Up the Display Monitor
Connect your display monitor to the Raspberry Pi via HDMI. Make sure your monitor works with the Raspberry Pi’s video output. Most modern monitors do, but check the specs. Adjust the display settings on your Raspberry Pi for the best game visuals.
Experts say, “configuring the display settings correctly can significantly enhance the visual quality of your retro games.” Use the Raspberry Pi configuration tool to pick the right display options. For more help, look at online tutorials or the official Raspberry Pi documentation.
With your controls and display ready, you’re almost there. Test everything to make sure it works well. Remember,
“The devil is in the details”
, so check your connections and settings carefully.
Configuring Your System for Optimal Performance
For a great retro gaming experience, tweaking your console’s settings is key. Proper setup makes games run smoothly. This way, you can enjoy your favorite games without any hitches.
Tweaking Emulator Settings
Emulator settings are vital for your retro gaming console’s performance. Tweaking these settings can boost game compatibility and system performance.
- Adjust the frame skip to reduce lag.
- Configure the control settings to match your gaming preferences.
- Experiment with different audio settings to achieve the best sound quality.
| Setting | Description | Recommended Value |
|---|---|---|
| Frame Skip | Skips frames to improve performance | Auto |
| Control Mapping | Customizes controller inputs | Default or Custom |
| Audio Sync | Synchronizes audio with gameplay | Enabled |
Overclocking Raspberry Pi for Better Speed
Overclocking your Raspberry Pi boosts your retro gaming console’s performance. It makes games run smoother and loads faster.
Caution: Overclocking can void your warranty and cause system issues if not done right.
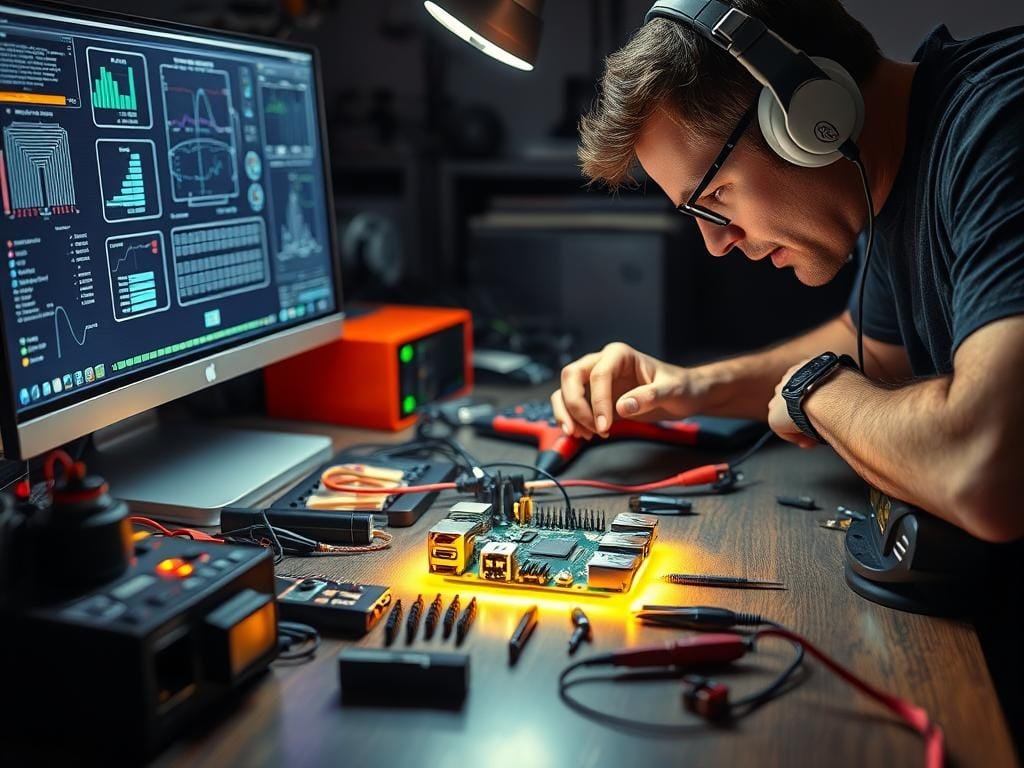
To overclock your Raspberry Pi, edit the config.txt file. Use a text editor, and changes will work after a reboot.
Installing Games on Your Console
Now that your retro gaming console is ready, it’s time to add your favorite classic games. Installing games on your Raspberry Pi-based console is easy. It makes your gaming experience even better.
Adding Games to Your Library
To start playing, you need to add games to your console’s library. You’ll need to download or transfer ROMs (game data files) to your Raspberry Pi. Make sure to get ROMs from legal and reputable sources to avoid copyright problems. You can use an external storage device or transfer files directly via a network connection.
Steps to Add Games:
- Connect your Raspberry Pi to the internet.
- Download the desired ROMs from a legal source.
- Transfer the ROMs to your Raspberry Pi, either via a USB drive or network transfer.
- Configure your emulator to recognize the new ROMs.
As Retro Gamer magazine once said, “The joy of retro gaming lies in the simplicity and challenge of classic games.”
“The best way to experience nostalgia is to relive the classics.”
Organizing Your Game Collection
As your game library grows, it’s important to keep it organized. Create folders for different systems or genres to make it easier to navigate. You can also use metadata or naming conventions to keep track of your games.
Tips for Organizing:
- Use clear and descriptive folder names.
- Keep your ROMs named consistently, including the game’s title and version.
- Consider using a database or cataloging tool for your game collection.
By following these steps, you’ll have a well-organized and extensive library of retro games. Your DIY retro gaming console will become a true centerpiece for gaming nostalgia.
Customizing Your Retro Gaming Experience
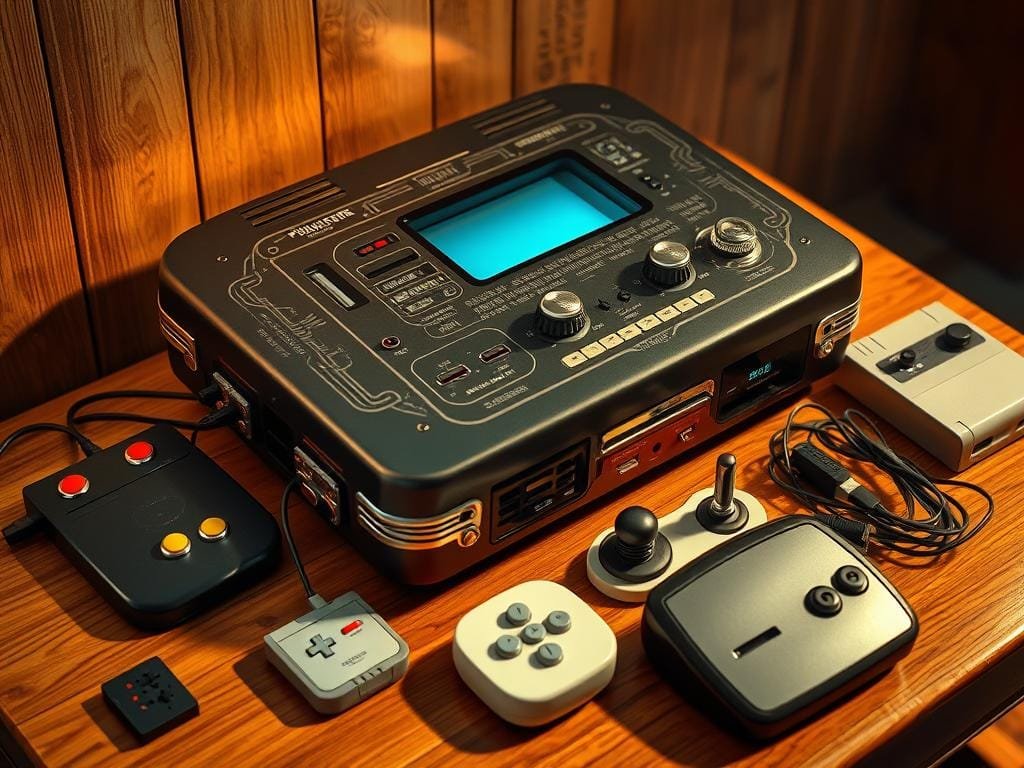
After building your retro gaming console, it’s time to make it your own. Customizing it not only makes it look better but also improves your gaming fun.
Skinning and Themes for Emulators
One easy way to customize your console is by changing its skins and themes. These changes can make your gaming interface more fun and personal.
To try a new theme, just download the theme file and pick it in your emulator’s settings. Many emulators, like RetroPie, have lots of themes to choose from. This lets you change your console’s look whenever you want.
Additional Features to Enhance Gameplay
There are also ways to make your gameplay better than just changing looks. You can tweak your controls to fit your gaming style or add shaders for better graphics.
Some emulators also have cool features like save states, cheats, and rewinding. These can make your games more fun and less frustrating.
To use these features, check out your emulator’s settings. You might also want to add tools or software to make gaming even better. For example, frontend software can help you manage your games and emulators.
By customizing your retro gaming console, you’re not just making a game player. You’re creating a gaming experience that shows off your style and preferences.
Troubleshooting Common Issues
Building a retro gaming console is just the start. Troubleshooting is key for a smooth gaming experience. This section will help you fix common hardware and software problems.
Resolving Hardware Problems
Hardware issues can be from faulty wiring to broken parts. First, make sure all connections are tight and parts are in place. For example, if your console won’t show anything on the screen, check the HDMI connection and display settings.
Here are some common hardware issues and how to fix them:
- Console not turning on: Check the power supply to make sure it’s working.
- Controls not responding: Make sure the controls are connected to the Raspberry Pi and set up right.
- Overheating: Make sure your console has good airflow. You might need a cooling system.
| Issue | Potential Cause | Solution |
|---|---|---|
| No display | Loose HDMI connection | Secure the HDMI connection |
| Controls unresponsive | Incorrect configuration | Check and adjust control settings |
| Overheating | Inadequate cooling | Improve ventilation or add cooling |
Software Glitches and Fixes
Software problems can be just as tough, from emulator crashes to game issues. Keeping your software updated is key. Make sure RetroPie or EmulationStation is current, as updates fix bugs and improve performance.
Here are some common software issues and fixes:
- Emulator crashes: Update the emulator or tweak its settings for better compatibility.
- Game incompatibility: Check if the game works with your emulator. Try different emulators if needed.
- Configuration issues: Double-check your settings to match your hardware.
By tackling these common problems, you can make your retro gaming console better. Troubleshooting takes patience, but with the right steps, you can fix most issues.
Conclusion: Enjoying Your DIY Retro Gaming Console
Now that you’ve built your retro gaming console with Raspberry Pi, you can play a huge variety of classic games. You can stream games from your PC or use cloud services like Xbox Cloud Gaming. This opens up a world of possibilities.
You can also dive into retro gaming by downloading emulators like DosBox or DosBox-X. These allow you to play hundreds of old PC games.
Sharing the Retro Gaming Experience
Your DIY retro gaming console is more than just for yourself. It’s a way to share the fun of retro gaming with others. You can host retro gaming parties, have classic video game tournaments, or just play games together.
For more ideas on building and customizing your retro gaming console, check out The Guardian’s guide on building your own retro games machine.
The Future of Retro Gaming
Retro gaming is always changing, thanks to new tech. The Raspberry Pi community keeps working on new emulators and improving old ones. This means your DIY retro gaming console will always be up-to-date with the latest in retro gaming.
FAQ
What is a retro gaming console?
A retro gaming console lets you play old video games. It brings back the fun of classic gaming.
Why is Raspberry Pi a good choice for a retro gaming console?
Raspberry Pi is great for retro gaming. It’s powerful, affordable, and works well with many emulators. This makes it perfect for playing old games.
What are the essential components required for building a retro gaming console?
You need a Raspberry Pi, memory, and other parts. This includes a display, controllers, and a power supply. These are key for a working retro gaming console.
How do I install games on my retro gaming console?
To install games, add ROMs to your library. Organize your games well. Make sure to use legal sources to avoid copyright problems.
Can I customize my retro gaming experience?
Yes, you can make your retro gaming unique. Use different skins and themes for emulators. Add features to make gameplay better. This lets you tailor your console to your liking.
What are some common issues with retro gaming consoles and how can I troubleshoot them?
Issues like hardware problems and software glitches can happen. To fix them, check connections, update software, and adjust emulator settings. These steps can help solve many problems.
Are there any legal considerations when using ROMs for retro gaming?
Yes, using ROMs without permission is illegal. It’s important to use legal sources. This respects the rights of game creators.
Can I share my retro gaming console with others?
Yes, sharing your retro gaming console is a great idea. It’s a fun way to share classic gaming with friends and family. Or, it’s a way to introduce old games to new gamers.
What are some popular emulators for Raspberry Pi?
Popular emulators for Raspberry Pi include RetroPie, EmulationStation, and PiGX. They support many classic consoles and arcade machines. This offers a wide range of retro gaming options.
