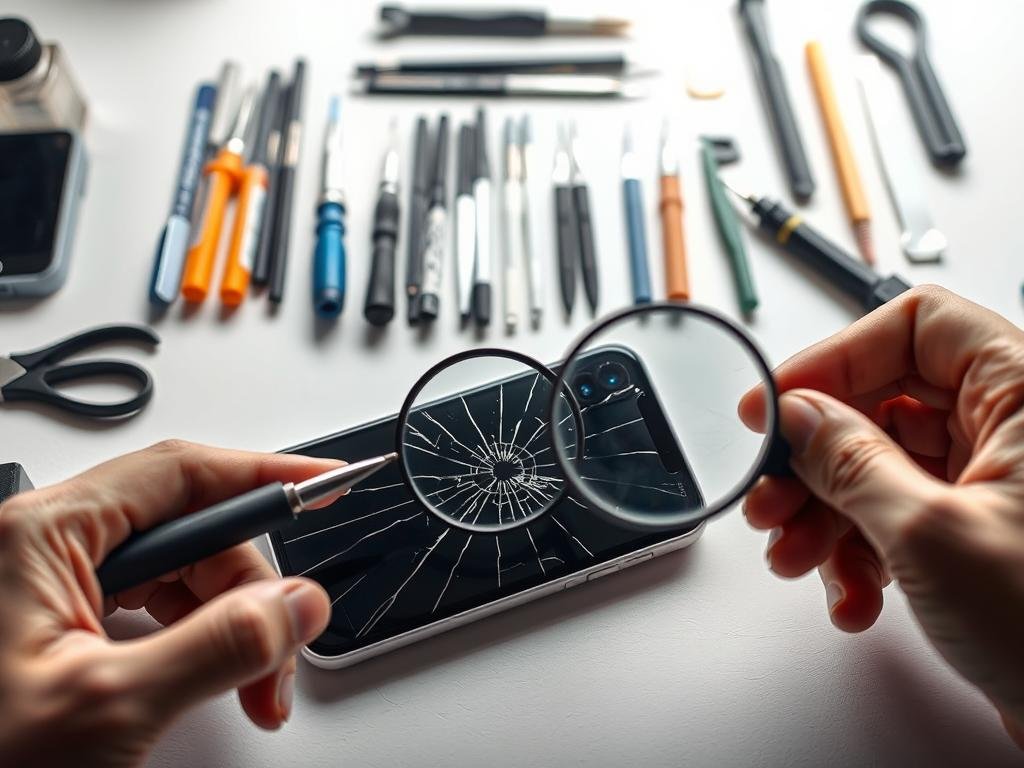
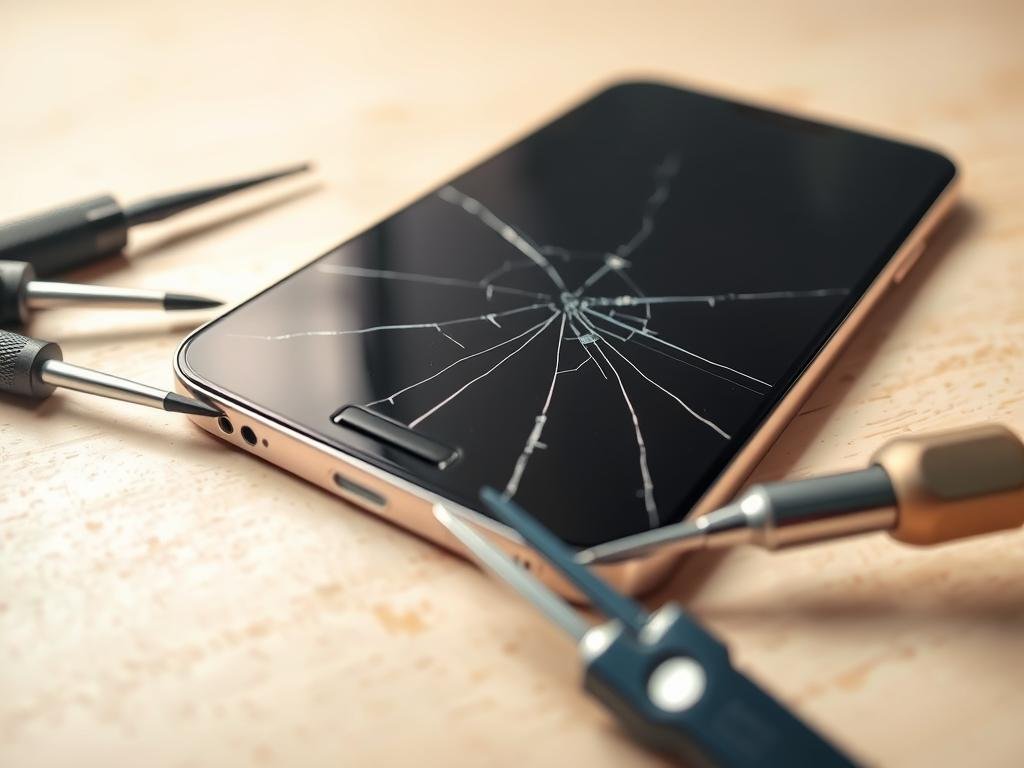
A cracked phone screen is a big problem for smartphone users. It can be a small crack or a big mess of broken glass. Fixing it can be hard and expensive.
You don’t have to spend a lot of money to fix your screen. With the right tools and some patience, you can do it yourself. This guide will show you how to fix your phone’s screen at home. It will help you save money and get your phone working again.
If you’re having trouble with a ghost touch screen, there are more tips on fixing ghost touch screen problems.
Key Takeaways
- DIY cracked screen repair can save you money.
- Basic tools are required for the repair process.
- Patience and precision are key to a successful repair.
- Additional resources are available for related issues.
- Professional help is not always necessary.
Understanding Your Smartphone’s Screen Structure
When you drop your phone and crack the screen, knowing how it’s made is key for fixing it yourself. Your phone’s screen is not just a surface. It’s a complex mix of layers, each important for how it works and lasts.
Layers of a Smartphone Display
A smartphone screen has several layers. The outermost is the glass, often tempered or Gorilla Glass, to protect against scratches and drops. Underneath is the touch-sensitive layer, which lets your phone respond to your touch. The display layer, an LCD or OLED panel, shows images and text.
Common Screen Types
Smartphones have LCD and OLED screens. LCDs are bright and color-accurate. OLEDs have deeper blacks and more vibrant colors because they control each pixel. Knowing your screen type helps pick the right phone screen replacement.
How Cracks Form
When you drop your phone, the glass flexes and cracks. This happens even with tough glass like Gorilla Glass. Understanding this shows why fixing a broken screen fix is so important.
Fixing a cracked phone screen means more than just replacing the glass. You need to fix the touch and display too. Knowing how cracks form and the screen’s structure helps you repair it.
Tools You Will Need for the Repair
To fix your smartphone’s cracked screen at home, you need the right tools. The tools you need can change based on how bad the crack is and your phone’s model.
Essential Tools for Screen Repair
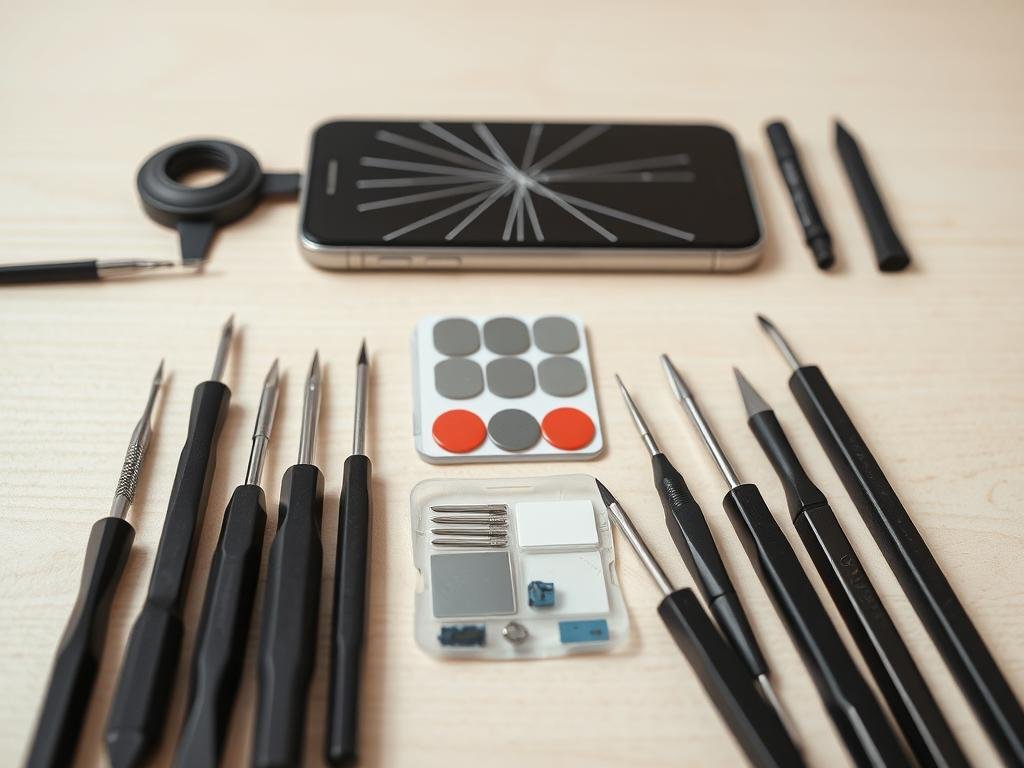
Here are the key tools for a good screen repair:
- A replacement screen that fits your smartphone model
- A screwdriver set, including Phillips and Pentalobe drivers
- Tweezers for handling small parts
- Plastic opening tools to open the device safely
These essential tools make the repair easier. It’s very important to get a screen that fits your phone right. This ensures it works well after the repair.
Optional Tools for Enhanced Efficiency
While not needed, these tools can improve your repair:
- A magnifying glass or microscope for checking small damage
- Anti-static wrist straps or mats to avoid damage from static
- A heat gun or hair dryer to soften adhesive
Using these optional tools can make the repair smoother. They help avoid damage from static electricity to your phone’s inside parts.
Having the right tools gets you ready for the repair. If the repair seems too hard or you’re not sure, getting help from a screen repair service is a good idea. They can do a quality job.
Preparing for the Repair Process
Getting ready for a DIY screen repair is key. First, check the damage, back up your data, and collect all tools and materials.
Back Up Your Data
Before starting, backing up your data is a must. This keeps your personal info, contacts, and files safe if something goes wrong. Use cloud services like Google Drive or iCloud, or transfer to a computer.
Gather Your Materials
To fix your broken smartphone screen, you need specific tools. Make sure you have a new screen, screwdrivers, a prying tool, and any other parts. Having everything ready makes the repair easier and less stressful.
Find a Clean Workspace
A clean and safe workspace is essential for a good repair. Clear a flat area, cover it with a soft cloth to prevent scratches, and ensure good lighting. This helps avoid more damage and makes the repair easier.
By following these steps, you’ll be ready to fix your cracked screen. Remember, taking your time and being careful in preparation is key to a successful DIY repair.
Step-by-Step Guide to Repairing a Cracked Screen
Fixing your smartphone’s cracked screen is easy with the right help. This guide will show you how to remove the broken screen and put in a new one. You’ll also learn how to test it.
Removing the Broken Screen
First, take out the broken screen carefully. This step needs patience and the right tools. Turn off your phone and remove the SIM card and other parts first.
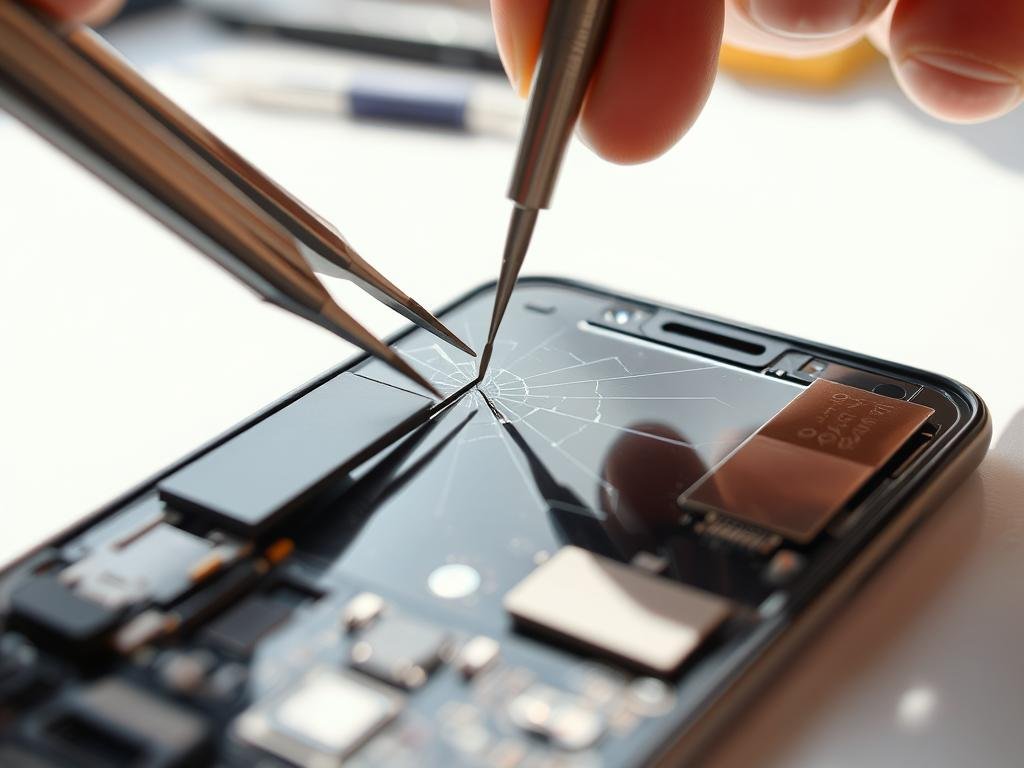
Use a screen removal tool or a suction cup to gently pry the screen away. Be careful not to press too hard, which could harm the parts underneath.
Installing the New Screen
After removing the broken screen, it’s time to put in the new one. Make sure the new screen fits your phone model. Place the new screen on the frame, starting from one edge and moving around. Use a screen adhesive to stick it in place.
For more details on finding the right screen, check out this resource.
Testing the New Screen
Turn on your phone to test the new screen. Look for any display problems like flickering or unresponsive spots. If you find issues, you might need to adjust the screen or update the software.
“Replacing a cracked screen can significantly improve the overall functionality and aesthetic of your smartphone,” says a repair expert.
| Step | Description | Tools Needed |
|---|---|---|
| 1 | Remove the broken screen | Screen removal tool or suction cup |
| 2 | Install the new screen | Screen adhesive, new screen |
| 3 | Test the new screen | Smartphone, power source |
By following these steps, you can fix your phone’s cracked screen. Be careful with the parts and follow safety tips to avoid damage or injury.
Safety Precautions to Consider
When you fix your smartphone screen yourself, safety comes first. A safe workspace not only keeps you safe but also helps you do a good job.
Wearing the Right Safety Gear
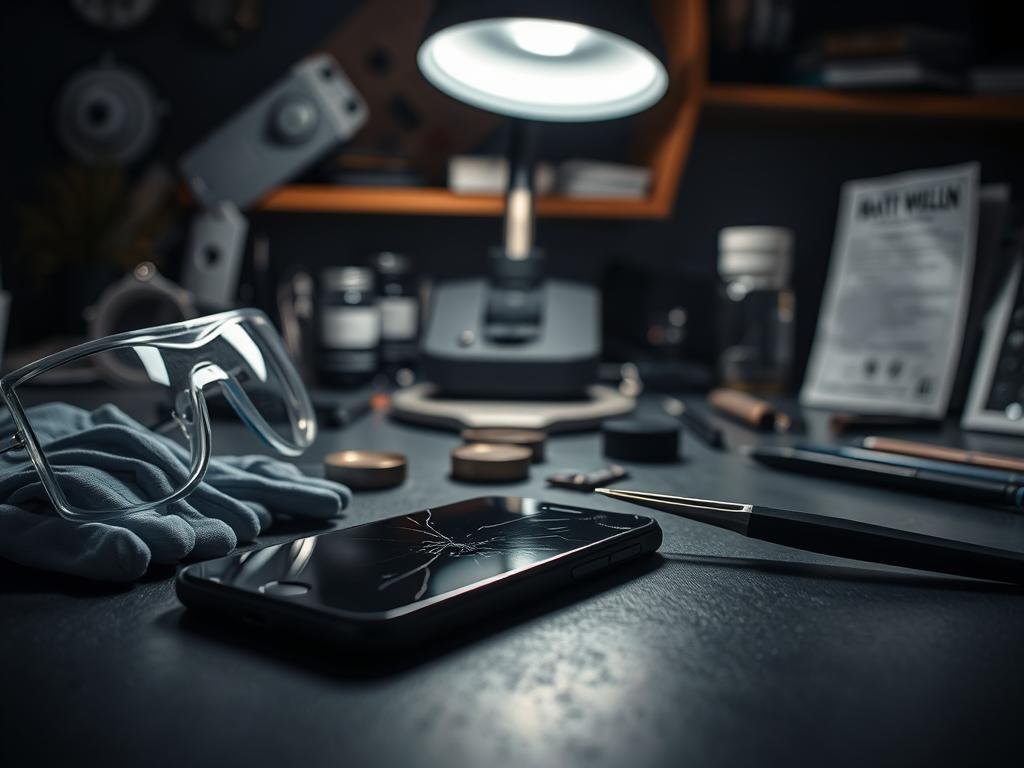
Wearing the right gear is key to avoid injuries. You need safety glasses to protect your eyes and gloves to keep your hands safe. Experts use a magnetic work mat to keep small parts from getting lost.
Avoiding Static Electricity
Static electricity is a big problem when working with electronics. Use an antistatic wrist strap to keep your device safe. Also, work on a grounded surface to lower the risk of static damage.
Proper Disposal of the Old Screen
After fixing your screen, dispose of the old one right. Electronic waste must be handled carefully to protect the environment. Many places have special spots for throwing away electronic trash.
Here’s how to dispose of it properly:
- Check local guidelines for electronic waste disposal.
- Participating in manufacturer or retailer take-back programs, if available.
- Ensuring the old screen is completely discharged before disposal.
By taking these steps, you can fix your screen safely and effectively. Whether you’re fixing a broken screen or looking for a screen repair service, always put safety first.
Troubleshooting Common Issues
Fixing a cracked phone screen is just the start. It’s key to check for any problems after the repair. Make sure to test your screen well to find and fix any issues.
Screen Flickering After Replacement
Screen flickering can be really annoying. It might be due to a loose connection or an incompatible screen. First, check if all connectors are tight to the motherboard. If it keeps happening, see if the screen fits your phone model.
Touchscreen Malfunction
A broken touchscreen makes your phone hard to use. It could be from bad installation or damaged connectors. Double-check how you installed the screen. Make sure it’s right and connected well. If it’s not fixed, look for any damage on the connectors.
“The most common cause of touchscreen malfunction is a faulty digitizer or improper installation.” – Smartphone Repair Expert
Unresponsive Areas on Screen
Areas on your screen not working can be a pain. It’s often because of air bubbles or misaligned connectors. Try to push out any air bubbles. If connectors are off, fix them carefully.
| Issue | Possible Cause | Solution |
|---|---|---|
| Screen Flickering | Loose connection, incompatible screen | Check connectors, ensure screen compatibility |
| Touchscreen Malfunction | Improper installation, damaged connectors | Reinstall screen, inspect connectors |
| Unresponsive Areas | Air bubbles, misaligned connectors | Remove air bubbles, realign connectors |
By using these tips, you can fix common problems after fixing your phone screen. This will make sure your phone works well and efficiently.
Maintaining Your Smartphone Post-Repair
After fixing your cracked phone screen, here are some tips to keep it in top shape. Keeping your smartphone in good condition after a repair is key. A well-kept phone looks better and works better over time.
Tips for Protecting Your Screen
To avoid future damage, use a protective phone case and screen protector. These can greatly lower the chance of cracks and scratches. “A good screen protector can be the difference between a cracked screen and a intact one,” says a smartphone repair expert.
Choosing the Right Screen Protector
When picking a screen protector, think about a few things. You might choose a tempered glass protector for strong protection against scratches and drops. Or, you might prefer a film protector for its thinness and flexibility. Your lifestyle and how you use your phone will help you decide.
- Tempered glass protectors offer superior protection.
- Film protectors are more flexible and less prone to bubbles.
Regular Maintenance Practices
Regular care is essential for your smartphone screen’s longevity. Clean your screen often with a soft cloth. Avoid water and extreme temperatures. Also, keep your software up to date. These steps will help your phone stay in great shape longer.
By taking these steps, you can enjoy a crack-free smartphone experience. Regularly check your screen for damage and fix issues quickly. This keeps your phone healthy overall.
“The best way to deal with a cracked screen is to prevent it from happening in the first place.”
When to Seek Professional Assistance
DIY screen repair can save money, but sometimes, it’s better to get help from a pro. If you’re new to fixing electronics or the damage is big, it’s safer to get professional help.
Signs You Should Not DIY
There are clear signs you should not try to fix your screen yourself. These include:
- Complex damage that involves not just the screen but other components of your smartphone.
- Lack of experience with electronics repair, which can lead to further damage or safety risks.
- Warranty concerns; attempting a DIY repair might void your warranty.
If you see yourself in these situations, it’s best to look for professional repair services.
Finding a Trusted Repair Service
Finding a reliable repair service is key when you decide to get professional help. Here are some tips:
- Look for repair services with good reviews and ratings.
- Check if they use high-quality replacement parts.
- Ask about their experience with your smartphone model.
Comparing Costs of DIY vs. Professional Repair
Cost is a big factor in choosing between DIY and professional repair. DIY might seem cheaper at first, but think about the cost of mistakes or extra repairs later.
Professional repair might cost more upfront, but they often offer warranties and guarantees. This can save you money and stress in the long run.
| Repair Type | Initial Cost | Potential Additional Costs | Warranty |
|---|---|---|---|
| DIY Repair | Lower | Higher (possible mistakes) | No |
| Professional Repair | Higher | Lower (less chance of needing it again) | Yes |
By looking at these points, you can choose the best option for your budget and needs.
Frequently Asked Questions About Screen Repair
When your smartphone screen is cracked, you might wonder about the repair process. Knowing how screen repair works can help you decide what to do next.
How Long Does the Repair Take?
The time to fix a cracked screen varies. It depends on your phone’s model and if you’re doing it yourself. If you have the right tools and follow a guide, it can take 30 minutes to a few hours.
What If My Screen Is Stil Cracked After Repair?
If your screen is cracked after trying to fix it, there could be a few reasons. Maybe the new screen is damaged or the repair wasn’t done right. It’s important to check your work and make sure everything is in place.
If it’s not fixed, you might need to get help from a professional.
Here’s a table to help you understand the possible reasons and solutions:
| Potential Cause | Solution |
|---|---|
| Improper alignment of the new screen | Realign the screen and ensure it is properly secured |
| Damaged replacement screen | Inspect the replacement screen for damage and replace if necessary |
| Insufficient repair skills | Consider seeking professional assistance or additional guidance |
Can I Repair My Smartphone Screen Without Experience?
Yes, you can fix your screen without experience if you have the right tools and follow a guide. Many DIY kits come with instructions. But, be patient and careful to avoid more damage.
If you’re new to DIY repairs, start by backing up your data. Make sure your workspace is clean and well-lit. Watching tutorials or getting advice from experts can also help.
Conclusion: The Benefits of DIY Screen Repair
Fixing your smartphone screen yourself can be very rewarding. It saves you money, boosts your DIY skills, and gives you a sense of accomplishment. You’ll be proud of what you’ve done.
Financial Benefits
One big plus of DIY screen repair is saving money. You can buy your own screen and fix it yourself. This way, you avoid the high costs of professional services.
Skill Enhancement
Doing a DIY screen repair project improves your technical skills. You learn by doing and become more confident in fixing things. This experience helps you with future projects.
Personal Satisfaction
Fixing your smartphone screen yourself is very fulfilling. You feel proud and accomplished. It shows you can handle complex problems and fix your device.
FAQ
How long does a typical smartphone screen repair take?
The time it takes to fix a smartphone screen varies. It depends on the person’s skill level and the repair’s complexity. Generally, it can take from 30 minutes to a few hours.
What if my screen is stil cracked after attempting a repair?
If your screen is cracked after trying to fix it, it might be due to bad installation or hidden damage. You might need to rethink your repair or get help from a pro. This could mean replacing the screen.
Can I repair my smartphone screen without prior experience?
Yes, you can fix your screen without experience. But, it’s important to follow a detailed guide and be careful. Knowing the repair steps and taking safety measures can help you succeed.
What are the signs that I should not attempt a DIY screen repair?
If your phone has big internal damage, water damage, or you’re not sure about fixing it, get a pro. Also, if you’re not okay with fixing a broken screen or handling small electronics, it’s best to get help.
How do I choose the right screen protector for my smartphone?
Look at the material, thickness, and if it fits your phone when picking a screen protector. A good one can stop future cracks and damage. It’s a smart choice for keeping your screen safe.
What are the benefits of using a professional screen repair service?
Professional services have the know-how, offer a warranty, and are convenient. They can handle tough problems, give a guarantee, and do the job fast. This can save you time and money compared to doing it yourself.
How can I avoid static electricity during the repair process?
To avoid static, touch a metal object or wear an anti-static wrist strap. This keeps your phone’s inside parts safe while you’re fixing the screen.
What should I do with my old, cracked screen after replacement?
Recycle your old screen through a good electronics waste recycling program. This is good for the environment and makes sure hazardous materials are handled right. It’s something to think about after fixing your phone’s screen.
