Repair Your Laptop’s Broken Screen. A cracked laptop screen can be really frustrating. But, it’s more common than you might think. Asurion Experts say cracked screens are a top issue for laptop users.
Before you start fixing your screen, check the damage first. Look at your screen to see if it can be fixed or if you need a new one. This guide will show you how to fix your laptop yourself.
Key Takeaways
- Assess the damage to your laptop screen before starting the repair
- Determine if your screen is repairable or needs replacement
- Follow DIY methods and troubleshooting tips for a successful repair
- Use the right tools and techniques to avoid further damage
- Get your laptop up and running again with our step-by-step guide
Understanding Your Laptop’s Screen Type
Laptop screens vary, and knowing yours is key for a DIY repair. The screen type affects the replacement process and the new screen’s compatibility.
Different Types of Laptop Screens
Laptop screens are mainly LCD, LED, or OLED. LCD screens are reliable and affordable, using a backlight. LED screens offer better contrast and energy use, thanks to LEDs. OLED screens have the best image quality, with deeper blacks and wider angles.
It’s important to know the differences. For example, if your laptop has an OLED screen, you need an OLED replacement for the best quality.
Choosing the Right Replacement Screen
To pick the right screen, check your laptop’s model for compatibility. Look at your manual or the manufacturer’s website for screen type and size. Make sure the replacement screen’s resolution and connector match your laptop’s.
When buying a replacement screen, look at the warranty and return policy. A good seller offers a warranty, ensuring you’re covered if the screen doesn’t work or fit.
Tools Required for the Repair
Getting the right tools is key for fixing a laptop screen. The correct equipment makes the job easier and prevents damage to your laptop.
Essential Tools You’ll Need
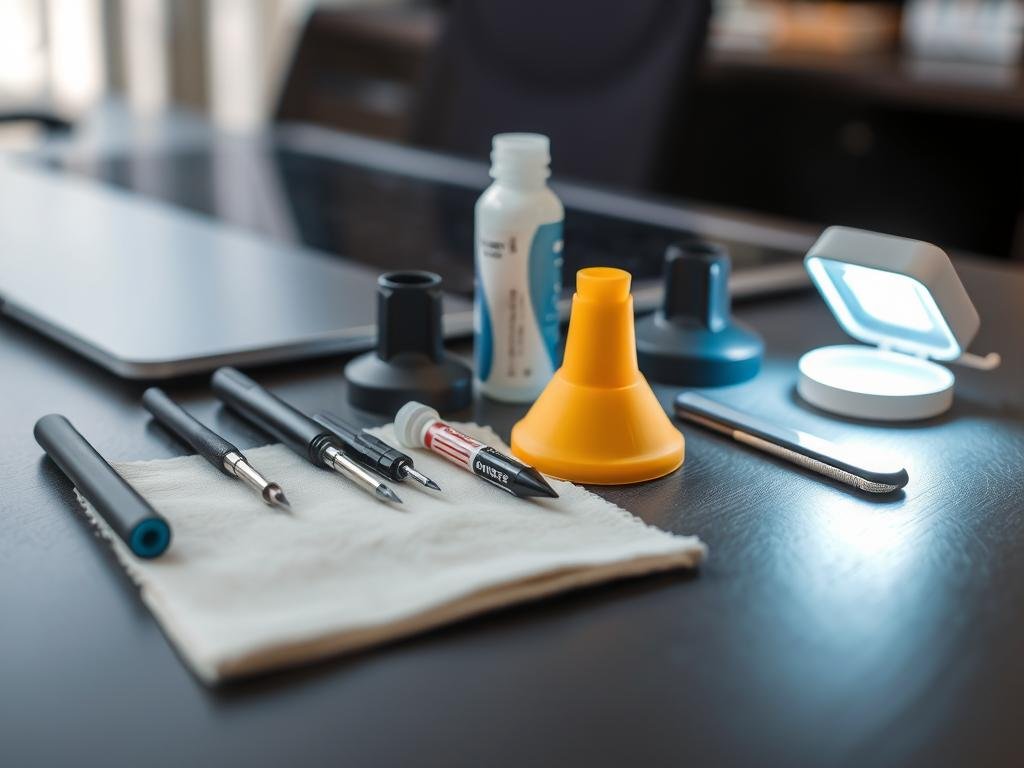
To start fixing a cracked screen, you’ll need some basic tools. These include:
- A small screwdriver set, needed to remove the screws that hold the screen in place.
- A plastic pry tool, used to open the laptop’s casing safely without damage.
- A replacement screen, the main part for fixing the cracked screen.
Make sure the replacement screen fits your laptop model for the best results.
Optional Tools for Improved Efficiency
While basic tools work, some optional tools can make the repair better and safer.
- A screen repair kit, which includes tools and materials for screen fixes.
- Anti-static gear, like a wrist strap or mat, to protect your laptop from static damage.
Using anti-static gear is a good idea, as static can harm your laptop’s sensitive parts.

With these tools, you’ll be ready to fix your cracked screen confidently.
Safety Precautions Before You Start
Before you start fixing your laptop screen, make sure to follow some important safety steps. These steps will keep you safe and prevent any damage to your laptop.
Powering Down Your Device
First, completely power down your laptop and unplug it. This is key to avoid any accidental start-ups or electrical shocks. Also, remove any peripherals and take out the battery if you can. This ensures your laptop is fully off.
| Precaution | Importance |
|---|---|
| Powering down the laptop | High |
| Unplugging from power source | High |
| Removing peripherals | Medium |
Using Anti-Static Gear
Static electricity can harm your laptop’s parts. To avoid this, use anti-static gear like a wrist strap or mat. These tools keep you grounded, preventing static electricity from damaging your laptop.
By following these steps, you lower the risk of damaging your laptop when you fix your laptop screen. If you’re not sure about doing it yourself, get a professional laptop repair service. They can do the job safely and right.
Disassembling Your Laptop
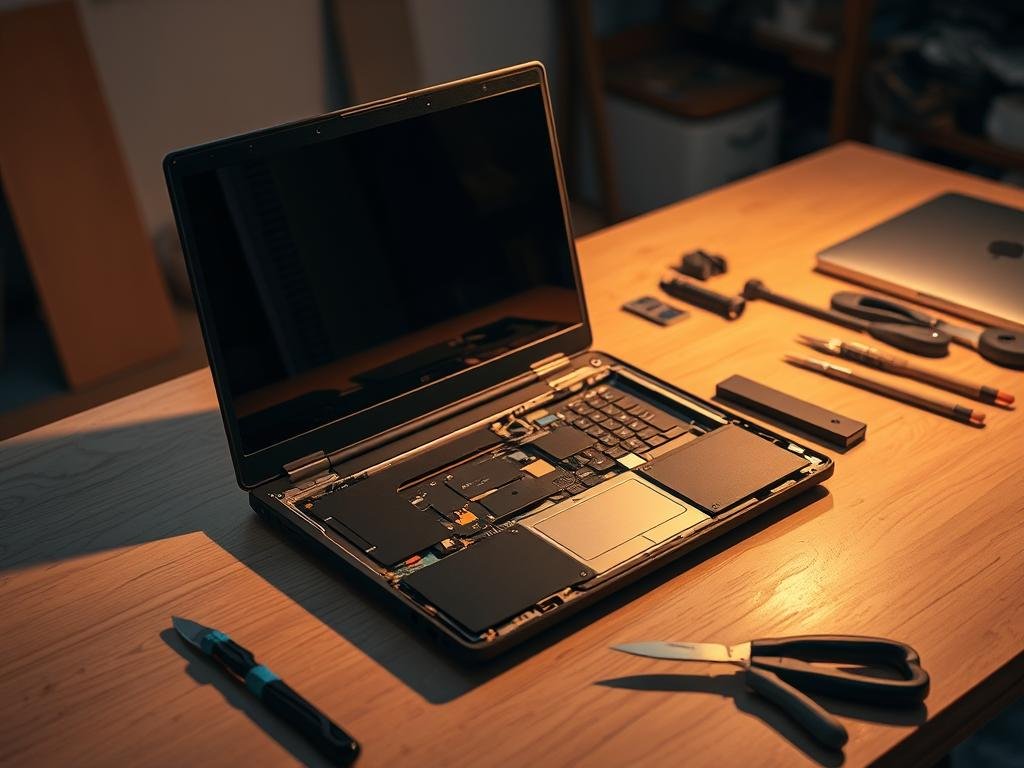
To get to the screen, you’ll need to take apart your laptop. This requires careful attention. It’s key for fixing a broken screen or figuring out the laptop screen repair cost.
Steps to Access the Screen
Start by taking off the bezel around the screen. You’ll need to unscrew the screws at the edges. Be gentle, as the bezel can break easily. For more help, check out guides on laptop screen repair.
After removing the bezel, you’ll see the screen and its cables. Make sure to note the cable connections. This will help you reconnect them later.

Tips for Removing the Screen Safely
When taking out the screen, handle it carefully to avoid more damage. Use anti-static gear to protect your laptop from static electricity.
To safely remove the screen, do the following:
- Disconnect the screen cables carefully.
- Remove any screws holding the screen in place.
- Gently lift the screen out of its housing.
By following these steps, you can ensure a successful laptop screen replacement process.
Removing the Broken Screen
Now that you’ve accessed the screen, it’s time to remove the broken display. This step is key in replacing your laptop’s cracked screen.
Disconnecting the Screen Cables
To start, you’ll need to disconnect the cables attached to the screen. These include the video cable and possibly a backlight cable. Carefully unplug these cables from their connectors. Be gentle to avoid damaging the connectors or the cables.

Taking Off the Broken Screen
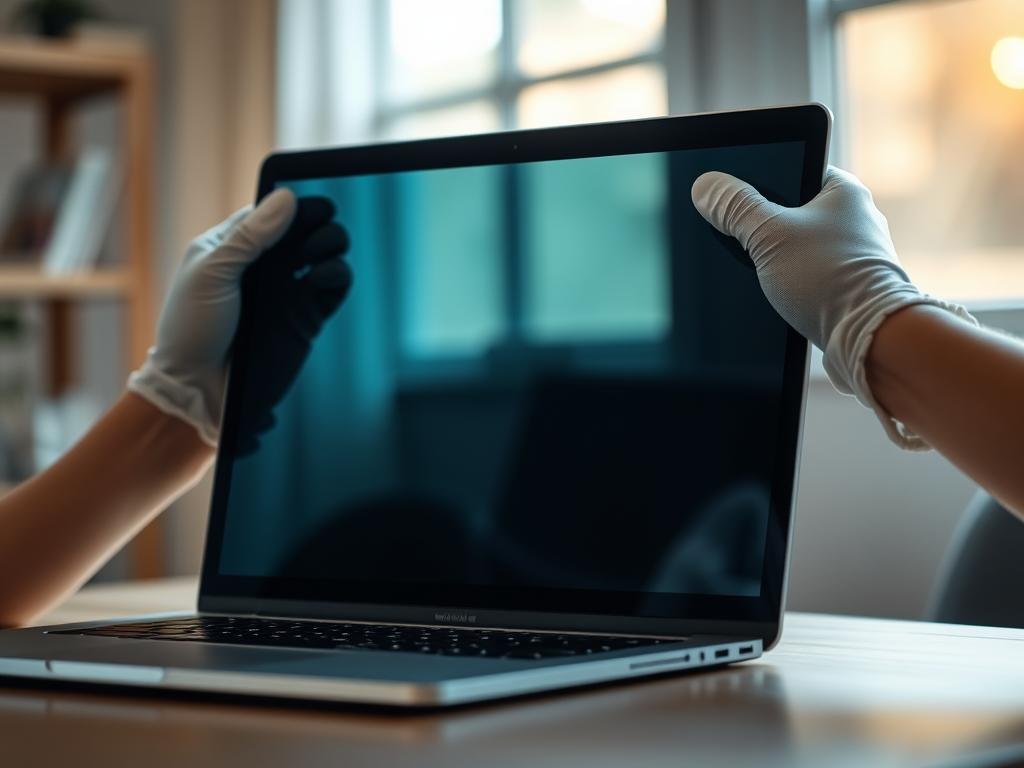
After disconnecting the cables, remove any brackets or screws holding the screen in place. Use a screwdriver to remove these screws. Then, carefully lift the screen out of its housing.
If your laptop has a stubborn screen, use a bit of force. But be cautious not to damage any surrounding components.
With the broken screen removed, you’re one step closer to installing a new screen. This will get your laptop working again.
Installing the New Screen
Installing a new screen is easy if you know the steps. You just need to connect cables and make sure the screen is secure. This way, you avoid problems later on.
Connecting the New Screen
To connect the new screen, start by attaching the video cable to the motherboard. This cable might be an LVDS or eDP, depending on your laptop. Find the video cable connector on the motherboard, usually near the graphics card.
Plug the cable into the connector. Make sure it’s fully in and secure with any screws or clips.
“The most critical part of installing a new laptop screen is ensuring the video cable is properly connected,” says a renowned laptop repair technician. This connection is key for the screen to work right.

Securing the Screen in Place
Once the cables are connected, secure the new screen. Use the screws or brackets that came with your screen or laptop. Align the screen with the laptop’s frame carefully.
Then, use screws to hold it in place. But don’t overdo it, as this can harm the screen or the laptop’s casing.
By following these steps, you can fix your laptop screen and make it work like new.
Testing Your New Screen
Now that you’ve installed the new screen, it’s time to test it. This is key to make sure everything works right. It confirms the installation was a success and your laptop is working well.
Steps to Power On Your Laptop
To start testing, power on your laptop. Make sure it’s plugged in if it’s not fully charged. Press the power button and wait for it to start up. If it doesn’t turn on, check the power cord or battery.
Checking Screen Functionality
After your laptop is on, look at the new screen. Check for:
- Brightness and color accuracy
- Any dead pixels or display distortions
- Proper touch functionality if your screen is touch-enabled
If you find any problems, you might need to go back to the installation steps. Or, you could ask a professional for help. A good test means your laptop screen repair was done right.
Testing the new screen is easy. It makes sure your laptop is working great again. If everything looks good, you’ve fixed your laptop repair service by yourself.
Troubleshooting Common Issues
If your laptop screen isn’t working right after a repair, this guide can help. It covers common problems and how to fix them.
No Power to the Screen
Not seeing anything on your laptop screen? There are a few reasons why. First, make sure the screen is connected to the motherboard correctly. Look for any damage or loose connections in the display cables.
To solve this, do the following:
- Make sure the screen is securely attached and screwed in.
- Inspect the display cables for damage or loose connections.
- Check that the power adapter is working and the battery is charged if using a laptop.
Flickering or Distorted Images
Seeing flickering or distorted images? It could be due to loose connections, old drivers, or hardware problems. Try these steps to fix it:
- Look for any loose or damaged display cables.
- Update your graphics drivers to the latest version.
- Adjust the screen’s resolution and refresh rate to see if it helps.
Here’s a quick guide to common problems and their fixes:
| Issue | Potential Cause | Solution |
|---|---|---|
| No Power to the Screen | Loose or damaged display cables | Check and secure or replace display cables |
| Flickering Images | Loose connections or outdated drivers | Check connections and update graphics drivers |
| Distorted Images | Hardware issues or incorrect screen settings | Adjust screen resolution and refresh rate |
By following these steps, you should be able to find and fix common laptop screen problems. If issues keep happening, you might need to get help from a pro.
Final Steps After Repair
Fixing your laptop is just the start. You must clean the new screen and put everything back together carefully. It’s important to make sure all parts fit right and the screen is clean.
Cleaning the Screen
First, turn off your laptop and unplug it. Use a soft, dry microfiber cloth to wipe the screen gently. Don’t use harsh chemicals or rough materials that could harm the screen.
If smudges won’t go away, dampen the cloth with distilled water. But make sure it’s not too wet. For a deeper clean, use a screen cleaning solution, but follow the instructions. Clean the screen in a circular motion and then dry it with a dry part of the cloth.
Reassembling Your Laptop
Putting your laptop back together needs patience and care. First, connect all cables to the new screen and the motherboard. Then, put the screen back in its place, making sure it’s aligned right.
Put back any bezels or covers you took off. Tighten screws securely, but don’t overdo it. This can damage the threads. After that, plug in your laptop to check if everything works well.
| Step | Description | Tips |
|---|---|---|
| 1 | Clean the new screen | Use a soft, dry microfiber cloth |
| 2 | Reattach the screen | Ensure all cables are connected |
| 3 | Replace bezels or covers | Avoid overtightening screws |
By doing these final steps, you’ll not only fix your laptop but also keep it in good shape. This will give you a great viewing experience and make your laptop last longer.
When to Seek Professional Help
DIY repairs can save money, but sometimes, you need a pro. If you’re not sure about any part of the repair or feel it’s too complex, get a professional.
Signs You Should Consult a Technician
Here are signs you should get a pro for your laptop screen repair:
- You’re not sure how to take apart the laptop without breaking it.
- You need special tools that you don’t have.
- There are other problems with your laptop, like the motherboard or graphics card.
If you see any of these signs, it’s time to call a laptop repair service. They have the skills and tools to fix your laptop right.
Cost Comparison Between DIY and Professional Repair
Fixing a laptop screen costs differently depending on if you do it yourself or get a pro. DIY usually costs $50 to $200, including the screen and tools.
Professional laptop screen fix services cost $100 to $300. This depends on the repair’s complexity and the service’s rates. DIY might seem cheaper, but it could lead to more damage and higher costs later.
| Repair Method | Cost Range | Risk Level |
|---|---|---|
| DIY Repair | $50-$200 | High |
| Professional Repair | $100-$300 | Low |
In summary, DIY laptop screen repair works for some, but not all. If you’re unsure or uncomfortable, getting a professional is safer and more reliable.
Maintenance Tips for Your Laptop Screen
After fixing your laptop screen, it’s key to keep it in good shape. This helps it last longer and saves you from future repair costs. Always handle your laptop with care. Using a protective case can greatly lower the chance of damage.
Prevention is Key
To prevent damage, be careful where you use your laptop. Avoid extreme temperatures and physical stress. When not using it, close your laptop or use a screen saver. This stops static images from burning into the screen.
Regular Cleaning Routines
Cleaning your laptop screen regularly is important. Use a soft cloth and a mild cleaner to remove dust and smudges. This easy habit keeps your screen clear and vibrant. It also means you won’t need expensive repairs as often.
By following these simple tips, you can make your laptop screen last longer. This reduces the chance of needing to fix it again in the future.
FAQ
What are the different types of laptop screens available?
Laptop screens include LCD, LED, OLED, and touchscreen displays. Each type offers unique features like resolution, brightness, and color accuracy.
How do I choose the correct replacement screen for my laptop?
First, find your laptop’s model and screen type. Look in your manual or on the manufacturer’s website. Measure the screen size and check the connector type for compatibility.
What tools are required for laptop screen repair?
You’ll need a screwdriver set, plastic spudger, tweezers, and an anti-static wrist strap. A screen removal tool and cable ties are optional but helpful.
How do I prevent damage to my laptop’s components during screen repair?
Make sure your laptop is off and use anti-static protection. Handle parts carefully and avoid touching electrical parts.
What are common issues that may occur after replacing my laptop screen?
Issues like no power, flickering, or distorted images can happen. Check the screen cables and connections to fix these problems.
How can I maintain my new laptop screen to prolong its lifespan?
Clean your screen with a soft cloth regularly. Avoid extreme temperatures and physical stress. Use a screen protector to prevent scratches.
When should I seek professional help for my laptop screen repair?
If you’re unsure or face complex issues, get professional help. This is necessary for damaged internals or if DIY repairs seem daunting.
What is the cost comparison between DIY and professional laptop screen repair?
DIY repair is cheaper, as you only pay for the screen and tools. Professional repair costs more due to labor, but offers a warranty and expertise.
How do I know if my laptop screen is beyond repair?
If your screen is cracked or severely damaged, it might need replacement. Check for physical damage and assess functionality to decide.
Can I repair a cracked laptop screen or should I replace it?
Usually, a cracked screen needs to be replaced. Repairing it might not be cost-effective or feasible. Replacing it ensures a proper fix.
