Gamers, beware: a lot of console controllers have stick drift. This problem can really mess up your gaming fun. Millions of gamers worldwide face this problem, but you can fix it yourself.
Dust or debris inside the controller can cause stick drift. But cleaning it can often fix the problem. You can find detailed guides on how to do this, such as on Asurion’s tech tips page. It has step-by-step instructions for fixing PS4 controller drift. By following simple DIY steps, you can repair your controller’s stick and get back to gaming.
Key Takeaways
- Clean the controller regularly to prevent stick drift.
- Use canned air to remove dust and debris from the analog sticks.
- Reset the controller to resolve connectivity issues.
- Regular maintenance can prolong the life of your controller.
- DIY repairs can save you money and extend the life of your gaming controller.
Understanding Controller Stick Drift
If you notice your games moving on their own, it’s time to learn about controller stick drift. This issue makes your controller’s analog stick move even when you’re not touching it. This can make your character or camera move without you wanting it to.
What Causes Stick Drift in Gaming Controllers
Stick drift usually happens because of worn-out potentiometers in the analog stick. These parts can wear down over time, causing the stick to send wrong signals. Also, dust and debris inside the controller can make things worse.
Common Symptoms and How to Identify Them
Signs of stick drift include unwanted movement in games, even when the stick is in the middle. You might also find your controller acting unresponsive or erratic at times. To spot stick drift, try calibrating your controller or test it on another device to see if it’s the problem.
Most Affected Controller Models and Brands
Stick drift can hit many controllers, but some are more common. PlayStation’s DualShock series and Xbox controllers often face this issue. Nintendo Switch controllers, like the Joy-Con, also struggle with it. Knowing which models are more likely to have this problem can help you avoid it.
Learning about the causes, symptoms, and common models can help you fix your game controller stick. This way, you can avoid future problems.
Tools and Materials You’ll Need
Before you start fixing your controller’s stick drift, gather the right tools and materials. The right equipment makes the repair easier and keeps your controller safe.
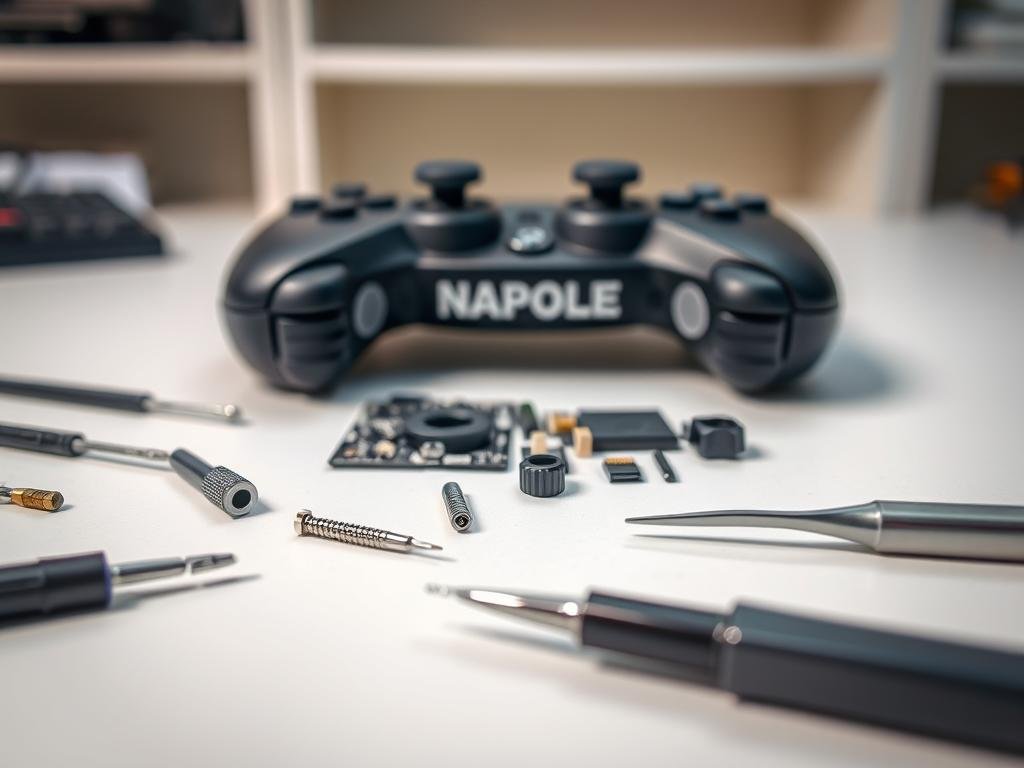
Essential Tools for Controller Disassembly
To start the repair, you’ll need basic tools for disassembling your controller. These include:
- Screwdrivers: You’ll need a set of precision screwdrivers, including Phillips and flathead types, to remove the screws holding your controller together.
Screwdriver Types and Sizes
The screwdriver type and size needed may vary by controller model. For example, some controllers need a Phillips #000 screwdriver, while others require a flathead screwdriver.
Cleaning Supplies and Solutions
Cleaning supplies are key for removing dirt and grime causing the stick drift. You’ll need:
- Compressed air: To blow out loose debris.
- Contact cleaner: To clean electrical contacts and switches.
- Soft cloth or brush: To gently wipe away dirt and grime.
Optional Tools That Make the Job Easier
While not essential, some tools can make the repair easier and more efficient. These include:
- Soldering iron and desoldering equipment: For more advanced repairs that involve soldering or desoldering components.
- Tweezers: For handling small parts and components.
Safety Precautions Before Starting Repairs
Before starting, make sure you’re in a safe place. Ground yourself to prevent static damage to your controller’s parts. Work in a well-lit area to avoid losing small parts.
Diagnosing Your Controller’s Stick Drift Problem
Figuring out if your controller’s stick drift is just a small problem or a bigger issue is key. Knowing the right fix depends on understanding the problem well. Accurate diagnosis is the first step to a good repair.
Testing Methods to Confirm Stick Drift
To check for stick drift, try online tools like those on gamepad-tester.com. These tools help test your controller and find any stick problems. Just visit the site, follow the instructions, and move your controller’s sticks to see if they work right.
Determining the Severity and Cause
After finding stick drift, figuring out how bad it is is important. See if the drift happens all the time or now and then. Also, check if it affects one or both sticks. This helps you know if a simple fix or a bigger repair is needed. For example, if the drift is really bad and keeps happening, it might mean a hardware problem that needs joystick button repair.
Warranty Considerations Before DIY Repair
Before you try to fix it yourself, check if your controller is covered by warranty. Companies like Sony, Microsoft, and Nintendo often offer warranty services for faulty products. You can check your warranty status on their websites or by contacting their customer support. As “checking warranty status before attempting any repair is a prudent step”, it can save you time and money.
“A thorough diagnosis not only helps in fixing the issue but also in understanding how to prevent future problems.” By taking the time to properly diagnose your controller’s stick drift, you can ensure that you’re taking the right steps towards a successful repair.
Quick Fixes: No Disassembly Required
You don’t always need to take apart your controller to fix stick drift. Several quick fixes can get you back to gaming. These solutions are easy and can solve the problem without needing to be a tech expert.
Controller Recalibration Techniques
Recalibrating your controller is often the simplest first step. The process varies slightly depending on your console.
PlayStation Controller Calibration
For PlayStation controllers, go to Settings > Accessories > DualShock [version] > Calibrate. Follow the on-screen instructions to complete the calibration.
Xbox Controller Calibration
On Xbox, press the Xbox button > Settings > Devices & accessories > Controller > Calibrate. The calibration process will guide you through adjusting the analog sticks.
Nintendo Switch Calibration
For Nintendo Switch, go to System Settings > Controllers and Sensors > Calibrate Control Sticks. Follow the prompts to recalibrate your Joy-Con or Pro Controller.
“Recalibrating your controller can often resolve drift issues by resetting the analog stick’s neutral position.”
Using Compressed Air and Contact Cleaner
Sometimes, dust and debris can cause stick drift. Using compressed air or a contact cleaner can help.
- Spray compressed air around the analog stick to remove dust.
- Use a contact cleaner designed for electronics to clean the analog stick mechanism.

Software Updates and Driver Solutions
Outdated software or drivers can also contribute to stick drift. Make sure your controller’s firmware is up to date.
| Console | Update Method |
|---|---|
| PlayStation | Settings > System > System Software > Update System Software |
| Xbox | Settings > Devices & accessories > Controller > Update |
| Nintendo Switch | System Settings > System > System Update |
By trying these quick fixes, you may be able to resolve the analog stick drift issue without needing to disassemble your controller.
How to Repair Your Controller’s Stick Through Basic Cleaning
Experiencing stick drift? Cleaning the analog stick mechanism might solve the problem. Just disassemble your controller to remove dust and debris.
Safe Controller Disassembly Process
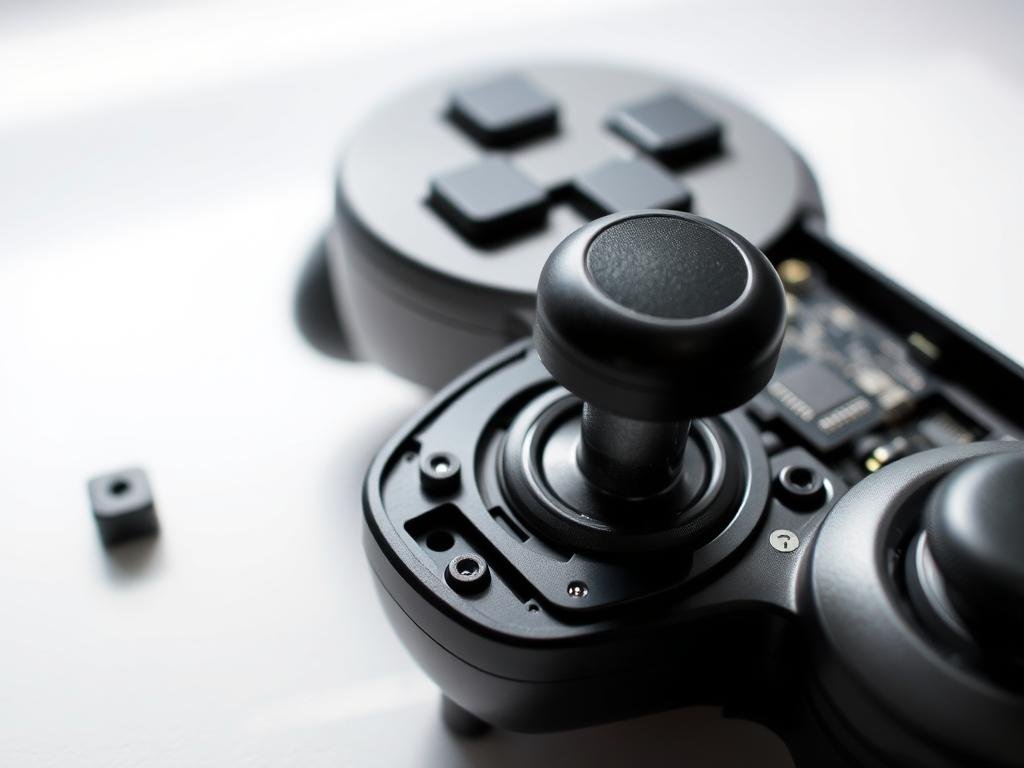
To begin, disassemble your controller. The steps vary by model but usually involve removing screws from the back or bottom.
Opening the Controller Housing
Open the controller housing carefully. Be sure not to harm any internal parts or wiring.
Documenting Component Placement
As you take it apart, document each component’s location. Photos or notes will help with reassembly later.
Cleaning the Analog Stick Mechanism
The analog stick mechanism often gets dusty, leading to stick drift. Cleaning it is essential.
Removing Dust and Debris
Use compressed air to remove loose dust from the analog stick mechanism. For a deeper clean, use contact cleaner.
Cleaning Potentiometers and Contacts
Potentiometers and contacts in the mechanism can get dirty. Clean them with a cotton swab and contact cleaner. For detailed cleaning guides, like for the PlayStation DualShock, check this tutorial.
| Component | Cleaning Method | Notes |
|---|---|---|
| Analog Stick Mechanism | Compressed Air, Contact Cleaner | Be gentle to avoid damage |
| Potentiometers | Cotton Swab with Contact Cleaner | Ensure they’re dry before reassembly |
| Contacts | Cotton Swab with Contact Cleaner | Check for corrosion |
Reassembling Your Controller Correctly
After cleaning, reassemble your controller. Use your documentation to ensure everything is in the right place.
By following these steps, you can repair your controller’s stick through basic cleaning. This might fix stick drift issues without needing professional help or a new controller.
Advanced Repair: Replacing the Analog Stick Module
Advanced gamers and DIY fans can revive their controllers by swapping out the analog stick module. This task needs some technical know-how and the right tools. It’s a good fix for stick drift problems that won’t go away.
Finding the Right Replacement Parts
First, you need to find the right analog stick module for your controller. You must know your controller’s model and version. Look for this info on the back or bottom of the controller.
Key steps to find the right replacement parts:
- Check the manufacturer’s website for repair guides.
- Look for specific parts on eBay or Amazon.
- Visit repair stores or gaming forums for advice.
Step-by-Step Stick Module Replacement
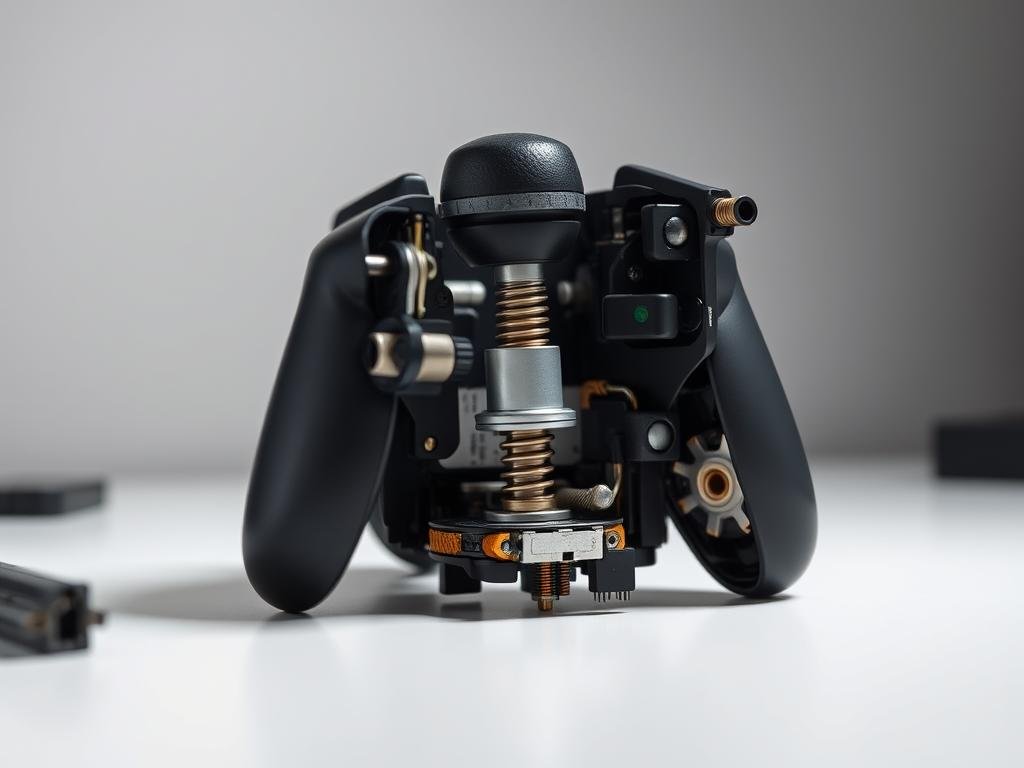
Replacing the analog stick module is a detailed process. It includes removing the old module and attaching the new one with solder.
Desoldering the Old Module
To remove the old module, you’ll need a soldering iron and desoldering wick or a pump. Heat the solder joints and remove the excess solder to free the old module.
Tip: Be careful not to harm the surrounding parts or the circuit board.
Installing and Soldering the New Module
After removing the old module, install the new one. Make sure it’s aligned with the mounting holes and solder the pins securely. The solder joints should be clean and strong.
Key steps for soldering:
- Apply a small amount of solder to the iron tip.
- Heat the pin and the pad at the same time.
- Remove the iron and let the joint cool.
Testing and Troubleshooting After Replacement
After replacing the module, put your controller back together and test it. Look for any stick drift or other problems.
If you find issues, check if the new module is seated and soldered right. You might need to recalibrate the controller or adjust the stick’s tension.
Troubleshooting tips:
- Look for loose connections or solder bridges.
- Make sure the analog stick is aligned right.
- Test the controller with different games or calibration software.
By following these steps, you can replace the analog stick module and fix your game controller stick. Regular care and handling can prevent future problems.
Brand-Specific Repair Techniques
Fixing stick drift on your controller depends on the brand. Each brand has its own design. This means what fixes one might not work for another. We’ll look at how to fix stick drift for PlayStation, Xbox, and Nintendo Switch controllers.
PlayStation DualShock and DualSense Repair Tips
PlayStation users need to follow specific steps to fix stick drift. First, make sure you have the right tools. You’ll need a Phillips screwdriver and a plastic spudger. Here’s how to repair your DualShock or DualSense controller:
- Carefully disassemble the controller, avoiding damage to the ribbon cables.
- Clean the analog stick module using compressed air and a contact cleaner.
- If cleaning doesn’t work, consider replacing the analog stick module entirely.
For more detailed instructions, check online resources or the manufacturer’s guide. If DIY repairs seem too hard, look for a joystick repair service.
Xbox One and Series X/S Controller Solutions
Xbox controllers, like the Xbox One and Series X/S, need a different approach. To fix stick drift:
- Remove the faceplate and screws to access the internal components.
- Gently pry open the controller, taking care not to damage the triggers or bumpers.
- Clean or replace the analog stick as needed.
Xbox controllers are tough, but they can get worn out. Regular cleaning helps prevent stick drift.
Nintendo Switch Joy-Con and Pro Controller Fixes
Nintendo Switch controllers, like the Joy-Con, are small and prone to stick drift. To fix:
- Use a tri-wing screwdriver to remove the screws holding the Joy-Con together.
- Carefully pry open the Joy-Con, avoiding the ZL and ZR buttons.
- Clean or replace the analog stick module as necessary.
The Nintendo Switch Pro Controller can also get stick drift. The fix is similar to the Joy-Con, needing careful disassembly and cleaning or replacement.
By using these brand-specific repair techniques, you can fix stick drift on your controller. This ensures a better gaming experience.
Preventing Future Stick Drift Issues
Stick drift can be really frustrating. But, there are steps you can take to stop it before it starts. Regular maintenance, proper storage, and knowing when to get professional help can help your controller last longer.
Regular Maintenance and Cleaning Schedule
Cleaning your controller regularly is key. It keeps dust and debris out, which can cause stick drift. Clean it every few weeks, or more if you play a lot.
- Use compressed air to blow out dust from the analog stick crevices.
- Gently wipe the exterior with a soft cloth dampened with water or a mild cleaning solution.
- Avoid using harsh chemicals or excessive moisture that could damage the electronics.
Proper Storage and Handling Practices
How you store and handle your controller matters a lot. Don’t drop it or hit it hard, as this can mess up the inside.
- Store your controller in a protective case when not in use.
- Avoid leaving it in extreme temperatures or humid environments.
- Handle the analog sticks gently to prevent wear and tear.
When to Seek Professional Repair Services
If you’ve tried cleaning and maintenance but stick drift persists, it’s time for a pro. Some problems need special tools and skills.
Signs you need professional help:
- Persistent stick drift despite cleaning and maintenance.
- Visible damage to the controller’s internal components.
- Warranty coverage that includes repair services.
Conclusion
Now you know how to fix your game controller’s analog stick drift. This means you can play games without any issues. You’ve learned how to repair your controller’s stick by yourself.
If you love gaming or enjoy DIY projects, these tips are for you. They help solve common problems with your controller. Taking care of your controller can stop stick drift from happening again.
Fixing your controller’s stick can make it last longer and improve your gaming. Start fixing your controller today for a better gaming experience.
FAQ
What is stick drift, and how do I know if my controller has it?
Stick drift is when your controller’s stick moves on its own, even when you’re not touching it. This makes your character or camera move without you wanting it to. To check if you have stick drift, try moving your controller’s sticks. If they don’t go back to the center or move when you’re not touching them, you have a problem.
Can I fix stick drift without disassembling my controller?
Yes, you can try a few quick fixes. First, try recalibrating your controller. You can also use compressed air to clean out any debris. Or, update your controller’s software or drivers before you take it apart.
What tools do I need to repair my controller’s stick drift?
You’ll need some basic tools. A Phillips screwdriver and a Torx driver (for some controllers) are must-haves. You’ll also need plastic spudgers for taking things apart. You might also want contact cleaner, compressed air, and a cleaning solution for a deeper clean.
How do I clean the analog stick mechanism?
To clean the analog stick, you’ll need to take apart your controller. Remove the analog stick module carefully. Then, use a cleaning solution and compressed air to clean the potentiometers and contacts.
Can I replace the analog stick module myself?
Yes, you can replace the module if you’re okay with taking apart your controller. Make sure you have the right parts and follow the steps carefully. This way, you avoid damaging your controller.
Are there brand-specific repair techniques for fixing stick drift?
Yes, different brands like PlayStation, Xbox, and Nintendo Switch have their own ways to fix stick drift. You can find guides specific to your brand to help you fix your controller.
How can I prevent future stick drift issues?
To avoid stick drift in the future, clean your controller regularly. Be gentle with it and store it properly. If you’re not comfortable with DIY repairs, consider getting professional help.
Is it worth repairing my controller’s stick drift, or should I just buy a new controller?
Fixing your controller’s stick drift can save you money and extend its life. If you’re good at DIY repairs and have the right tools, it’s worth trying to fix it. Only consider buying a new controller if the repair doesn’t work out.
Can I stil warranty my controller if I try to repair it myself?
Usually, fixing your controller yourself can void its warranty. Before you start any repairs, check your warranty terms. This way, you’ll know what you’re getting into.
Where can I find replacement parts for my controller’s analog stick module?
You can find replacement parts online, at electronics stores, or on the manufacturer’s website. Make sure the parts are compatible with your controller model.
