Did you know a broken USB port can stop you in your tracks? It’s a big problem if you need to use a mouse, keyboard, or an external drive. Your computer’s USB ports are key for making your PC work just right.
When a USB port breaks, it’s really annoying. But, fixing it is easier than you might think. In this article, we’ll show you how to repair damaged USB ports on desktops and laptops. You’ll be back to work or fun in no time.
Key Takeaways
- Understand the common causes of USB port failure
- Learn simple troubleshooting steps to fix broken USB ports
- Discover when to attempt a repair versus seeking professional help
- Get tips on maintaining your computer’s USB ports for longevity
- Explore DIY methods for fixing USB port issues on desktops and laptops
Understanding USB Ports and Their Functions
USB ports are key to making your computer more useful. They let you connect many devices like keyboards, mice, and USB drives. These devices are vital for doing lots of tasks.
What is a USB Port?
A USB port is a standard interface on computers and other devices. It makes adding new hardware easy. For more info on USB ports and how to fix them, check Microsoft Support.
Common Uses of USB Ports
USB ports are used for many things. They help with data transfer, charging devices, and connecting peripherals. They are very useful in today’s computing world. Here are some common uses:
- Connecting external storage devices like USB drives
- Charging smartphones and other portable devices
- Linking input devices such as keyboards and mice
- Connecting printers and scanners
Types of USB Ports Explained
There are many types of USB ports, each with its own uses. Knowing about these differences helps with troubleshooting and repair.
| Type of USB Port | Description | Common Uses |
|---|---|---|
| USB-A | Standard rectangular USB port | Connecting peripherals, USB drives |
| USB-B | Square-shaped USB port | Connecting printers, scanners |
| USB-C | Reversible USB port with faster data transfer rates | Charging devices, data transfer |
| USB 3.0/3.2 | Faster versions of the USB standard | High-speed data transfer |
Knowing about different USB ports helps you fix issues with them. Whether it’s a damaged port or just a need to know how to fix a USB port on your laptop, this knowledge is key.
Signs of a Damaged USB Port
USB ports can get damaged easily. It’s important to know the signs to fix them quickly. Whether you’re using a desktop or laptop, a broken USB port can really mess up your work.
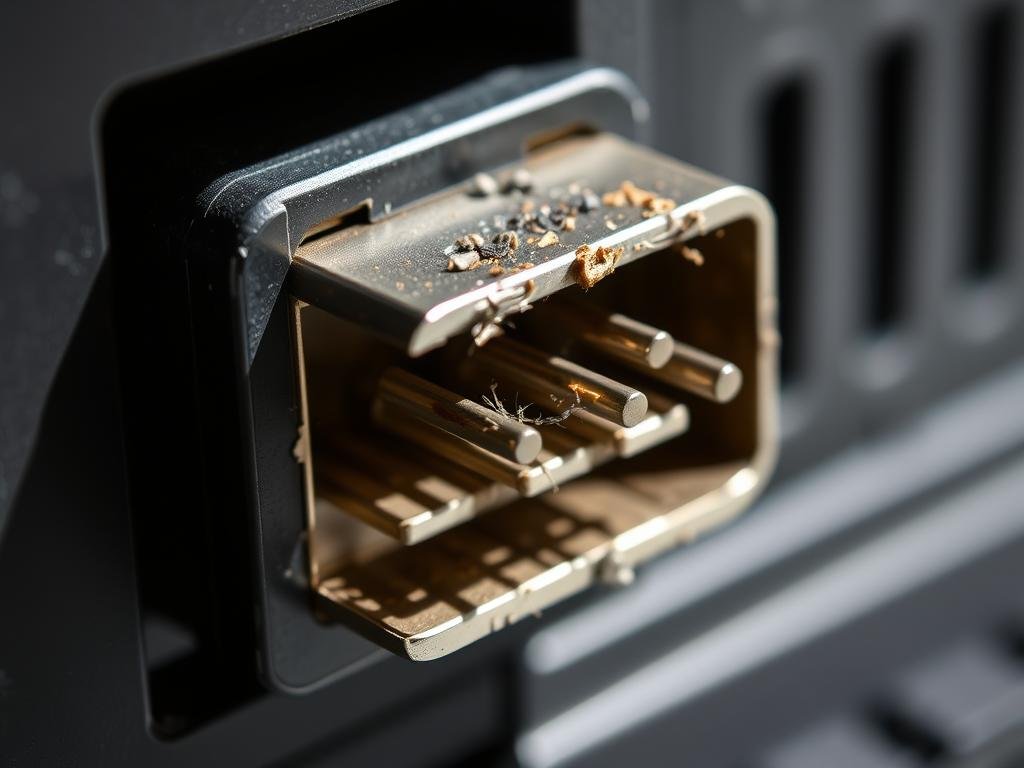
Physical Damage Indicators
Physical damage is a clear sign of a broken USB port. This includes:
- Bent or broken pins inside the port
- Cracks or breaks in the port’s casing
- Loose or detached ports
If you see these signs, your USB port is likely damaged. For example, using a USB device too fast and often can wear it out.
Functional Issues to Watch For
Even without visible damage, a USB port can malfunction. Common problems include:
| Issue | Description |
|---|---|
| Intermittent Connectivity | The device connects and disconnects randomly. |
| Device Not Recognized | The computer fails to recognize the USB device. |
| No Power | The USB port does not provide power to the device. |
For more info on fixing USB problems, check out Dell’s support page.
Device Recognition Problems
Device recognition issues can be really annoying. If your computer won’t see your USB device, it might be the port’s fault. Try using the device on another port or computer to see if it’s the problem.
“A faulty USB port can lead to device recognition problems, making it seem like the device itself is faulty.”
By spotting the signs of a damaged USB port, you can fix or replace it. This ensures your devices work right.
Tools Needed for USB Port Repair
Before you start fixing your USB port, it’s essential to gather the right tools. Having the necessary equipment will make the process smoother and help you avoid causing further damage to your device.
Essential Tools for Home Repair
For basic USB port repairs, you’ll need a few fundamental tools. You’ll need a precision screwdriver set to remove the screws that hold your device’s casing together. Also, a pair of tweezers for handling small components is necessary. A soft brush or compressed air can be used to clean out dust and debris from the USB port.
Advanced Tools for In-Depth Repairs
For more complex repairs, you may need advanced tools. A soldering iron is essential for reattaching or replacing USB port components that are soldered to the motherboard. You might also need a multimeter to diagnose electrical issues. For those looking to replace the USB port entirely, a desoldering pump or wick will be necessary to remove the old port.
For more information on the best tools and techniques for repairing USB ports, you can visit this LinkedIn article for expert insights.
Safety Gear You Should Use
Safety should be your top priority when working with electronics. Anti-static wrist straps or mats can protect your device’s components from static electricity damage. Safety glasses are also recommended to protect your eyes from debris or solder splatters. When working with a soldering iron, ensure you’re in a well-ventilated area to avoid inhaling fumes.
By having the right tools and safety gear, you’ll be well-prepared to fix broken USB ports on your laptop or desktop, potentially saving you the cost associated with USB port repair cost. Whether you’re a DIY enthusiast or just looking to repair USB port on laptop, being prepared is key to a successful repair.
Basic Troubleshooting Steps
When your USB port stops working, there are several basic troubleshooting steps you can take. These steps can often identify and fix common problems. They save you time and effort.
Checking Device Connections
First, make sure your USB device is properly connected to the port. A loose connection can cause issues. Try removing the device and reconnecting it firmly.
If you’re using a USB hub, try connecting the device directly to the computer. This helps rule out any problems with the hub.
Inspecting for Software Issues
Software issues can also cause USB ports to malfunction. You can check for any software problems by visiting the USB troubleshooting guide on Dell’s support page. This guide provides detailed steps on how to troubleshoot USB issues, including updating drivers and checking for conflicts.
To inspect for software issues:
- Open Device Manager and look for any devices with a yellow exclamation mark.
- Check the USB drivers for updates and install the latest versions.
- Restart your computer to apply any changes.
Restarting the Computer
A simple restart can often resolve many issues, including those related to USB ports. Restarting your computer refreshes the system. It may automatically install missing drivers for your USB devices.
It’s a straightforward step that can potentially fix your problem quickly.
Here’s a summary of the basic troubleshooting steps in a tabular format:
| Troubleshooting Step | Description | Potential Fix |
|---|---|---|
| Checking Device Connections | Ensure the USB device is properly connected. | Resolves issues caused by loose connections. |
| Inspecting for Software Issues | Check for software conflicts and update drivers. | Fixes problems caused by outdated or corrupted drivers. |
| Restarting the Computer | Refresh the system and potentially install missing drivers. | Resolves issues related to system glitches. |
How to Physically Inspect the USB Port
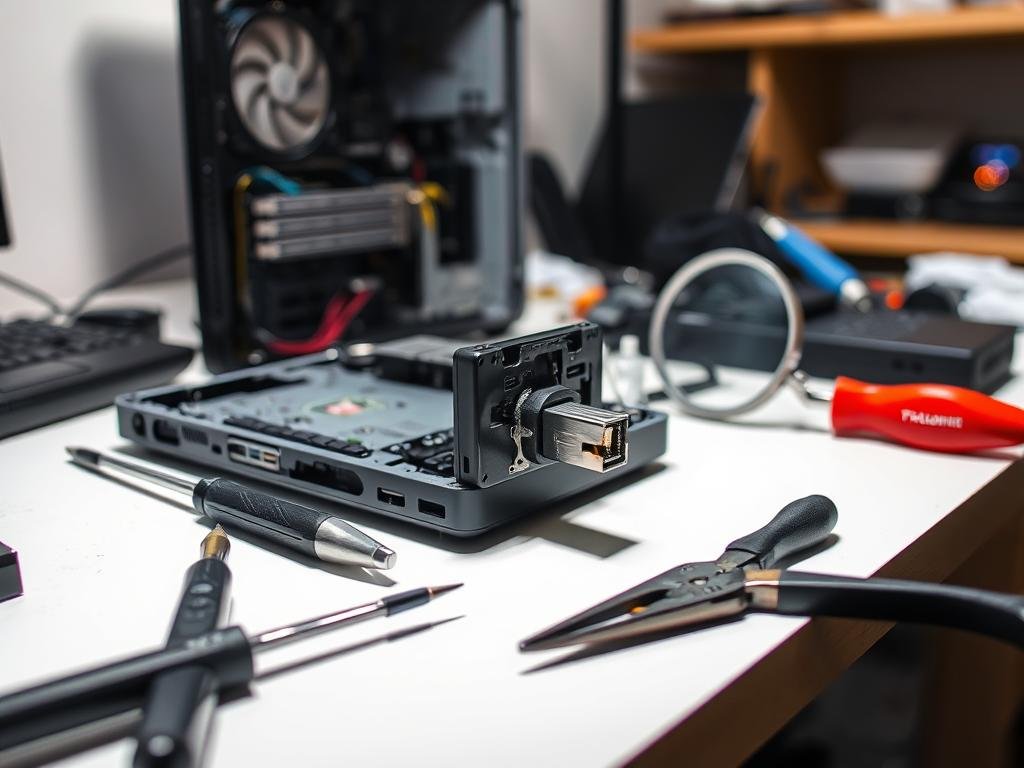
To find out if your USB port is damaged, you need to inspect it closely. Look for any visible damage, clean out debris, and check if connections are secure.
Visual Checks for Damage
Start by looking at the USB port for any damage. Check for bent or broken pins, cracks, or any wear. If you see damage, it might be why your port isn’t working. Carefully inspect the port from all sides to catch any issues.
Cleaning the USB Port
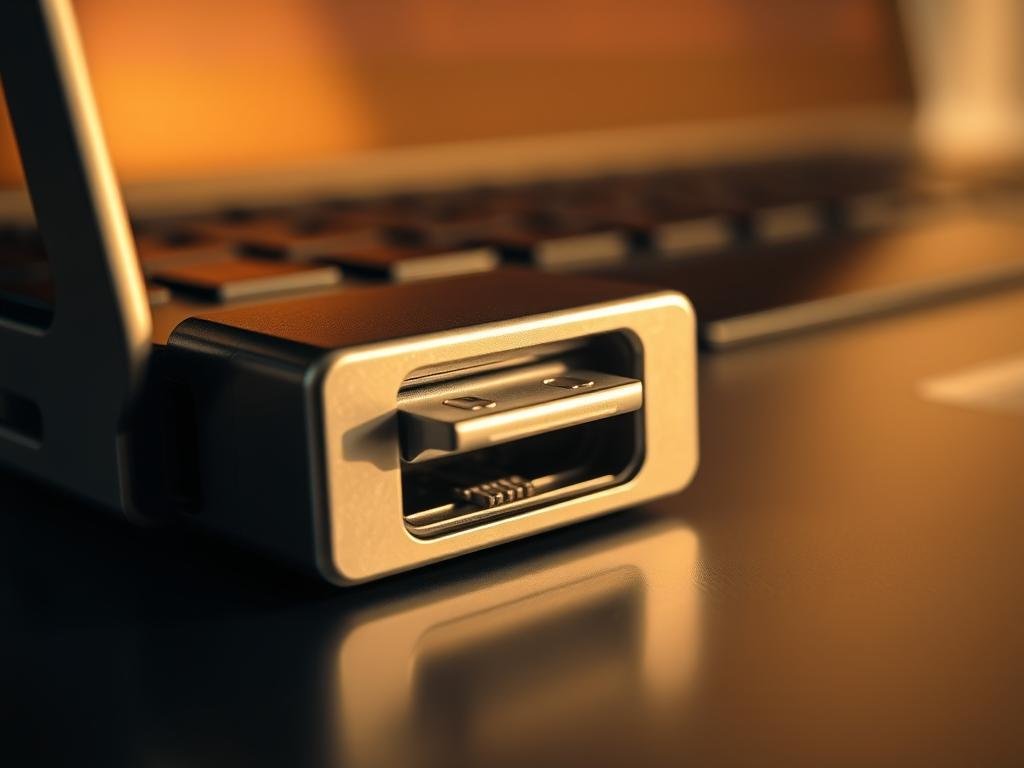
Dust and debris can make a USB port stop working. Use compressed air to gently remove dust. Be careful not to push debris further into the port. For a deeper clean, use a small brush or a cotton swab with alcohol. Make sure the port is dry before using it again.
Checking for Loose Connections
A loose connection can also cause problems. Make sure the port is tightly attached to the motherboard or its mounting. If it’s loose, tighten the screws. Also, check that any internal connectors are securely attached. If you’re not sure, it’s best to get a professional to fix the broken USB port.
By following these steps, you can find and fix issues with your USB port. If it’s not working after you’ve checked and cleaned it, you might need more advanced repairs or professional help to repair your USB port on your desktop.
When to Attempt DIY Repairs
Deciding to fix a USB port yourself needs careful thought. If your laptop or desktop’s USB port isn’t working, you might want to try fixing it. Fixing a USB port can save you money, but you must know your limits and the risks.
Assessing Your Skill Level
Before you start, honestly check if you’re skilled enough. Fixing a USB port can be tricky, involving taking apart your device and finding the problem. If you’re not good with electronics or DIY, it’s safer to get help from a pro.
- Evaluate your experience with electronics and DIY repairs.
- Consider the complexity of the repair needed for your USB port.
- Understand that attempting a repair without proper skills can lead to further damage.
Researching Repair Guides
After checking your skills, look for comprehensive repair guides. Find guides for your exact device, as repairs differ by model. Use online resources, forums, and manufacturer guides to learn how to fix or replace your USB port.
- Search for repair guides specific to your device model.
- Follow step-by-step instructions and take note of any specific tools required.
- Join online forums or communities for additional tips and support.
Weighing the Risks of DIY
It’s important to consider the risks of DIY repairs. Saving money is a big plus, but there’s a chance of damaging your device if you mess up. Think about the cost of fixing more problems or making your device unusable.
“The biggest risk in DIY repairs is not the cost, but the possibility of causing more damage than the original issue.” – Expert Technician
If you’re unsure about fixing the USB port, it’s best to get a professional’s help. This way, you avoid making things worse.
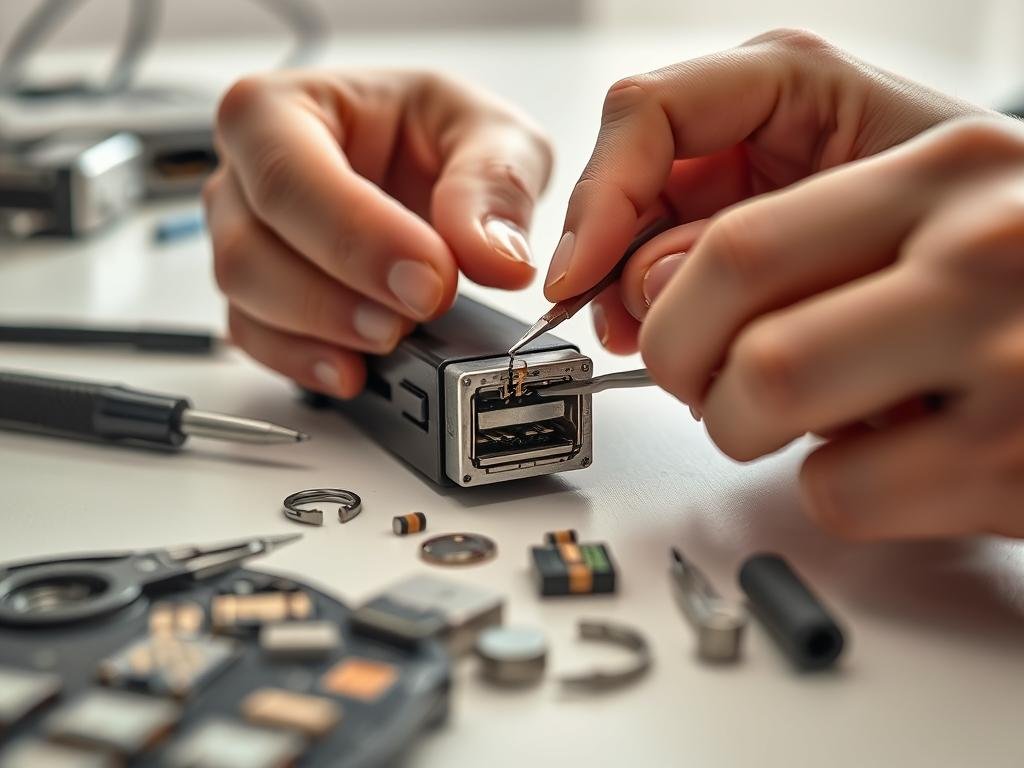
Step-by-Step Guide to Repairing USB Ports
Fixing a broken USB port might seem hard, but it’s doable with the right steps. This guide will show you how to take apart your device, swap out the USB port, and put it back together.
Disassembling Your Device Safely
To begin, you need to take apart your device to get to the broken USB port. Make sure you have the right tools, like a screwdriver and a plastic spudger, to keep your device safe.
Here’s how to safely take apart your device:
- Remove the screws from the back or bottom of your device.
- Gently pry open the casing with a plastic spudger.
- Unplug any cables from the USB port.
Replacing the USB Port
After you get to the USB port, you’ll need to put in a new one. Make sure the new port fits your device.
To replace the USB port:
- Desolder the old USB port’s connections.
- Take out the old USB port from its spot.
- Put in the new USB port and solder it in place.
Reassembling and Testing the Device
After you’ve swapped out the USB port, it’s time to put your device back together. Make sure all cables are plugged in right and the casing is closed tight.
To put your device back together and test it:
- Plug in any cables you took out.
- Close the casing and put the screws back in.
- Use the Device Manager to check for hardware changes.
By following these steps, you should be able to fix the broken USB port on your desktop or laptop. If you run into problems, it might be best to get help from a pro.
Seeking Professional Help
If your USB port needs more than just cleaning, it’s time to get help from a pro. Simple dirt or debris can be fixed easily. But, if the damage is more serious, you’ll need a technician’s help.
When to Consult a Technician
Get a technician if basic fixes don’t work. This is key for complex problems or if your device isn’t covered by warranty. A pro can figure out the best fix, like repair or replacement.
A pro says, “For complex repairs, like motherboard damage, you need an experienced tech.” This way, your device is fixed right and safely.
Finding a Qualified Repair Service
Look for local repair shops or services that know your device. For laptops, find services that say they can fix repair USB port on laptop. Check online reviews to see if they’re good.
Ask friends or online forums for recommendations. A good service will tell you what’s wrong and how much it will cost. For more info, visit this page on fixing USB ports on external hard drives.
Understanding Repair Costs
Repair costs vary based on the problem, device, and service. Expect to pay $50 to $200 or more. Always ask for a detailed estimate first.
Some services offer extra services or warranties. This can give you peace of mind. For tips on keeping devices cool, check this guide on preventing phone overheating.
Knowing when to get professional help and how to find a good service ensures your USB port is fixed right.
Preventive Measures for USB Port Longevity
To keep your USB ports working well, it’s important to take care of them. By following a few simple steps, you can avoid damage. This way, your ports will keep working great.
Best Practices for USB Port Maintenance
Using your USB ports right is key. Don’t push cables in too hard, as it can hurt the ports. Just insert them gently and make sure they fit right.
It’s also important to keep your USB ports clean. Dust and dirt can mess up connections. Use compressed air to clean them out, but stay away from harsh chemicals or rough stuff that can harm the ports.
Investing in Quality
Choosing good cables and connectors helps too. Cheap or bad cables can wear out your ports and make them stop working. When you need to fix a USB port, quality cables are a big help.
By following these tips and taking care of your USB ports, they’ll last a long time. You’ll avoid problems and keep them working smoothly.
FAQ
What are the common signs that indicate a USB port is damaged?
Signs include visible damage and issues like intermittent connectivity. If your device isn’t recognized, it might be damaged.
Can I repair a damaged USB port on my laptop or desktop myself?
Yes, you can try fixing it yourself if you’re skilled and have the right tools. But, think carefully about your abilities before starting.
What tools do I need to repair a damaged USB port?
You’ll need basic tools like a screwdriver and pliers. Advanced tools, like a soldering iron, might also be necessary. Don’t forget safety gear like gloves and glasses.
How do I troubleshoot a malfunctioning USB port?
Start by checking connections and restarting your computer. Cleaning the port and checking for loose connections can also help.
When should I seek professional help for repairing a damaged USB port?
Get professional help if you’re not sure about DIY repair or if the damage is severe. A repair service can assess and quote the repair.
How can I prevent damage to my USB ports?
Use your ports correctly and keep them clean. Choose quality cables and avoid force when using devices. Also, keep them dust-free.
What is the cost of repairing a damaged USB port?
Repair costs vary based on the device, damage, and service. Expect to pay between to 0 on average.
Can a damaged USB port be replaced?
Yes, you can replace a damaged port yourself or have a professional do it.
