The Raspberry Pi is a small computer that can do many cool things. It’s cheap and versatile, which is why over 40 million have been sold. It’s loved by hobbyists and tech fans.
You can make everything from simple home systems to complex robots. There are many amazing projects you can try. You can build retro game consoles, weather stations, and even AI devices.
Whether you’re new or experienced, there’s a project for you. In this article, we’ll look at 10 creative Raspberry Pi projects. They show what you can do with this tiny computer.
Key Takeaways
- Discover 10 innovative Raspberry Pi project ideas for beginners and experts.
- Learn how to create DIY projects, from simple to complex, using Raspberry Pi.
- Explore the versatility of Raspberry Pi and its applications in various fields.
- Get inspired by real-world examples of Raspberry Pi projects, including retro game consoles and AI-powered devices.
- Find the perfect project to match your skills and interests.
Getting Started with Raspberry Pi
The Raspberry Pi is a small computer that has changed DIY electronics and programming. It’s important to know its basics and the tools you need as you start.
What is a Raspberry Pi?
A Raspberry Pi is more than a computer. It’s a way to learn programming languages like Python and Java. It has GPIO pins for connecting and controlling electronics, great for simple projects or complex robotics.
Essential Tools and Components
To start with Raspberry Pi, you’ll need some basic tools and components. These include:
- A Raspberry Pi board (any model)
- A microSD card (at least 8GB recommended)
- A power supply
- An HDMI cable
- A monitor or TV
- A keyboard and mouse
Setting Up Your First Raspberry Pi
Setting up your Raspberry Pi involves several steps:
- Insert your microSD card into the Raspberry Pi.
- Connect your HDMI cable to a monitor or TV.
- Plug in your keyboard and mouse.
- Power on your Raspberry Pi.
Follow the on-screen instructions to install the operating system. With these steps, you’ll be ready to explore Raspberry Pi tutorials and start your Raspberry Pi programming journey.
Beginner-Friendly Raspberry Pi Projects
Beginners can explore a variety of DIY Raspberry Pi projects to find what interests them. These projects are designed to be accessible. They help you build confidence as you develop your skills.
Project Selection Criteria
When choosing a Raspberry Pi project for beginners, consider a few things. Look at the complexity, required components, and the skills you want to develop. Find projects with clear instructions and minimal components to start with.
You can find inspiration for projects on platforms like Medium. It lists beginner-friendly Raspberry Pi projects.
Skills You’ll Develop
Working on DIY Raspberry Pi projects helps you develop problem-solving skills. You’ll learn programming languages like Python. You’ll also understand electronics basics.
As you progress, you’ll be able to tackle more complex projects. This will enhance your skills in robotics, automation, and IoT development.
Project1: LED Blinking Light
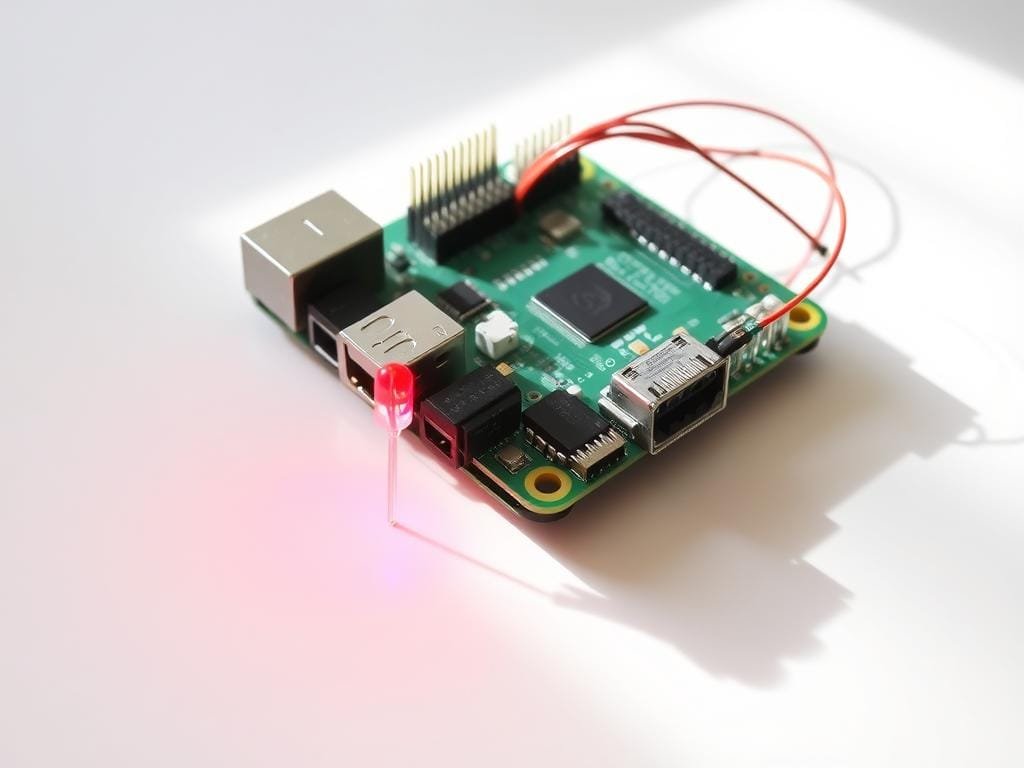
Start your Raspberry Pi adventure with a fun project: an LED blinking light. It’s a great way to learn programming and electronics. It’s perfect for beginners, like kids working on Raspberry Pi projects for kids.
What You’ll Build
You’ll create a simple circuit that makes an LED light blink. This project teaches you about GPIO pins on the Raspberry Pi. You’ll learn how to control them with code.
Required Materials
- Raspberry Pi board
- LED
- Resistor (220-ohm)
- Breadboard
- Jumper wires
- Raspberry Pi project kit (optional)

Step-by-Step Instructions
- Connect the LED to the breadboard.
- Connect the resistor to the LED’s cathode (short leg) and a GPIO pin on the Raspberry Pi.
- Connect the LED’s anode (long leg) to a GPIO pin on the Raspberry Pi.
- Write a Python script to control the GPIO pin, making the LED blink.
Troubleshooting Tips
If your LED doesn’t blink, check your connections. Make sure the GPIO pin is right in your code. As “The official Raspberry Pi documentation” says, checking your circuit and code is key.
Doing this project will give you real experience with the Raspberry Pi. You’ll learn the basics of programming and electronics. It’s a great start for more Raspberry Pi project kits and projects.
Project2: Weather Station
You can make a weather station with Raspberry Pi to track local weather. It’s a great Raspberry Pi project inspiration for those into environmental monitoring and IoT.
What You’ll Build
A weather station that tracks temperature, humidity, and pressure. It’s a good way to learn about sensors and logging data.
Required Materials
- Raspberry Pi Board
- Weather Station Kit (including sensors for temperature, humidity, and pressure)
- Breadboard and Jumper Wires
- Power Supply
Step-by-Step Instructions
First, put together the weather station kit. Then, connect the sensors to the Raspberry Pi. Next, install the software for logging and displaying data.
Troubleshooting Tips
Make sure all connections are tight and sensors are set right. Common problems include wrong wiring and software setup mistakes.
| Component | Purpose |
|---|---|
| Temperature Sensor | Measures ambient temperature |
| Humidity Sensor | Monitors humidity levels |
| Pressure Sensor | Tracks atmospheric pressure |
Project3: Retro Gaming Console
Turn your Raspberry Pi into a retro gaming console. It’s perfect for those who love classic video games. Now, you can play your favorite games on a modern device.
What You’ll Build
You’ll make a retro gaming console with your Raspberry Pi. It can play games from old consoles and arcade machines. You’ll set up an emulation environment for different platforms.
Required Materials
To start this project, you’ll need:
- Raspberry Pi (any model with enough power, like Raspberry Pi 4)
- MicroSD card (at least 16GB recommended)
- Power supply for Raspberry Pi
- HDMI cable to connect to a display
- Retro gaming software (e.g., RetroPie)
- Game ROMs (make sure you have the right to use them)
Step-by-Step Instructions
Here’s how to build your retro gaming console:
- Install RetroPie on your Raspberry Pi. Download the latest version from the RetroPie website and follow the instructions.
- Move game ROMs to your Raspberry Pi. You can use a USB drive or connect your Raspberry Pi to a network.
- Set up your controllers. Connect them to your Raspberry Pi and configure them through RetroPie.
- Start playing classic games. Choose them from the RetroPie menu and begin your gaming session.
Learn more about the retro gaming trend at this article. It talks about why people love retro gaming consoles.
Troubleshooting Tips
Having trouble? Here are some tips:
- Make sure your Raspberry Pi is well-powered and uses a compatible power supply.
- Verify that your game ROMs work with your RetroPie version.
- If controllers aren’t working, try recalibrating them in RetroPie settings.
By following these steps and tips, you can make a great retro gaming console. Enjoy a huge library of classic games on your Raspberry Pi.
Intermediate Raspberry Pi Projects
Intermediate Raspberry Pi projects are a great step up from the basics. They offer a fun challenge that can really boost your skills. These projects help you understand more about what your Raspberry Pi can do.
Advancing Your Skills
Intermediate projects will make you better at Raspberry Pi programming. You’ll learn to work with different parts and tech. This is a chance to try new things and solve problems, which is key to getting better.
Recommended Prerequisites
Make sure you know the basics before starting these projects. You should be able to set up your Raspberry Pi and understand basic programming. You also need to know how to use the Raspbian operating system. Here’s what you need to know:
| Prerequisite | Description | Relevance to Intermediate Projects |
|---|---|---|
| Basic Programming Knowledge | Understanding of programming concepts in Python or other supported languages | Essential for more complex coding tasks |
| Familiarity with Raspbian OS | Knowledge of how to navigate and use the Raspbian operating system | Critical for configuring and managing projects |
| Experience with Raspberry Pi Setup | Ability to set up and configure your Raspberry Pi | Foundation for more advanced configurations |

With these skills, you’ll be ready to take on more Raspberry Pi project ideas. You’ll be well-prepared for even more challenging projects.
Project4: Smart Home Hub
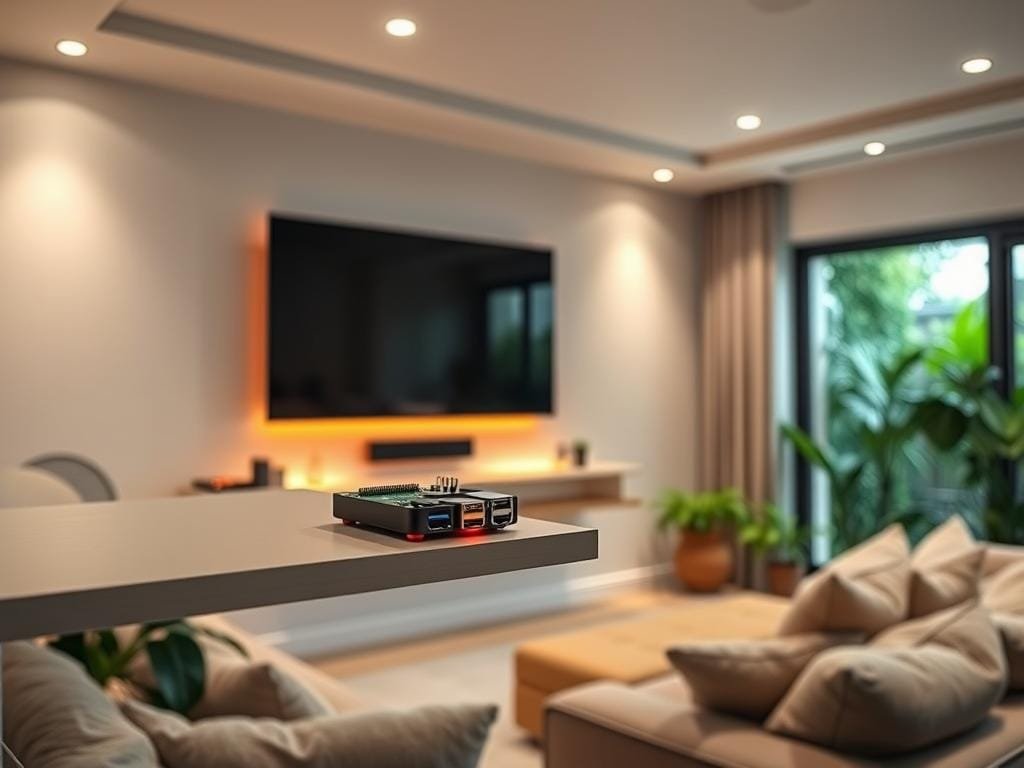
Turn your home into a smart haven with a Raspberry Pi hub. This project lets you control and watch over smart devices from one place. It makes managing your home’s automation easy.
What You’ll Build
You’ll create a smart home hub with Raspberry Pi. It will let you connect and control many smart devices. This hub is the brain of your smart home, making device interaction smooth.
Required Materials
- Raspberry Pi board (any model with Wi-Fi)
- MicroSD card (at least 8GB)
- Power supply for Raspberry Pi
- Smart devices (e.g., lights, thermostats, security cameras)
- Wi-Fi network
- Optional: touchscreen display for Raspberry Pi
Step-by-Step Instructions
- Set up your Raspberry Pi with the latest Raspberry Pi OS version.
- Install software for smart home automation, like Home Assistant or OpenHAB.
- Make your smart devices connect to your Raspberry Pi hub.
- Make the user interface your own to control and watch your smart devices.
Learn more about smart home tech at The Rise of Ambient Computing.
Troubleshooting Tips
Common problems include connection issues and device compatibility. Make sure your devices work with your chosen software and your Wi-Fi is strong.
| Issue | Solution |
|---|---|
| Device not connecting | Check device compatibility and Wi-Fi signal strength |
| Hub not responding | Restart Raspberry Pi and check power supply |
Project5: Security Camera System
Turn your Raspberry Pi into a powerful security camera system. This project is a great way to learn about home automation and security. It’s a perfect example of Raspberry Pi project inspiration.
What You’ll Build
You’ll create a full security camera system. It can watch and record videos. You can also add features like motion detection and alerts.
Required Materials
Here’s what you need to start:
- Raspberry Pi board
- Raspberry Pi camera module
- Power supply for Raspberry Pi
- MicroSD card
- Network connection
Step-by-Step Instructions
Here’s a simple guide to make your security camera system:
- Set up your Raspberry Pi with the right operating system.
- Connect the Raspberry Pi camera module.
- Adjust the camera settings and turn on motion detection if you want.
- Connect to a network so you can see the camera feed from anywhere.
Troubleshooting Tips
Common problems include the camera not being found or poor video quality. Make sure the camera module is correctly connected and set up. For bad video, tweak the camera settings or improve the lighting.
Project6: Media Center
You can make a powerful media center with Raspberry Pi. It’s great for streaming your favorite shows and music. You can watch videos, listen to music, and see photos right on your TV.
What You’ll Build
This project lets you create a media center. It can stream content from your devices and online services. You can control it with a remote, making it easy to find what you want to watch or listen to.
Required Materials
To make your media center, you’ll need a few things:
- Raspberry Pi board (any version with HDMI output)
- MicroSD card (at least 16GB recommended)
- Power supply for Raspberry Pi
- HDMI cable
- TV or monitor with HDMI input
- Remote control (infrared or Bluetooth)
| Component | Description | Recommended |
|---|---|---|
| Raspberry Pi | The brain of your media center | Any version with HDMI |
| MicroSD Card | Storage for your media center OS | At least 16GB |
| Power Supply | Power for your Raspberry Pi | Official Raspberry Pi power supply |
Step-by-Step Instructions
1. Install the media center software (such as Kodi) on your Raspberry Pi.
2. Connect your Raspberry Pi to your TV via HDMI.
3. Set up your remote control to navigate the media center interface.
4. Add your media sources, including local files and online streaming services.

Troubleshooting Tips
If you have problems, check your HDMI connection and remote setup. Make sure your Raspberry Pi has enough power.
By following these steps, you can enjoy a fully functional media center. It will make your home entertainment better. For more Raspberry Pi Projects and Raspberry Pi tutorials, check out our other guides.
Advanced Raspberry Pi Projects
Now that you know the basics of Raspberry Pi, it’s time to dive into more advanced DIY projects. These projects will help you learn new skills and boost your creativity.
Taking Your Skills to the Next Level
Advanced projects let you explore new possibilities with your Raspberry Pi. You can tackle big projects like building a home automation system or a high-tech media center. These projects are not only challenging but also rewarding as you see your ideas take shape.
Planning Complex Projects
When starting a complex project, break it down into smaller steps. First, define what you want to achieve, list the parts you need, and outline the steps. This method keeps you organized and helps you complete your project successfully.
Project7: AI Voice Assistant
With Raspberry Pi, you can make an AI voice assistant. It listens to your voice and does what you ask. This makes your home smarter.
What You’ll Build
You’ll create a voice assistant that gets your voice commands. It can tell you things and control other smart devices. This project adds cool AI features to your Raspberry Pi.
Required Materials
- Raspberry Pi board (any version with internet connectivity)
- Microphone and speaker for voice interaction
- Internet connection
- Power supply for Raspberry Pi
- Optional: additional smart devices for integration
Step-by-Step Instructions
- Set up your Raspberry Pi with the necessary peripherals and internet connection.
- Install the required software, including AI voice assistant libraries and dependencies.
- Configure the AI voice assistant to recognize your voice and respond.
- Integrate the voice assistant with other smart devices if desired.
- Test the system to ensure it responds correctly to voice commands.
Troubleshooting Tips
If problems arise, check your internet, microphone settings, and software. Make sure your Raspberry Pi is up to date.
By following these steps, you can build a voice assistant with Raspberry Pi. It will make your home smarter and improve your programming skills.
Project8: Automated Plant Watering System
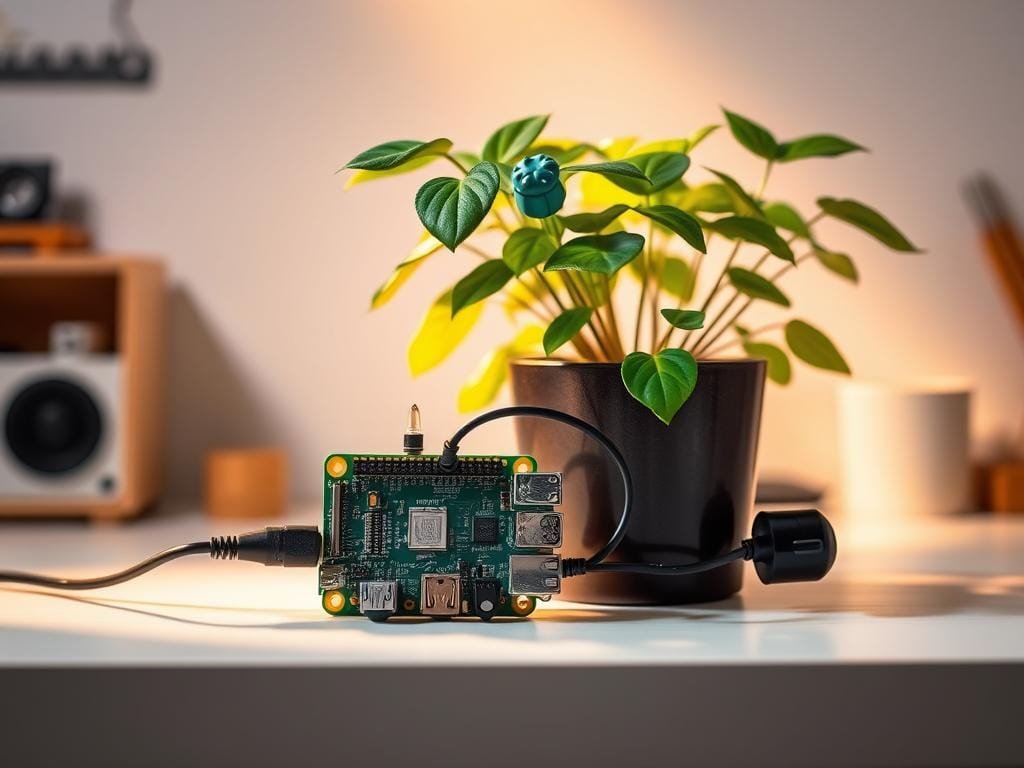
Make your plant care easier with a Raspberry Pi watering system. It’s great for those who want to mix tech with gardening. It’s a top pick for Raspberry Pi projects for kids.
What You’ll Build
You’ll create a smart watering system for plants. It works with your Raspberry Pi. This system makes sure your plants get water when they need it.

Required Materials
You’ll need a few key items to begin. These include a Raspberry Pi, a soil moisture sensor, a water pump, and jumper wires. You can find these in Raspberry Pi project kits online.
- Raspberry Pi
- Soil Moisture Sensor
- Water Pump
- Jumper Wires
Step-by-Step Instructions
First, set up your Raspberry Pi. Then, connect it to the soil moisture sensor and water pump. Here’s how:
- Connect the soil moisture sensor to your Raspberry Pi.
- Set up the water pump and connect it to the Raspberry Pi.
- Write a Python script to control the water pump based on soil moisture.
Troubleshooting Tips
Having trouble? Check your connections and script setup. Common issues include wrong wiring and sensor calibration problems.
Project9: Network-Attached Storage (NAS)
A NAS project with Raspberry Pi lets you have a personal cloud storage at home. It’s perfect for those who want to keep all their data in one place. You can access your files from any device on your network.
What You’ll Build
You’ll create a working NAS system that you can reach over your local network. It’s great for storing and sharing files. It’s a fantastic choice for home networks.
Required Materials
To start your NAS project, you’ll need a few things:
- Raspberry Pi (any model with Ethernet or Wi-Fi)
- External hard drive or USB drive for storage
- Power supply for Raspberry Pi
- MicroSD card with Raspberry Pi OS installed
- Optional: NAS case, cooling system
| Component | Description | Importance |
|---|---|---|
| Raspberry Pi | The brain of your NAS system | High |
| External Hard Drive | Storage for your files | High |
| Power Supply | Power for your Raspberry Pi | High |
| MicroSD Card | Storage for your Raspberry Pi OS | High |
Step-by-Step Instructions
1. Set up your Raspberry Pi with the latest Raspberry Pi OS.
2. Connect your external hard drive to the Raspberry Pi.
3. Install and set up the OpenMediaVault NAS software.
4. Set up your NAS settings, like user permissions and shared folders.
Troubleshooting Tips
If your NAS isn’t showing on the network, check your Raspberry Pi’s connection to your router. Also, make sure the NAS software is set up right.
Tip: Keep your NAS software updated. This ensures you have the latest security and features.
Project10: Cluster Computing System
Cluster computing with Raspberry Pi lets you use many boards together for big tasks. It’s great for learning about distributed computing and parallel processing.
What You’ll Build
You’ll create a cluster computing system with several Raspberry Pi devices. This setup lets you split tasks among devices, making things faster.
Required Materials
To begin, gather these essential items:
- Multiple Raspberry Pi boards (at least 4)
- Power supply for each Raspberry Pi
- Networking equipment (switch or router)
- Cooling system (optional)
- Cables and connectors
| Component | Quantity | Purpose |
|---|---|---|
| Raspberry Pi | 4+ | Processing Units |
| Power Supply | 4+ | Power for each Raspberry Pi |
| Networking Equipment | 1 | Connects Raspberry Pi devices |
Step-by-Step Instructions
Here’s how to set up your cluster computing system:
- Set up each Raspberry Pi with the right operating system.
- Connect all Raspberry Pi devices with networking equipment.
- Put clustering software on to manage tasks.
- Try the cluster with a sample app.
Troubleshooting Tips
Watch out for networking and power supply problems. Make sure all devices are well connected and powered. For more help, check out Raspberry Pi tutorials and DIY Raspberry Pi projects.
Conclusion
You now know a lot about Raspberry Pi projects. They range from simple LED lights to complex computing systems. You’ve learned a lot about Raspberry Pi programming and gained valuable skills.
As you keep working with Raspberry Pi, you’ll find new ways to use technology every day. Whether you’re new or experienced, Raspberry Pi has endless possibilities. You can use what you’ve learned to create unique solutions and explore new ideas.
To get even better, check out online resources and join the Raspberry Pi community. This way, you’ll always know about the newest projects and techniques. It will help you stay ahead in innovation and enjoy your Raspberry Pi journey even more.
FAQ
What is the Raspberry Pi, and what can I do with it?
The Raspberry Pi is a small, affordable computer. You can use it for many projects. This includes home automation, media centers, and retro gaming consoles.
What are the essential tools and components needed to get started with Raspberry Pi?
To start with Raspberry Pi, you need a few things. You’ll need the Raspberry Pi board, a power supply, and an SD card. Also, a keyboard, mouse, and monitor are basic.
How do I choose the right Raspberry Pi project for my skill level?
Pick a project that matches your skill level. Look at the project’s complexity and materials needed. Beginner projects are great for new users, while advanced ones are for experts.
Can I use Raspberry Pi for retro gaming?
Yes, you can use Raspberry Pi for retro gaming. It can emulate classic games from older consoles and arcade machines.
How do I troubleshoot common issues with my Raspberry Pi project?
For common issues, check the project’s documentation and online forums. You can also try debugging your code or checking your connections.
Can I use Raspberry Pi for home automation?
Yes, Raspberry Pi can be used for home automation. It can control and automate devices like lights, thermostats, and security cameras.
What are some advanced Raspberry Pi projects that I can try?
Advanced projects include building an AI voice assistant and an automated plant watering system. You can also try making a network-attached storage (NAS) device or a cluster computing system.
Do I need to know how to code to work with Raspberry Pi?
Coding skills are helpful but not necessary. Many projects come with pre-written code. You can learn to code as you work on your projects.
Can I use Raspberry Pi for media streaming?
Yes, Raspberry Pi can be used for media streaming. It can stream media content to your TV or other devices.
How do I ensure the security of my Raspberry Pi project?
To keep your project secure, use strong passwords and keep your software updated. Also, configure your firewall properly.
What are some good resources for learning more about Raspberry Pi projects?
There are many resources online for learning about Raspberry Pi projects. You can find tutorials, documentation, and forums to improve your skills.


