Nintendo Switch Joy-Con. Did you know that fixing the controllers often means replacing parts like the analog stick, battery, and button covers? If your Joy-Con’s analog stick is causing drift or unresponsiveness, a replacement can be a smart move.
By doing it yourself, you can save money and make your Nintendo Switch accessories last longer. Replacing the analog stick is easy once you have the right tools and a bit of patience.
Key Takeaways
- Replacing the analog stick can solve problems like drift and unresponsiveness.
- DIY repair is a budget-friendly way to keep your Nintendo Switch controllers in top shape.
- You’ll need basic tools and a bit of patience for the process.
- Other parts like the joystick, battery, and button covers are also common to replace.
- DIY repairs can help your Nintendo Switch accessories last longer.
Understanding Joy-Con Drift and Why Replacement Is Necessary
The Nintendo Switch’s Joy-Con controllers can sometimes face a problem called drift. This issue can really mess up your gaming, making it key to know what causes it and how to fix it.
What Is Joy-Con Drift?
Joy-Con drift happens when your joystick moves on screen without you touching it. This can cause problems in games that need precision, like The Legend of Zelda: Breath of the Wild or Super Mario Odyssey. It’s really annoying, making it hard to play during important moments.
Common Causes of Analog Stick Failure
Several things can lead to Joy-Con drift, including:
- Worn-out or damaged analog stick parts
- Dust, dirt, or other debris inside the Joy-Con
- Wear and tear from lots of use
These problems can make the analog stick not work right, causing drift. Keeping your Joy-Con clean and handling it carefully can help avoid some of these issues.
Why DIY Replacement Is a Cost-Effective Solution
Fixing the analog stick yourself is a cost-effective solution. It’s cheaper than sending it to a pro or buying a new one. With the right tools and some patience, you can fix it and get your Joy-Con working like new.
By knowing why Joy-Con drift happens and fixing it, you can have a great gaming time with your Nintendo Switch.
Tools and Materials You’ll Need for Nintendo Switch Joy-Con Repair
Fixing your Nintendo Switch Joy-Con starts with the right tools and materials. Having everything ready before you begin makes the repair smoother. It also helps you avoid common mistakes.
Essential Tools for the Job
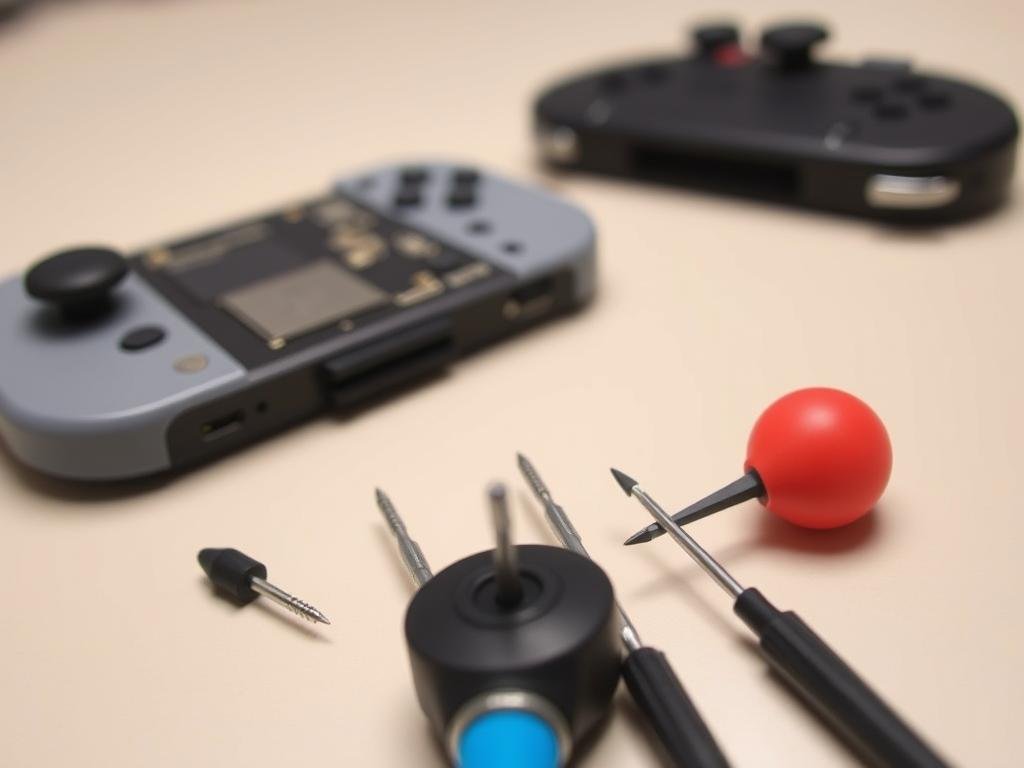
You’ll need a few key tools to start. A 1.5mm tri-wing screwdriver is for the screws that hold the Joy-Con together. A 2.0mm Phillips head screwdriver is for other parts inside. A plastic prying tool helps open the housing without damage.
Needle-nose tweezers are for handling tiny parts. Using the right tools is key to avoid damaging your Joy-Con.
Choosing the Right Replacement Analog Stick
Choosing the right replacement analog stick is critical. Make sure it fits your Nintendo Switch Joy-Con model. You can find these online, but buy from a trusted supplier for quality and fit.
Optional Tools That Make the Job Easier
Some tools are not essential but can help. A magnifying glass or microscope is for checking small parts. An anti-static wrist strap prevents damage from static electricity.
A well-organized storage container keeps screws and parts in order. These tools can improve your repair experience and lower the chance of mistakes.
Preparing Your Workspace for Joy-Con Disassembly
A clean, stable, and well-lit workspace is key for a successful Joy-Con repair. Before starting, ensure your area is ready for the task.
Creating a Clean and Static-Free Environment
Working in a static-free area is vital to avoid damaging your Nintendo Joy-Con. Use an anti-static wrist strap or mat to protect against static. Keep your workspace clean and dust-free to prevent damage or interference.
Tips for Keeping Track of Tiny Screws and Components
Disassembling the Joy-Con reveals many tiny parts and screws. Use a Magnetic Project Mat to store them safely. This keeps everything organized and prevents loss. Labeling parts as you remove them helps during reassembly.
Step-by-Step Joy-Con Disassembly Guide
To replace the analog stick on your Nintendo Switch Joy-Con, start by disassembling it carefully. This process needs patience and the right tools.
Removing the Joy-Con from the Switch Console
The first step is to detach the Joy-Con from the Nintendo Switch console. Look for the small release button on the back, near the top. Press it and then slide the Joy-Con upwards to release it.
Make sure to press the release button firmly. The Joy-Con should slide off easily once you press the button.
Opening the Joy-Con Housing Without Damage
To open the Joy-Con housing, you’ll need a Y00 screwdriver. Remove the screws on the back and possibly the bottom, depending on the model. Use the screwdriver to remove these screws carefully.
After removing the screws, use an opening tool to release the clips. Start from one corner and work your way around. Be gentle, as the clips can be fragile.
Disconnecting Internal Ribbon Cables Safely
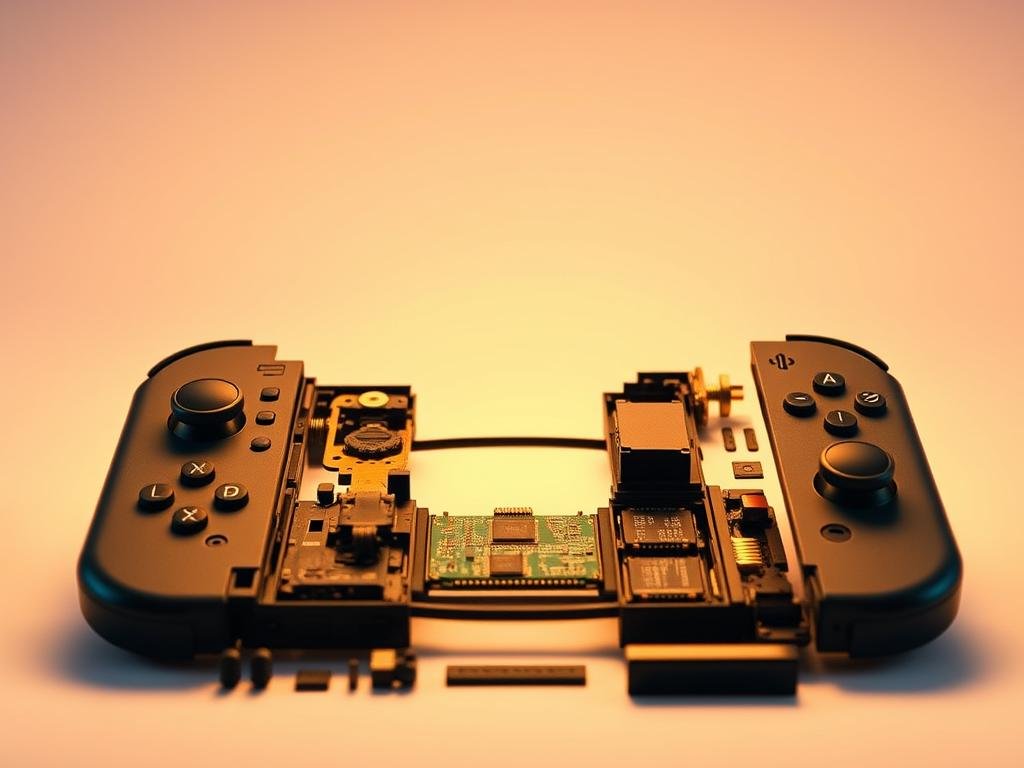
Once the Joy-Con housing is open, you’ll see several internal components. Locate the locking mechanism that holds the ribbon cables in place. This is usually a small clip or a latch that needs to be lifted.
Gently lift the latch and then pull the ribbon cable out. Be careful not to touch the electrical components or pull too hard, as this can damage the cable or the motherboard.
| Step | Action | Tool Required |
|---|---|---|
| 1 | Remove Joy-Con from console | None |
| 2 | Remove screws | Y00 Screwdriver |
| 3 | Open Joy-Con housing | Opening tool |
| 4 | Disconnect ribbon cables | None |
By following these steps, you can safely disassemble your Nintendo Switch Joy-Con. Then, you can replace the analog stick.
Removing the Faulty Nintendo Switch Joy-Con Analog Stick
Now that you’ve taken apart your Joy-Con controller, it’s time to get rid of the bad analog stick. This step is key to fixing the Joy-Con drift problem that’s ruining your gaming.
Locating the Analog Stick Assembly
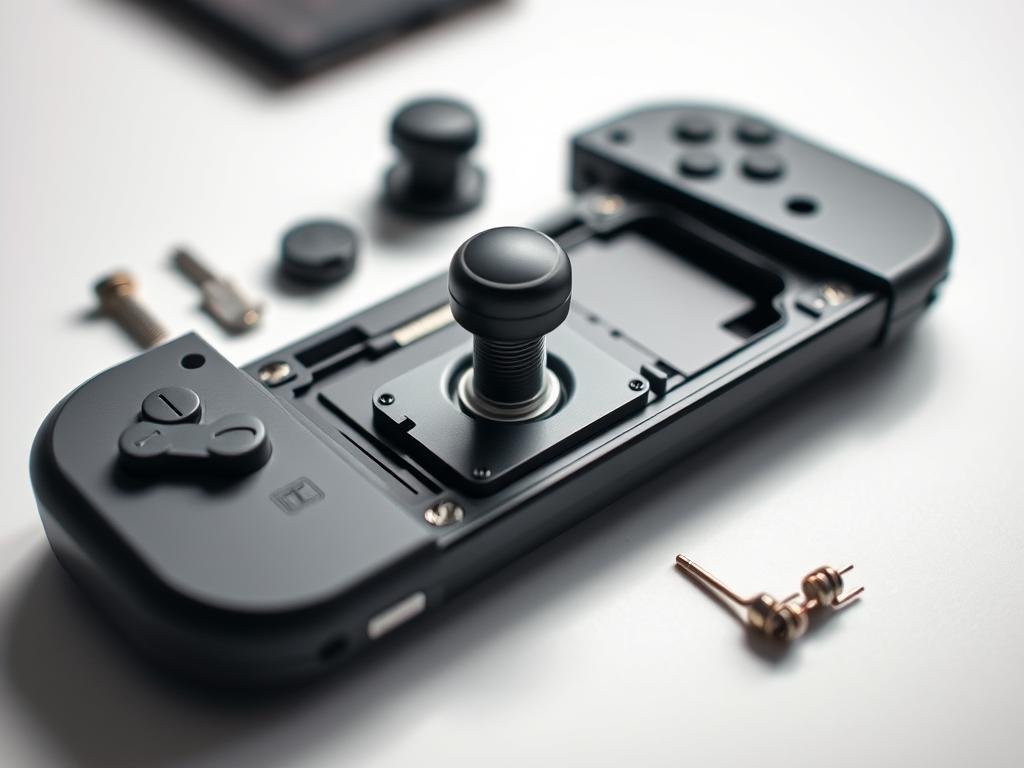
The analog stick assembly is in the middle of the Joy-Con controller. To get to it, you’ll need to carefully go through the inside parts. Use a JIS000 driver to take out the screws holding the analog stick assembly. “Precision is key when handling the tiny screws and delicate components,” as noted by electronics repair experts.
Detaching the Ribbon Cable Without Tearing
Before you can take out the analog stick assembly, you need to disconnect the ribbon cable. Use tweezers to gently pull the cable away from its connector. Be careful not to press too hard, which could hurt the cable or the connector.
“The ribbon cable is a fragile component, and damaging it can render the Joy-Con unusable,” warns a Nintendo repair specialist. To avoid this, make sure to handle the cable with care and follow proper detachment procedures.
Unscrewing and Removing the Old Stick
With the ribbon cable detached, you can now unscrew the analog stick assembly from the Joy-Con housing. Use your JIS000 driver to remove the screws, and then carefully lift the assembly out of its mounting. The old analog stick should now be accessible for replacement.
By following these steps, you’ll be able to successfully remove the faulty analog stick from your Nintendo Switch Joy-Con controller, paving the way for the installation of a new one.
Installing the New Analog Stick
Installing a new analog stick is easy but needs careful attention. First, place the stick right, making sure it fits the Joy-Con PCB’s mounting points.
Positioning the Replacement Stick Correctly
To put the new stick in the right spot, line it up with the Joy-Con board’s screw holes. Carefully lower it down, making sure it fits well. Getting it right is key to prevent damage to the stick or other parts.
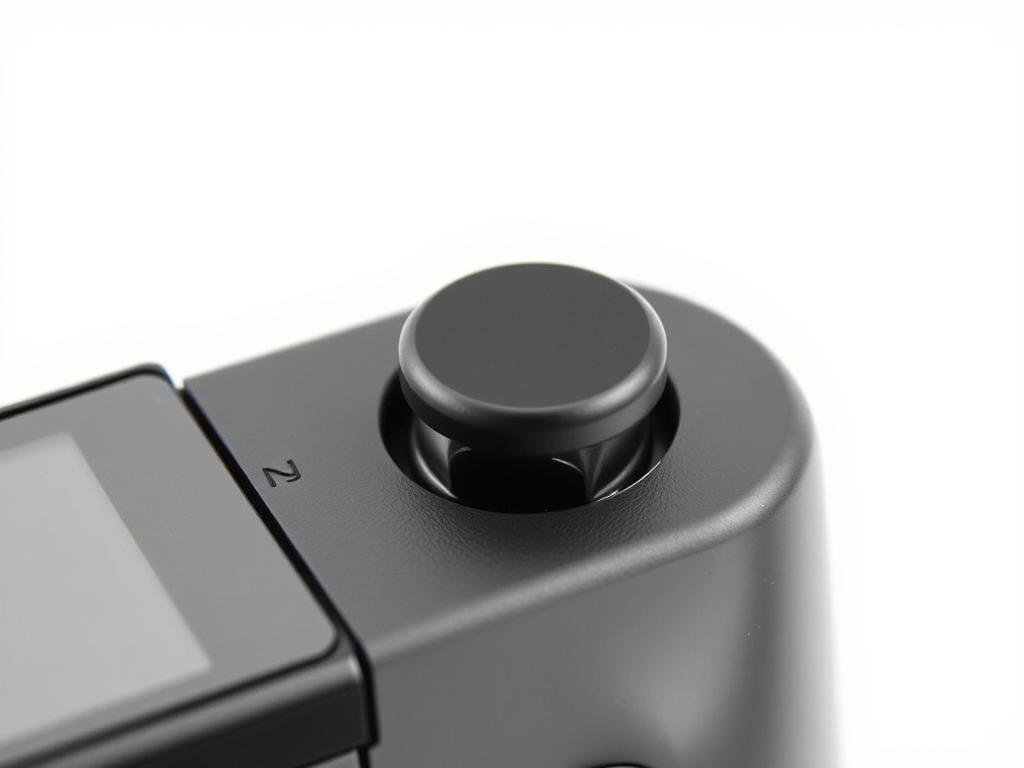
Securing the New Component with Proper Torque
After placing the stick, use the right screws to hold it in. Make sure to tighten them well but don’t overdo it. This can harm the part or mess up the screws. For more help, check out this guide on modifying your Joy-Con.
Reconnecting the Ribbon Cable Securely
After securing the stick, connect the ribbon cable back. Make sure it’s in the right spot and fits well with the Joy-Con PCB. Press it gently into place, ensuring it’s secure and not damaged.
By doing these steps, you can get your Nintendo Switch Joy-Con working like new again. This keeps your Nintendo Switch accessories in top shape.
Reassembling Your Joy-Con Controller
Reassembling your Joy-Con controller needs careful attention. After replacing the analog stick, reconnect the parts, align the housing, and watch out for common mistakes.
Reconnecting All Internal Components in Order
To begin, reconnect all parts in the right order. Start by attaching the ribbon cable to the new analog stick. Make sure it’s tight to prevent problems. Then, reconnect any other cables you took out.
It’s important to follow the reverse steps of disassembly. This helps you not miss any parts.
Aligning and Closing the Joy-Con Housing
After reconnecting everything, align and close the Joy-Con housing. Make sure the edges match up perfectly. Press the housing together gently to avoid damage.
Use the screws you removed to hold it together. Tighten them in a star pattern to avoid uneven pressure.
Common Reassembly Mistakes and How to Fix Them
Reassembly can lead to mistakes that affect your Joy-Con’s performance. Common errors include over-tightening screws and misaligning the housing. If the analog stick doesn’t work, check your work.
Ensure all parts are connected well and the housing is right. By avoiding these mistakes, you can fix your Joy-Con successfully.
Testing and Calibrating Your Newly Replaced Joy-Con Analog Stick
After replacing the faulty Joy-Con analog stick, it’s time to test and calibrate it. Making sure your new stick works right is key for great gaming on your Nintendo Switch.
Running the Switch’s Built-in Calibration Tool
The Nintendo Switch has a built-in tool for calibrating Joy-Con sticks. To use it, go to System Settings > Controllers and Sensors > Calibrate Control Stick. Just follow the screen’s instructions to calibrate. This is important to make sure your new stick works with the console.
Testing All Analog Stick Functions
After calibrating, test the stick’s functions. Play a game you know well and see how the stick responds. Make sure it moves smoothly and doesn’t drift. You can also use the Stick Calibration tool in the Switch’s settings to check its accuracy.
Troubleshooting Common Post-Replacement Issues
If you face problems like drift or unresponsiveness, there are steps to fix them. First, make sure the new stick is in place and secure. If issues continue, try recalibrating or clean the stick from debris. Sometimes, a Switch restart can fix connection problems.
By following these steps, you can make sure your new Joy-Con analog stick works perfectly. This will give you a smooth gaming experience on your Nintendo Switch.
Conclusion
By following our DIY repair guide, you’ve fixed the faulty analog stick in your Joy-Con controller. To keep your Nintendo gaming controller working well, regular maintenance is key. Cleaning your Nintendo Switch and Joy-Con often helps prevent dust buildup.
This can lower the chance of drift and other problems. To keep your Joy-Con in top shape, avoid harsh environments and extreme temperatures. You can find more info on Joy-Con drift and how to fix it in this article.
By taking good care of your Joy-Con controller, you’ll have a smooth gaming experience. With these easy maintenance tips, you can make your Nintendo gaming controller last longer. This way, you can keep playing your favorite games without any trouble.
FAQ
What is Joy-Con drift, and how do I know if my Nintendo Switch Joy-Con is affected?
Joy-Con drift is when the Joy-Con stick moves on its own, even when untouched. You’ll know it’s happening if your character or cursor moves by itself. Try calibrating your Joy-Con or testing it in different games to confirm.
Can I use any replacement analog stick for my Nintendo Switch Joy-Con?
No, you must use a replacement stick made for the Nintendo Switch Joy-Con. Using the wrong part can cause poor performance, damage, or ruin your gaming experience.
What tools do I need to replace the Nintendo Switch Joy-Con analog stick?
You’ll need a Phillips screwdriver, a tri-wing screwdriver, and a plastic spudger. Optional tools include a precision screwdriver set, an anti-static wrist strap, and tweezers.
How do I prevent static electricity damage during the repair?
Work in a place free from static. Use an anti-static wrist strap or mat. Touching metal or wearing an anti-static strap can also help prevent damage.
Can I replace the Joy-Con analog stick without removing the Joy-Con from the Switch console?
No, you must remove the Joy-Con to access the inside. Follow a step-by-step guide to safely take it off.
How do I calibrate my newly replaced Joy-Con analog stick?
To calibrate, go to the Nintendo Switch System Settings. Then, go to Controllers and Sensors. Follow the instructions on the screen to calibrate your Joy-Con.
What if my Joy-Con drifts after replacing the analog stick?
If it drifts again, try recalibrating the stick. Check for worn-out or damaged parts. You might need to troubleshoot or get help.
Are there any tips for maintaining the longevity of my Nintendo Switch Joy-Con?
Yes, handle your Joy-Con with care. Avoid extreme temperatures or liquids. Clean the stick and other parts regularly.
