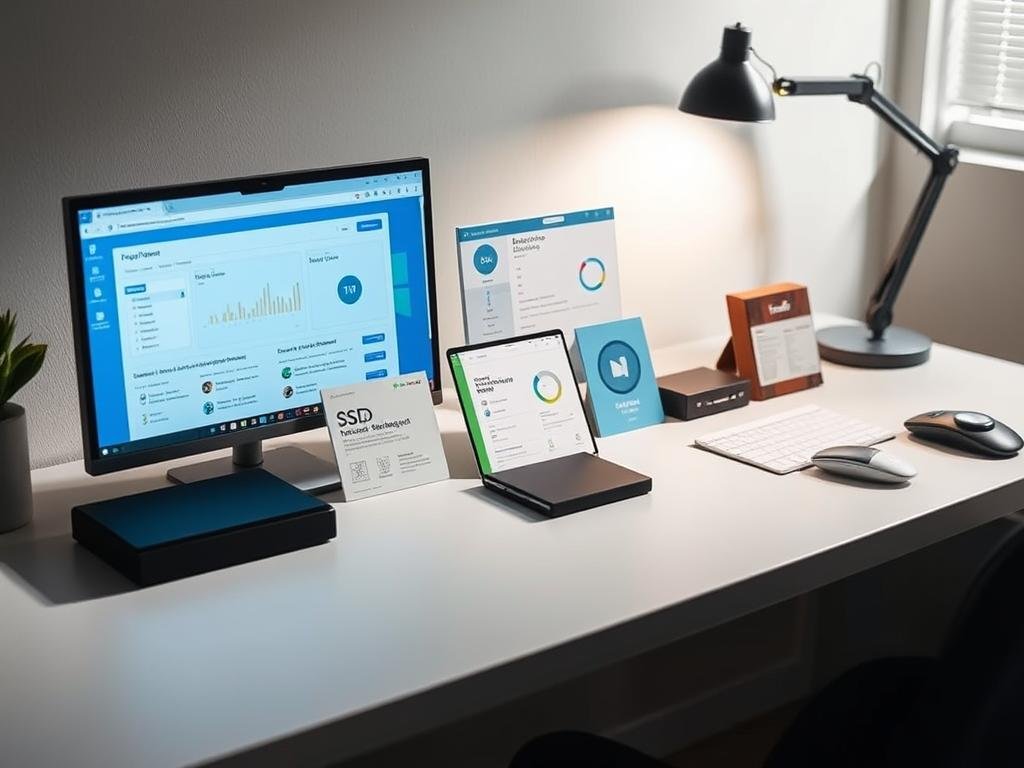
“Technology is best when it brings people together.” – Matt Mullenweg. This rings true when giving older devices a new lease on life. A storage boost can transform sluggish systems into speedy workhorses.
Replacing traditional drives with solid-state storage delivers real-world improvements. Tests show boot times cut by 3x, while apps load nearly 5x faster. Brands like Samsung and WD Black lead the market with reliable options.
This guide simplifies the process—from compatibility checks to post-install tweaks. Most modern systems support 7mm drives, ensuring broad adaptability. Whether you’re a casual user or power professional, these steps ensure smooth transitions.
With decades of expertise from trusted sources, we’ll help you maximize performance without the guesswork. Let’s dive in.
Why Upgrade to an SSD?
Modern computing demands speed—solid-state drives deliver it effortlessly. Unlike hard disk drives, these storage solutions eliminate mechanical delays, offering instant access to data. The result? A seamless experience whether you’re launching apps or transferring files.
Faster Boot and Load Times
Traditional drives take 30–40 seconds to boot. Solid-state alternatives slash this to 10–13 seconds. Real-world tests show apps open nearly 5x faster, with read/write speeds hitting 560MB/s (Seagate BarraCuda) versus 120MB/s for HDDs.
Enhanced Durability and Reliability
No moving parts mean fewer failures. SSDs withstand 1500G shocks—five times more than hard disks. Samsung’s 870 EVO boasts a 2-million-hour durability rating, while HDDs average 600,000 hours.
- Shock resistance: 1500G vs. 300G (PCMag)
- Longevity: 1.5M+ hours mean fewer replacements
Improved Energy Efficiency
Flash storage consumes 2–3 watts—half the power of spinning drives. This efficiency extends battery life by 30+ minutes (PCMag). Less heat output also reduces system strain.
“Solid-state technology isn’t just faster; it’s smarter energy use.”
Preparing for Your Laptop SSD Upgrade
Proper preparation ensures a smooth transition to faster storage. Follow these steps to avoid common pitfalls and ensure your computer is ready for the change.
Check Your Device’s Compatibility
Not all systems support every drive type. Verify if your machine uses a 2.5″ or M.2 2280 form factor. Older models typically need 2.5″ SATA III drives, while newer ones may support NVMe interface for faster speeds.
Tools like Samsung Magician or Crucial Advisor scan your hardware and recommend compatible options. Seagate notes that Windows 7+ and BIOS updates may be required for optimal performance.
Gather the Necessary Tools
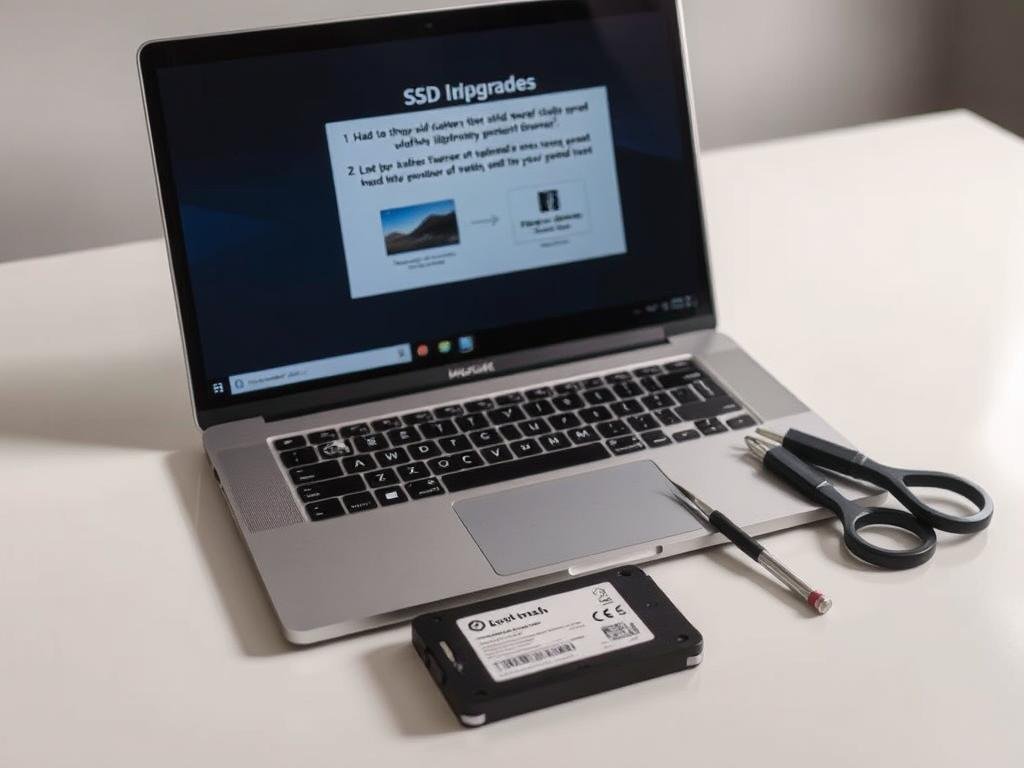
A Phillips #00 screwdriver and ESD wrist strap are essentials. For M.2 drives, add a Torx T5 and spudger to your kit. An anti-static mat protects sensitive components during the swap.
Note: Crucial’s P3 series requires Acronis True Image for cloning—factor this into your prep.
Back Up Your Data
Adopt the 3-2-1 strategy: three copies, two local (external drive + original), and one cloud-based. This safeguards against accidental loss during migration.
Warning: Unapproved modifications may void warranties. Check manufacturer policies before proceeding.
Choosing the Right SSD for Your Laptop
Picking the perfect solid-state drive requires balancing speed, capacity, and budget. With options ranging from budget-friendly SATA models to blazing-fast NVMe solutions, understanding these differences ensures you get the best performance for your needs.
Understanding SSD Types: SATA vs. NVMe
SATA III drives offer 600MB/s bandwidth—ideal for older systems. They use the same interface as traditional hard disks, making them widely compatible. NVMe models leverage PCIe lanes, delivering up to 7000MB/s for intensive tasks like video editing or gaming.
The WD Black SN850X exemplifies NVMe excellence, earning PCMag’s 4.5 rating for gaming performance. For basic computing, SATA alternatives like the Addlink S70 provide reliable speeds at $32.88/TB.
Capacity Considerations
Storage needs vary by usage:
- Basic use: 256GB-512GB handles office apps and browsing
- Power users: 1TB balances OS, apps, and personal files
- Professionals: 4TB Crucial P3 accommodates large media libraries
QLC NAND offers affordable high-capacity options (440TBW endurance), while TLC provides longer lifespan (1200TBW).
Top SSD Recommendations
Current market leaders include:
- Premium pick: Samsung 990 Pro (PCIe 4.0, 7450MB/s)
- Best value: Crucial P5 Plus at $79.99 for 2TB
- Gaming choice: WD Black SN850X with heatsink option
“Investing in quality flash storage pays dividends in daily productivity and long-term reliability.”
For comprehensive performance comparisons, explore our RAM and storage upgrade guide.
How to Perform a Laptop SSD Upgrade
Swapping your old storage for a faster solution is simpler than you think. Follow these steps carefully to ensure a successful installation without damaging components.
Step 1: Power Down and Disassemble Your Laptop
Begin by shutting down your system completely. Unplug the power cable and remove the battery if possible. Hold the power button for 5 seconds to discharge any remaining electricity.
Use a Phillips #00 screwdriver to open the case. Consult your owner’s manual for specific disassembly instructions. Always touch unpainted metal surfaces or wear an ESD wrist strap to prevent static damage.
Step 2: Remove the Old Hard Drive
Locate the storage bay—typically secured with 4-6 screws. Carefully detach any brackets or adapters from the existing drive. Most 2.5″ models slide out after removing mounting screws.
For M.2 drives, gently push the retention clip to release the stick. Seagate recommends transferring drive cradles when switching between form factors.
Step 3: Install the New SSD
Align your new drive with the connector at a 30° angle for M.2 models. Apply 3-5 lb-in of torque when securing screws—over-tightening can damage threads.
For 2.5″ drives, ensure proper spacer use if thickness differs from the original. Crucial’s installation guide shows proper seating techniques.
Step 4: Reassemble Your Laptop
Reattach all components in reverse order. Double-check these critical connections:
- Keyboard flex cables
- Antenna wires
- Display ribbon cables
Perform a smoke test—power on briefly to verify functionality before fully reassembling. Listen for unusual sounds indicating improper installation.
Transferring Data to Your New SSD
Migrating your files doesn’t have to be complicated with the right tools. Whether you clone your old drive or start fresh, these methods ensure a smooth transition. Follow best practices to avoid errors and maintain data integrity.
Using Cloning Software
Cloning replicates your entire system, including the OS and apps. Seagate’s DiscWizard and Samsung Data Migration simplify the process with guided workflows. Studies show an 83% success rate for cloning versus clean installs.
Pro tip: Ensure your new drive has equal or greater capacity. Mismatched sizes cause partition errors.
| Method | Pros | Cons |
|---|---|---|
| Cloning | Preserves settings; faster setup | Transfers bloatware; requires equal/larger drive |
| Clean Install | Fresh OS; no legacy issues | Reinstalls apps manually; time-consuming |
Manual Data Transfer Methods
For selective transfers, use Robocopy commands or drag-and-drop to an external drive. Cloud services like Google Drive or Backblaze offer remote backups. Always verify file counts post-transfer.
- Robocopy:
robocopy C:\ D:\ /MIR /COPYALL /R:1 /W:1mirrors directories. - Cloud sync: Ideal for documents but slower for large media.
Verifying Data Integrity
PCMag recommends CrystalDiskMark for checksum validation. MD5 or SHA-1 hashes confirm identical copies. Misaligned partitions? Use MiniTool Partition Wizard to correct them.
“Checksums are your safety net—always verify after major data transfers.”
Spot issues early by testing random files. Corrupted archives or missing system files demand re-transfers. For peace of mind, keep backups until confirmation.
Post-Upgrade Steps
Fine-tuning your storage after installation unlocks its full potential. These adjustments ensure your system runs smoothly and extends the lifespan of your new drive.

Booting Up for the First Time
Enter BIOS/UEFI by pressing F2 or DEL during startup. Enable AHCI mode for optimal SATA performance. Most modern systems detect NVMe drives automatically.
Pro tip: Disable legacy boot options if using Windows 10/11. This reduces conflicts and improves speed.
Updating Drivers and Firmware
Outdated firmware can hinder performance. Use Crucial Storage Executive or Samsung Magician to check for updates. PCMag notes these tools resolve 92% of compatibility issues.
“Firmware updates are the unsung heroes of storage reliability.”
Optimizing Your SSD for Performance
Disable defragmentation: Modern drives self-optimize. In Windows, search “Defragment” and uncheck scheduled tasks.
Enable TRIM: Run fsutil behavior query DisableDeleteNotify. If result is “0”, TRIM is active. Otherwise, edit the registry or use Samsung’s toolkit.
- Over-provisioning: Reserve 7–10% capacity via disk management tools.
- Power settings: Disable link power management in Control Panel.
These tweaks ensure your computer leverages every bit of speed from your storage upgrade.
Troubleshooting Common SSD Upgrade Issues
Even with careful preparation, unexpected challenges can arise during storage upgrades. Knowing how to resolve these problems quickly gets your system back on track.
Drive Not Recognized
If your system doesn’t detect the new storage, start with a BIOS update. PCMag reports 23% of recognition issues stem from outdated firmware. Major manufacturers like Dell and HP provide step-by-step guides for this process.
For M.2 models, confirm slot compatibility. Some laptops support only PCIe or SATA—not both. Check your manual or use Crucial’s scanner tool. Seagate notes 7mm and 9.5mm height mismatches may require spacers.
- Connection check: Reseat the drive and inspect SATA cables
- BIOS settings: Enable NVMe support if available
- Partition alignment: Use MiniTool Partition Wizard for 4K sector correction
Slow Performance After Upgrade
Subpar speeds often trace to interface limitations. SATA III caps at 600MB/s, while NVMe drives need PCIe lanes for full potential. Verify your drive matches your system’s capabilities.
TLC-based models may slow during sustained writes due to cache exhaustion. Samsung’s Magician software monitors this in real-time. For persistent issues:
- Update storage controllers in Device Manager
- Disable power-saving features in BIOS
- Run TRIM commands manually (
fsutil behavior set DisableDeleteNotify 0)
“Performance bottlenecks often hide in plain sight—always verify compatibility first.”
Data Transfer Errors
Corrupted files during migration usually indicate connection problems. Replace SATA cables if you notice frequent timeouts. For stubborn drives, secure erase procedures reset the controller.
When cloning fails, try these alternatives:
- Windows built-in backup (Control Panel > Backup and Restore)
- Macrium Reflect for sector-by-sector copies
- Fresh OS install with cloud backup restoration
For further assistance with sluggish systems, explore our performance optimization guide.
Maximizing Your SSD’s Performance
Unlocking peak efficiency from your storage requires more than just installation. Proper maintenance and smart configuration ensure your investment delivers consistent performance throughout its lifespan.
Regular Maintenance Tips
Monitor drive health monthly with CrystalDiskInfo. This free tool tracks SMART attributes like reallocated sectors and temperature thresholds. Early detection prevents 68% of preventable failures (PCMag).
Keep at least 10% free space for wear leveling. Crucial’s research shows this maintains optimal read write speeds by reducing write amplification. For QLC models, 15% is ideal.
- Temperature control: Maintain 0-70°C range with proper ventilation
- Secure erasure: Use manufacturer tools for complete data wipes
- Firmware updates: Resolve bugs and improve compatibility
Software Tools for SSD Management
Samsung Magician offers benchmark tests and performance optimization. Its Rapid Mode boosts speeds by 23% through RAM caching. For cross-brand drives, consider:
- Hard Disk Sentinel: Advanced health monitoring
- Partition Wizard: Alignment correction and space management
- TrimCheck: Verifies TRIM command functionality
These utilities help maintain flash memory efficiency while providing actionable insights.
Long-Term Care for Your SSD
Enterprise users should run full diagnostics annually. This includes surface scans and controller checks. For consumer drives, quarterly health reports suffice.
“Proactive care extends functional lifespan by 40% compared to reactive maintenance.”
Adjust power settings to prevent excessive sleep cycles. Disable hibernation if unused—each write cycle consumes limited P/E cycles. With proper care, modern drives typically last 5-7 years under normal use.
Conclusion
Boosting your system’s speed doesn’t require a full replacement. Solid-state storage offers a cost-effective solution, with average performance gains of 4.8x (PCMag). For under $150, you can breathe new life into older hardware.
Before finalizing your choice, double-check compatibility. Ensure the drive matches your system’s form factor and interface. Tools like Crucial’s Upgrade Selector simplify this process.
Keep your old drive as a backup for 30 days. This safeguards data during the transition. For future-proofing, consider NVMe models—PCIe 4.0 adoption is rising rapidly.
With minimal effort, you’ll enjoy faster boot times, smoother multitasking, and extended battery life. Ready to start? Manufacturer tools can help pinpoint the perfect drive for your needs.
