Did you know that many computer failures are due to overheating? This is often caused by dust buildup and poor desktop maintenance. Keeping your PC in good shape is key to its long life and top performance.
Dust in your computer’s internal components can block airflow. This can make your system overheat and even cause permanent damage. Regular computer hygiene can stop this from happening.
Key Takeaways
- Regular cleaning can improve your desktop’s performance and longevity.
- Dust buildup is a major cause of overheating in computers.
- Proper desktop maintenance is essential for preventing system failures.
- Simple cleaning practices can significantly reduce the risk of overheating.
- Maintaining good computer hygiene is key for the best system performance.
Understanding the Importance of Internal Cleaning
Keeping your desktop clean inside is not just a routine task. It’s vital to stop overheating and damage. Dust and debris build up over time, blocking fans and reducing cooling. This can cause your computer to overheat and damage its parts.
Why Internal Cleaning is Necessary
Regular cleaning inside your desktop is key to keeping it running well and lasting longer. Dust removal is a big part of this. It helps keep your computer’s parts cool and working right. For tips on making your PC run better, check out PC Performance Optimization.
Key reasons for internal cleaning include:
- Preventing overheating by ensuring clear airflow
- Reducing the risk of hardware damage
- Maintaining system performance
Consequences of Neglecting Your Desktop
Ignoring your desktop’s cleaning needs can cause big problems. Dust makes fans work harder, leading to more noise and wear. Severe dust can block airflow, causing your system to overheat. This can slow down your computer, cause crashes, and even damage hardware.
“The buildup of dust and debris inside a computer can lead to significant overheating issues, potentially causing damage to the hardware and impacting system performance.”
Overview of Overheating Issues
Desktops often overheat if not kept clean. Dust blocks fans and vents, trapping heat. This can slow down your computer, make it unstable, and even damage parts. Cleaning your hardware regularly is essential to avoid these problems.
| Issue | Cause | Effect |
|---|---|---|
| Overheating | Dust buildup, clogged fans | Reduced performance, hardware damage |
| System Crashes | Overheating, poor airflow | Data loss, system instability |
| Hardware Failure | Prolonged overheating, dust damage | Component failure, costly repairs |
Tools You Need for Effective Cleaning
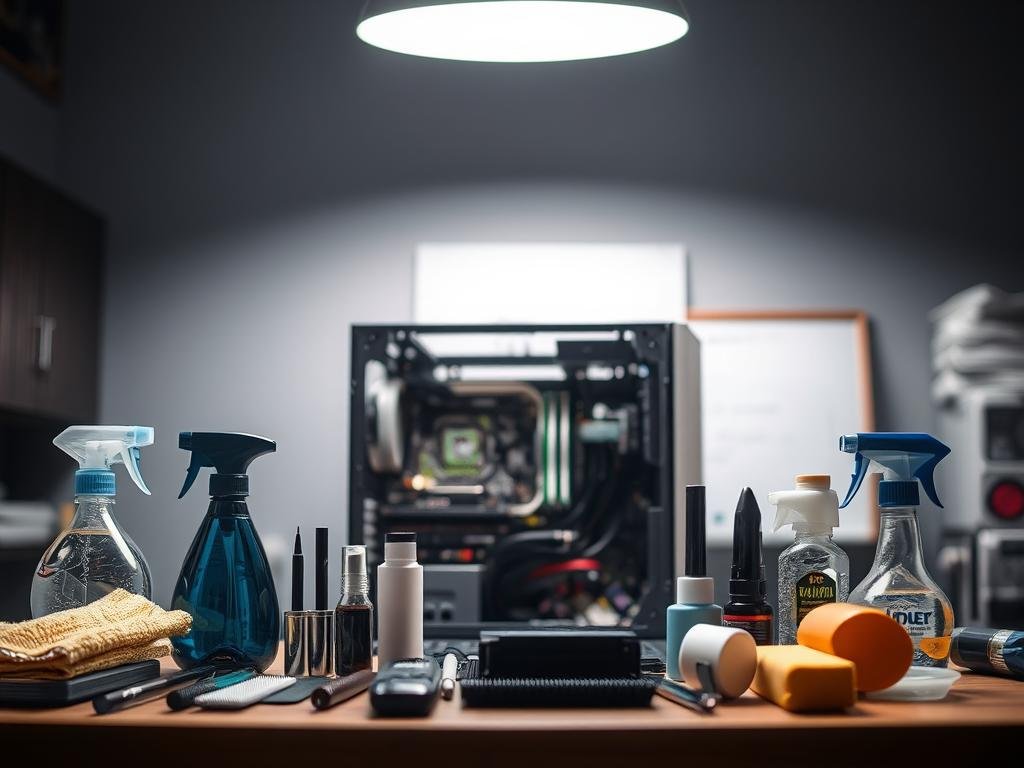
Before you start cleaning your desktop, gather the necessary tools. The right equipment helps you clean your computer system efficiently and safely.
Essential Cleaning Tools
To start cleaning desktop components, you’ll need a few tools. These include:
- Compressed air for removing dust from hard-to-reach areas
- Soft brushes for gently sweeping away dust from fans and vents
- Microfiber cloths for wiping down surfaces
With these tools, you can remove dust and debris from your computer. For more detailed information on cleaning your PC system, check out professional guides.
Recommended Cleaning Products
For professional computer cleaning, the right products are key. Look for products safe for electronics and effective at removing dust and dirt. Some recommended products include:
| Product | Description | Usage |
|---|---|---|
| Compressed Air | Removes dust from tight spaces | Fans, vents, and crevices |
| Antistatic Wipes | Cleans surfaces without leaving residue | External and internal surfaces |
| Microfiber Cloths | Gently wipes down surfaces | Monitors, cases, and other external parts |
Safety Gear for Cleaning
When cleaning your computer system, protect yourself. Use antistatic wrist straps and gloves to prevent damage to components and electrical shock.

Using the right tools and safety gear ensures your desktop is cleaned effectively and safely. Regular cleaning is part of professional computer cleaning and keeps your system running well.
Step-by-Step Guide to Opening Your Desktop
It’s important to safely open your desktop for cleaning. Make sure you have a clean workspace and all your tools ready.
How to Safely Power Down Your Device
First, completely power down your desktop to avoid damage or shock. Turn off your computer and then unplug the power cord and other cables. This step keeps you safe and protects your computer.
Removing the Case without Damage
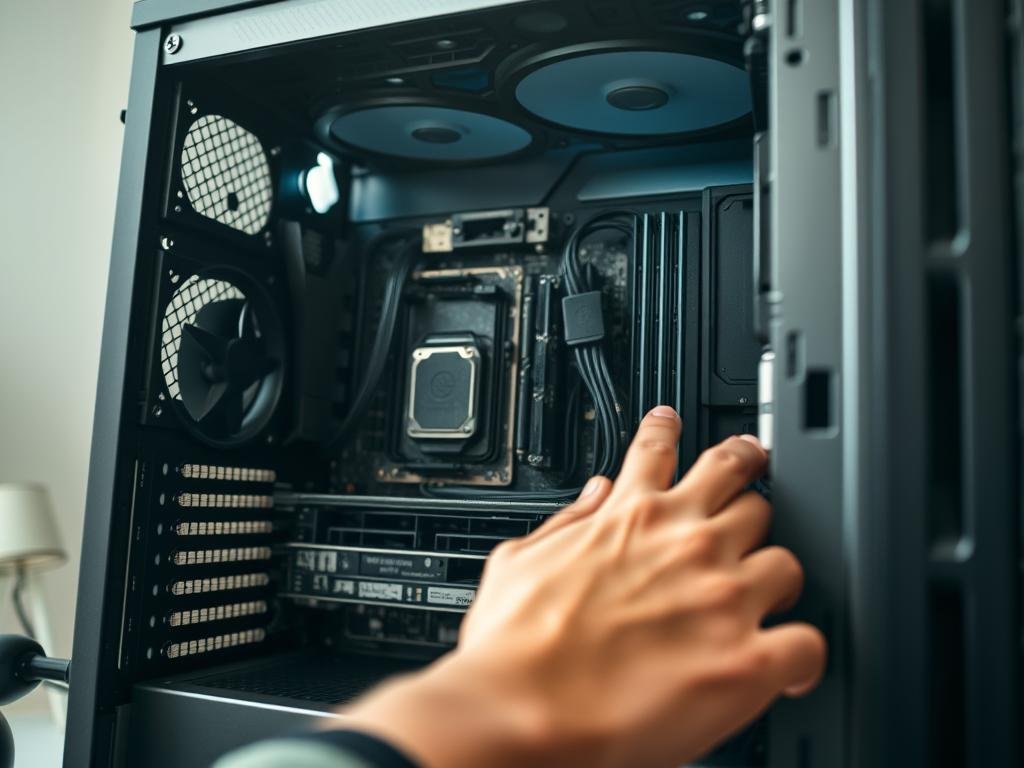
The back of your desktop has screws that hold the case in place. Carefully remove these screws and slide off the side panel. Some cases have clips or latches; check your manual if you’re not sure. After removing the panel, you can access the inside parts.
Identifying Key Hardware Components
Before cleaning, get to know the inside parts. Look for the CPU (Central Processing Unit), GPU (Graphics Processing Unit), RAM (Memory), and the hard drive or SSD. Knowing what each part does helps you clean better.
Take a close look at the inside parts. Note where you see dust or dirt. This helps you clean the right spots first.
Cleaning Components: Fans and Vents
To keep your desktop running smoothly, it’s key to clean its fans and vents regularly. This ensures clear airflow and prevents overheating. Dust in these areas can harm your desktop’s performance and lifespan.
Importance of Clear Airflow
Clear airflow is vital for your desktop’s cooling system to work right. Fans and vents help cool the CPU, GPU, and other parts. When dust blocks airflow, temperatures rise.
This can make your desktop run slower. Modern CPUs and GPUs slow down when too hot. Cleaning keeps your desktop at the right temperature.
Best Methods for Cleaning Dust Buildup
Use compressed air or a soft-bristled brush for dust removal. Compressed air is great for tight spaces. But, be careful not to push dust deeper.
A soft-bristled brush is good for fan blades and other spots. For a deeper clean, check out how to clean your PC guides. They offer detailed steps and safety tips.
Checking and Replacing Fans
When cleaning fans, look for wear or damage. If a fan doesn’t spin right or makes odd noises, it might need replacing. Bad fans can’t cool properly, so fix issues fast.
To replace a fan, disconnect it from the motherboard or power supply. Remove screws holding it in place. Then, install a new fan in the reverse order of these steps.
Cleaning the Motherboard and Components
Cleaning the motherboard and its parts is a delicate task. You must be careful not to damage these sensitive parts. They are key to your computer’s function.

Techniques for Safe Cleaning
To clean your motherboard safely, start by grounding yourself. This prevents static electricity damage. Use an anti-static wrist strap or mat to discharge static from your body.
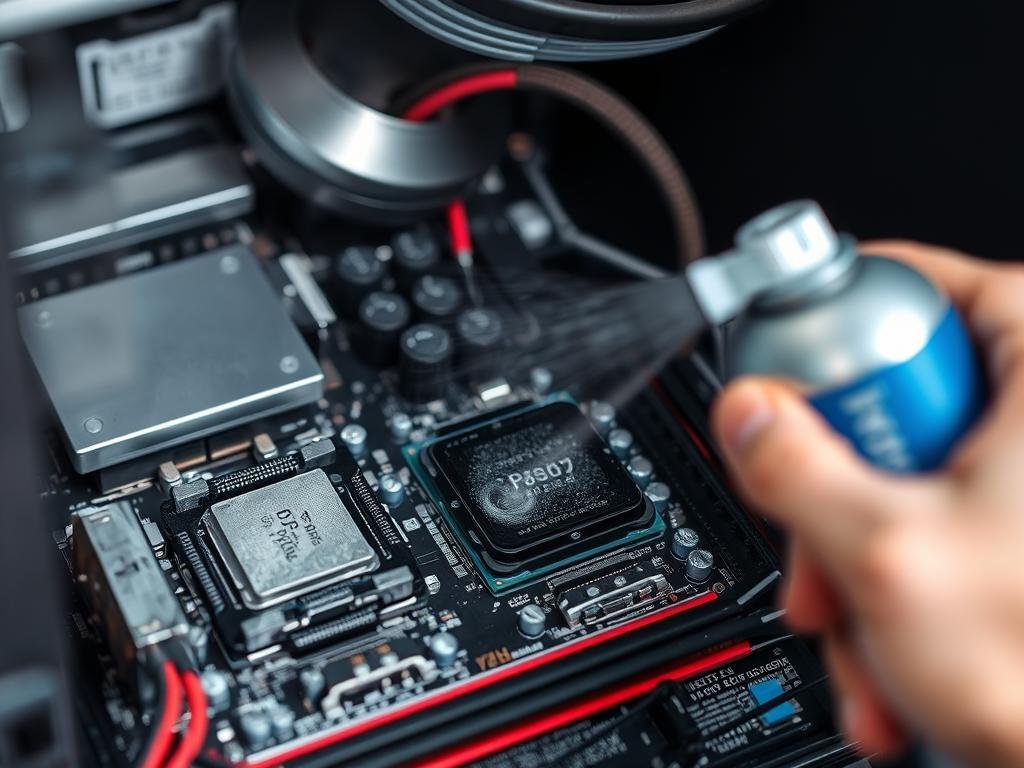
Then, use compressed air to gently blow away dust. For a deeper clean, use a soft-bristled brush to remove dust from between components and the motherboard.
When cleaning hardware, avoid using liquids on components. Instead, dampen a lint-free cloth with isopropyl alcohol. Gently wipe the components. Be careful not to let liquid seep into components or under the motherboard.
Areas to Focus On
Pay special attention to areas around the CPU, RAM, and graphics card. These are prone to dust buildup. This can cause overheating and reduce performance. Use compressed air to clean out slots and heat sinks.
Also, check the capacitors on the motherboard for dust and dirt. While they are robust, too much dust can cause issues. Gently brush or blow away any debris.
Tips for Preventing Damage
To prevent damage, always handle components by the edges. Avoid touching electrical components or circuits directly. The oils from your skin can cause damage over time.
Regularly cleaning your computer system improves performance and extends its life. By following these steps, you can keep your desktop in good working condition. For more complex or sensitive systems, consider professional computer cleaning services. This ensures your hardware is properly maintained.
Handling Internal Cables and Connections
Keeping your desktop’s cables organized is key to its performance and life. When cleaning your desktop, managing internal cables is vital. It helps with airflow and prevents damage to cables and connections.
Importance of Cable Management
Cable management is more than just looks; it’s essential for desktop maintenance. It improves airflow, preventing overheating. Also, it makes repairs or upgrades easier by keeping cables organized.
To manage cables well, follow these steps:
- Route cables behind the motherboard tray or other components to keep them out of the way.
- Use cable ties or zip ties to secure cables to the case or other stable components.
- Label cables to make it easier to identify them during future maintenance.
Securing Cables While Cleaning
When cleaning your desktop, securing cables is critical. Use cable management tools to keep them organized. This prevents damage to cables and other parts.

Checking for Damaged Connections
While cleaning, check your cables and connections for damage. Look for frayed cables, loose connections, or corrosion. Fixing these issues early can avoid bigger problems that might need computer cleaning services.
| Cable Management Practice | Benefit |
|---|---|
| Routing cables behind components | Improves airflow and reduces clutter |
| Using cable ties | Secures cables and prevents damage |
| Labeling cables | Eases identification during maintenance |
By following these tips for handling cables and connections, your desktop will stay in top shape. Regular desktop maintenance, including cable management, is essential for your computer’s longevity.
Reassembly: Putting Your Desktop Back Together
After cleaning your desktop, putting it back together is key for it to work well. You need to make sure everything fits right and cables are tidy.
Guidelines for Reassembly
Begin by placing cleaned parts back in their spots. Make sure the CPU and RAM are in place and tight. Also, reconnect any fans or heat sinks to the motherboard.
Then, plug in all internal cables to their right spots. It’s important to keep these cables neat to help with cooling and prevent overheating. Use cable ties to keep them tidy.

Common Mistakes to Avoid
Don’t over-tighten screws, as it can harm parts or the case. Be gentle when tightening to avoid damage.
Also, don’t forget to plug in all cables and connectors. Check your work to make sure everything is connected right. This includes power and data cables, and any other peripherals.
Testing Your Desktop Before Use
Before turning it on, check that everything is in place and there are no loose screws. Plug in the power cord and press the button. Listen for odd sounds and look for any signs of trouble.
After it’s on, go into the BIOS or UEFI settings to see if all parts are recognized. You can also run a stress test to check for any problems with the CPU, GPU, or other parts.
By following these steps and avoiding common errors, you can make sure your desktop works well after hardware cleaning and cleaning desktop components. Regular upkeep, like cleaning and reassembling, helps keep your clean computer system running smoothly.
Frequency of Internal Cleaning
To keep your desktop cool and running well, knowing when to clean it inside is key. How often you should clean depends on how you use your desktop and where it is.
How Often Should You Clean?
How often you should clean your desktop varies. If you use it a lot, clean it every 6 to 12 months. But, if it’s in a dusty place or you use it for gaming or video editing, clean it every 3 to 6 months.
Signs That Indicate Cleaning is Needed
There are signs that tell you it’s time to clean your desktop. Look out for:
- Dust visible through vents or fans
- Higher temperatures or overheating
- Strange noises from fans or parts
- Slower performance or frequent shutdowns
Spotting these signs early can stop bigger problems.
Creating a Cleaning Schedule
Setting up a cleaning schedule is a good idea. It should match your use and where you live. For example, if you live in a dusty area, clean your desktop more often.
| Usage Pattern | Recommended Cleaning Frequency |
|---|---|
| Average Use | Every 6 to 12 months |
| Heavy Use (Gaming, Video Editing) | Every 3 to 6 months |
| Dusty Environment | Every 3 months |
Sticking to this schedule helps keep your desktop in top shape and running smoothly.
Regular internal cleaning is a simple yet effective way to keep your desktop running well. By knowing when to clean and setting up a cleaning schedule, you can ensure your desktop stays in great condition.
Additional Tips for Maintenance
Keeping your desktop in top shape is more than just cleaning inside. It’s also about other important things that affect how well it works and lasts.
Regular External Cleaning Practices
Cleaning the outside of your desktop is just as key as cleaning the inside. Dust and dirt can get stuck on the outside and even get into vents and ports. Use a soft cloth to wipe down the outside, and compressed air to clean vents and ports. This helps keep air flowing and stops dust from building up.
Importance of Environmental Factors
The place where your desktop sits is very important for its care. Make sure your workspace has good air flow. Also, keep your desktop away from direct sunlight, moisture, and very hot or cold places. For more tips on keeping your desktop in different environments, check out best practices for product use and.
Using Software to Monitor Temperature
It’s vital to watch your desktop’s temperature to avoid overheating. Use software to keep an eye on your CPU and GPU’s temperature. These tools can warn you of problems early, so you can fix them before they get worse. Keeping your software and drivers up to date also helps keep your desktop running smoothly and at the right temperature.
Adding these extra tips to your care routine can really boost your desktop’s performance and make it last longer. Regular cleaning of the outside, paying attention to your environment, and using software to check temperature are all key parts of taking good care of your desktop.
Conclusion and Final Thoughts
Keeping your desktop’s inside parts clean is key to avoiding overheating and keeping it running smoothly. Regular desktop maintenance means cleaning dust from fans, vents, and other parts. This helps air flow and stops damage.
Key Takeaways
By following the steps in this guide, you can keep your computer’s hardware in top shape. Be gentle with internal cables and connections. Also, make sure your desktop is put back together right after cleaning.
For more tips on keeping your computer clean, check out other resources. They offer advice on cleaning hardware and keeping your computer system clean.
Regular Cleaning is Essential
Cleaning your desktop’s inside parts often helps avoid overheating and makes it last longer. Make cleaning a regular part of your routine. This way, your computer will run at its best.
FAQ
Why is internal cleaning of my desktop necessary?
Cleaning your desktop’s inside is key to avoiding overheating. It keeps your computer running well and prevents damage from dust and debris.
What are the consequences of neglecting internal cleaning of my desktop?
If you ignore cleaning, your computer might overheat and run slower. This could harm your desktop’s parts, leading to expensive fixes or even needing a new one.
How often should I clean my desktop internally?
Clean your desktop every 3-6 months, or sooner if you see dust or overheating. This depends on how much you use it and your environment.
What tools do I need for effective internal cleaning of my desktop?
You’ll need compressed air, a soft-bristled brush, and a can of air with a nozzle. Don’t forget safety gear like anti-static wrist straps to protect your parts.
How do I safely power down my desktop before cleaning?
First, shut down your computer. Then, unplug the power cord and any other cables. Press the power button to clear any leftover power.
What are the best methods for cleaning dust buildup from fans and vents?
Use compressed air to blow out dust from fans and vents. Then, use a soft-bristled brush to remove any dust left behind.
How do I clean the motherboard and other components safely?
Use compressed air with a nozzle to gently remove dust. Avoid touching electrical parts or using liquids, as they can damage your components.
Why is cable management important during internal cleaning?
Good cable management stops damage to cables and ensures airflow. It also makes it easier to find and access your components.
How do I test my desktop after reassembly?
Plug in the power cord and press the power button. Check that everything works right and that temperatures are safe.
Can I use software to monitor my desktop’s temperature?
Yes, you can use software like GPU-Z, CPU-Z, or HWMonitor. They help keep your components at safe temperatures.
