Did you know the average household now makes over 100GB of data every day? With more smart devices and digital media, a central storage solution is key. Building a DIY Server lets you control your data and stream media easily.
Setting up your own cloud storage means your files and media are always accessible at home. You won’t need to depend on other services. This article will show you how to build your cloud for storing data and streaming media. We’ll cover the basics of Server Hardware Selection and setup.
Key Takeaways
- Create a personalized cloud for data storage and media streaming
- Gain control over your data and media content
- Learn the basics of DIY Server Setup
- Understand the importance of Server Hardware Selection
- Stream media content seamlessly across your home
Why Build Your Own Home Server?
Building your own home server changes how you handle and access your data. It lets you control your digital storage and media streaming. This way, you get a more personalized and secure experience.
Benefits of Personal Cloud Storage
A personal cloud server lets you store and access files from anywhere. You don’t need to rely on third-party services. This means you can get to your documents, photos, and videos from any device on your network or remotely.
According to a guide on setting up a home server, it’s a flexible way to manage your digital content. It also keeps your sensitive data safe from unauthorized access. This gives you peace of mind, knowing your important files are secure.
Cost Comparison: Commercial Cloud Services vs. DIY Solution
Cost is a big factor when choosing cloud storage. Commercial services charge monthly or yearly based on storage needs. Building your own server costs upfront but saves on subscription fees.
| Storage Capacity | Commercial Cloud Service | DIY Home Server |
|---|---|---|
| 1TB | $5-$10/month | $100-$300 (one-time) |
| 4TB | $20-$40/month | $300-$600 (one-time) |
Control and Privacy Advantages
Building your own server gives you full control over your data. You’re not at the mercy of a third-party service that could change its terms or get hacked. As Server Security Best Practices show, you can tailor strong security to your needs.
“The ability to control and manage your own data is a fundamental right in the digital age.”
Setting up your own server is a step towards securing your digital life. With the right setup, you can protect your data and access it whenever you want.
Understanding Your Needs and Requirements
To build a home server that meets your expectations, you need to evaluate your storage, performance, and budget requirements. Understanding these needs is key for a successful setup.
Assessing Your Storage and Performance Needs
When assessing your storage needs, think about the types of files you’ll be storing. This includes documents, photos, videos, or music. The size and quantity of these files will determine your storage requirements.
For performance, consider how many devices will be accessing your server at once. Also, think about the types of tasks they’ll be performing.
Determining Your Budget
Your budget will significantly influence your home server’s capabilities. Consider not just the initial hardware costs but also ongoing expenses like electricity and future upgrades.
Space and Power Considerations
The physical space available for your server and its power consumption are critical factors. You’ll need to decide between a compact, low-power solution or a more expansive setup with greater capabilities.
Internet Connection Requirements
A reliable and fast internet connection is vital for remote access to your home server. Consider your internet service provider’s options and the bandwidth required for smooth operation, specially if you plan to stream media.
| Consideration | Factors to Evaluate | Impact on Your Setup |
|---|---|---|
| Storage Needs | File types and sizes, number of users | Determines storage capacity and performance requirements |
| Budget | Initial hardware costs, ongoing expenses | Influences hardware choices and upgrade paths |
| Space and Power | Physical space, power consumption | Affects the size and type of hardware you can use |
| Internet Connection | Speed, reliability, bandwidth | Impacts remote access and media streaming quality |
Essential Hardware Components for Your Home Server
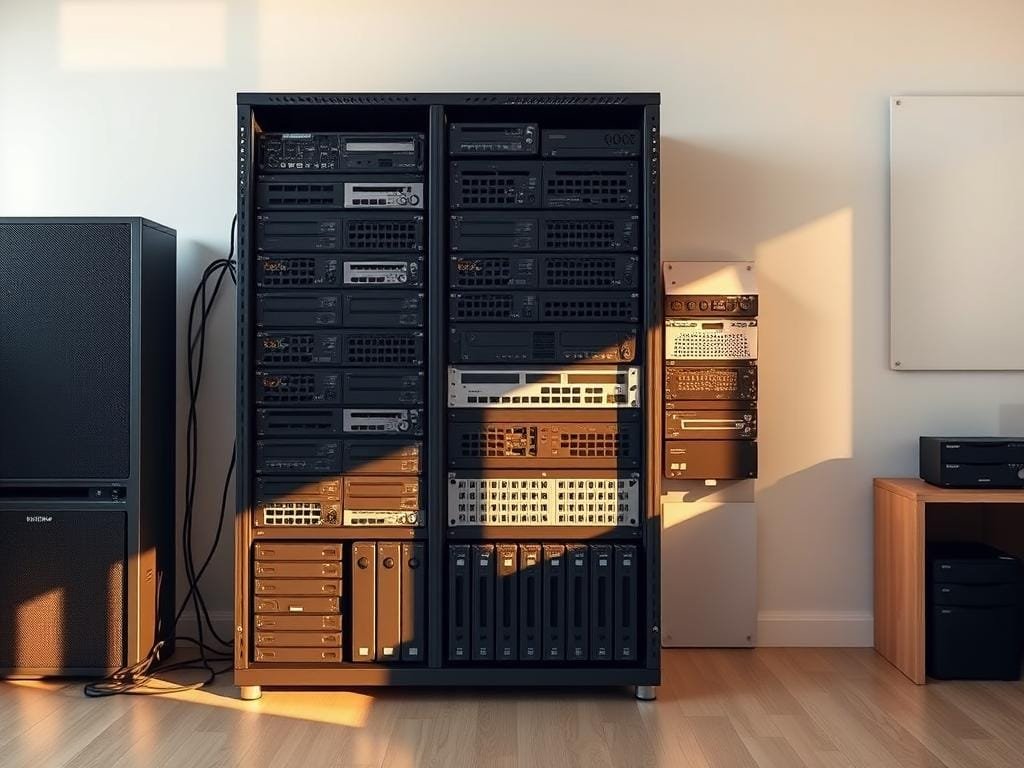
To make a strong home server, pick the right hardware. The parts you choose will affect how well your server works, how much it can store, and what it can do.
Processor and Motherboard Selection
The CPU and motherboard are your server’s brain. Look for a CPU with enough cores and threads. For most needs, an Intel Core i3 or AMD Ryzen 3 is good. Your motherboard should fit your CPU, support RAM, and have SATA ports for drives.
RAM and Storage Options
Enough RAM lets your server do many things at once. For a home server, 8GB to 16GB is usually enough. You can use Hard Disk Drives (HDD) for lots of storage or Solid-State Drives (SSD) for speed. Mixing both is best for storage and speed.
Power Supply and Cooling Solutions
A good power supply unit (PSU) keeps your server stable. Figure out how much power you need based on your parts. For cooling, air fans or liquid cooling are options. Make sure your case fits your cooling choice.
Case Selection and Form Factors
The case holds all your server’s parts. Think about size, material, and features like cable management. Mini-ITX, Micro-ATX, and ATX are common sizes. Choose one that fits your motherboard and has room for drives.
| Component | Recommended | Considerations |
|---|---|---|
| Processor | Intel Core i3 or AMD Ryzen 3 | Number of cores and threads |
| Motherboard | Supports chosen CPU, SATA ports | RAM slots, expansion cards |
| RAM | 8GB to 16GB | Multitasking needs |
| Storage | HDD for capacity, SSD for speed | Balance between capacity and performance |
| Power Supply | Reliable PSU, sufficient wattage | Component power requirements |
| Cooling | Air or liquid cooling | Case support, noise levels |
| Case | Mini-ITX, Micro-ATX, ATX | Size, material, cable management |
By picking the right hardware, you can build a home server that meets your needs for storing data, streaming media, and more.
Choosing the Right Operating System
Setting up your home server starts with picking the right operating system. This choice affects your server’s performance, security, and how it works.
Linux Distributions for Home Servers
Linux is a top pick for home servers. It’s flexible, secure, and affordable. Options like Ubuntu Server and FreeNAS are great for storing data on a network. They’re also easy to customize.
Windows Server Options
If you’re used to Windows, Windows Server is a good choice. It’s easy to use and works well with other Microsoft tools. It’s perfect if you need to manage users with Active Directory.
Specialized NAS Operating Systems
For network-attached storage, OpenMediaVault and Rockstor are top picks. They focus on keeping your data safe and are built for storing files.
| Operating System | Key Features | User Interface |
|---|---|---|
| Ubuntu Server | Highly customizable, robust security | Command-line interface |
| Windows Server | Active Directory, user-friendly | Graphical user interface |
| OpenMediaVault | Advanced NAS features, easy plugin management | Web-based interface |
The best operating system for your home server depends on your needs. Consider the data you’ll store, your tech skills, and your current setup.
Complete Home Server Setup Guide
To set up a reliable home server, start by gathering the right hardware. Then, install an operating system and configure the settings. This guide will help you through each step, making sure your server is strong and efficient.
Hardware Assembly Process
First, put together the hardware parts. Start with the CPU and motherboard, making sure they match and fit right. Then, add RAM, storage drives, and a power supply. For tips on picking affordable NAS hardware, check out building a budget NAS.
Make sure everything is connected well and the system has good airflow. This prevents it from getting too hot.
Operating System Installation
After setting up the hardware, it’s time to install the operating system. You can pick from Linux distributions, Windows Server, or NAS operating systems. Pick one that meets your needs, looking at things like ease of use, software support, and hardware compatibility.
Initial Configuration Steps
After installing the OS, you’ll need to set up the initial settings. This includes making user accounts and setting up network options.
User Account Setup
Make user accounts for everyone who will use the server. Make sure each account has the right permissions. For example, admins should have full access, while others might only see certain folders or files.
Network Configuration
Set up your network settings so your server can be reached on your local network and, if you want, from anywhere. You’ll need to set the server’s IP address, subnet mask, gateway, and DNS settings. You might also need to set up port forwarding on your router for remote access.
By following these steps, you’ll have a home server that’s ready for storing data and streaming media. With the right setup and regular upkeep, your server will stay reliable and efficient.
Configuring Network Storage Solutions
To make your data accessible across devices, you’ll need to set up network storage. This means setting up file sharing, RAID options, and remote access. It ensures your data is both accessible and secure.
Setting Up File Sharing Protocols
File sharing protocols let devices on your network share files. The most common are SMB/CIFS and NFS.
SMB/CIFS Configuration
SMB/CIFS works well in mixed environments like Windows, macOS, and Linux. To set it up, edit the smb.conf file. This file holds your server’s settings and shared directories. For a detailed guide, check out this all-flash ZFS network storage build guide.
NFS Setup
NFS is great for Unix-like systems. To set it up, edit the /etc/exports file. This file tells which directories to share and with whom. Experts say NFS is top for Linux and macOS because of its speed and flexibility.
RAID Configuration Options
RAID setups offer data redundancy and better performance. You can choose RAID 0 for speed, RAID 1 for safety, or RAID 5 for both. Think about your data security and speed needs when picking a RAID.
Remote Access Setup
Remote access lets you manage your home server from anywhere. You can use VPN or port forwarding on your router. Make sure your remote access is secure with strong passwords and encryption.
By following these steps, you can set up your home server’s network storage. This ensures your data is safe and easy to access.
Media Streaming Server Installation
Setting up a home media streaming server is easy. You just need to pick the right media server software and set it up. This lets you stream your favorite shows and movies to any device in your home, making your entertainment better.
Plex Media Server Setup
Plex is a top pick for streaming media because it’s easy to use and has lots of features. First, download Plex Media Server from their website. Then, add your movie and TV folders to set up your media library. Plex makes your media easy to find and watch on any device with the Plex app.
Jellyfin Configuration
Jellyfin is a great media server choice, being free and open-source like Plex. Start by installing Jellyfin on your server. Next, point Jellyfin to your media folders to set up your libraries. Jellyfin lets you tweak settings, like transcoding, to improve performance.
Emby Server Installation
Emby is packed with features for managing and streaming your media. Download the Emby server software and follow the setup steps. Then, organize your media libraries and tweak settings for the best streaming experience.
Optimizing Transcoding Performance
Transcoding is key for streaming, as it makes media files work on different devices. Make sure your server has a strong CPU for better transcoding. You can also tweak transcoding settings in your media server software. For example, you can limit how many files are transcoded at once or adjust quality. For more tips, check out Spiceworks.
By following these steps and picking the right media server software, you can build a powerful home media server. It will meet all your entertainment needs.
Implementing Server Security Best Practices
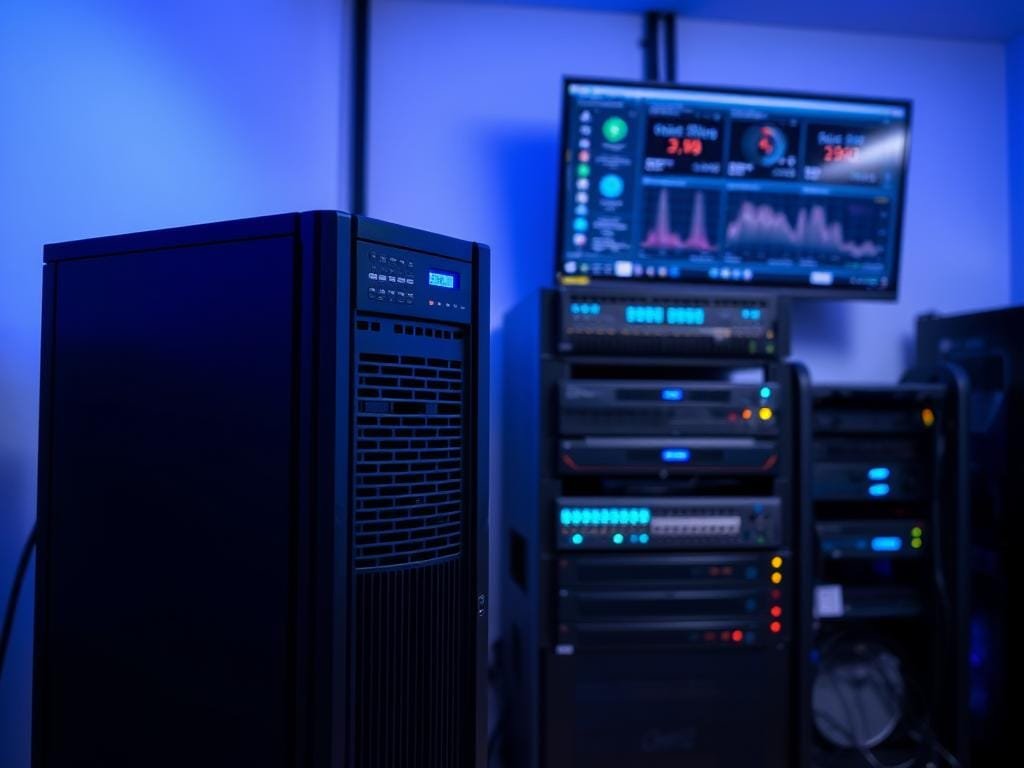
Setting up your home server? Security is key to keep your data safe from hackers. A secure server means your data is protected, and you can enjoy streaming without worries.
Firewall Configuration
Firewalls are your first defense against hackers. They block unwanted internet traffic, letting only approved data through. Make sure your firewall is on and set to block unnecessary traffic.
User Authentication and Permissions
It’s important to control who can access your server. Use strong passwords and two-factor authentication for extra security. Set permissions for each user to limit access to sensitive areas.
Encryption Implementation
Encryption keeps your data safe, whether it’s stored or being sent. Use SSL/TLS for secure data transfer and encrypt your storage devices. For more on encryption, check out Cybersecurity Basics: Protecting Your Digital Life.
Regular Security Updates
Keep your server’s software and OS updated to fix security holes. Regular updates help protect your server from new threats.
| Security Measure | Description | Importance Level |
|---|---|---|
| Firewall Configuration | Controls incoming and outgoing network traffic | High |
| User Authentication and Permissions | Limits access to authorized users and actions | High |
| Encryption Implementation | Protects data at rest and in transit | High |
| Regular Security Updates | Patch security vulnerabilities | High |
Troubleshooting Common Home Server Setup Issues
Keeping your home server running well means fixing problems as they come up. When you set up your DIY Server Setup, you might face some issues. It’s important to know how to fix them.
Network Connectivity Problems
Network problems can happen if settings are wrong or if hardware breaks. First, check your router and server connections. Make sure your server’s network settings are right and your router works well. For more help, check out Acer’s community forum for tips on fixing Acer Aspire EasyStore H340 home servers.
Storage and File System Errors
Errors in storage and file systems can cause data loss and make your server unstable. Use tools like chkdsk for Windows or fsck for Linux to check your server’s storage. Setting up RAID can also protect against disk failures.
Performance Bottlenecks
Performance problems can come from bad hardware or software. Use tools like Task Manager or Resource Monitor to find where your server is slow. Adding more RAM or swapping a slow hard drive for an SSD can help a lot.
Media Streaming Issues
Streaming media problems can be a big hassle, like when you use your server for watching movies. Make sure your media server software, like Plex or Jellyfin, is set up right and updated. Also, make sure your server can handle the demands of transcoding, and optimize your media library for better playback.
By fixing these common problems, your home server will stay reliable and efficient. Regular Server Maintenance Tips can help avoid many issues. This keeps your Home Server Setup running smoothly.
Conclusion
You now know how to set up your own home server for storing data and streaming media. Your DIY Server Setup gives you a custom cloud storage solution. It offers control, security, and flexibility.
With your Home Server Setup done, you can stream media smoothly and store data safely. Proper Server Configuration makes sure your server works well and stays safe from threats.
As you keep using and improving your home server, you can add more features. You can connect more devices and make your media streaming better. Your home server is now a key part of your digital life. It provides a reliable and secure way to store and stream your media.
FAQ
What are the benefits of building a home server compared to using commercial cloud services?
A home server offers personal cloud storage and saves money. It also gives you control over your data. This means better privacy and security than commercial cloud services.
How do I determine my storage and performance needs for a home server?
First, think about how much data you’ll store. Then, consider how many users and devices will access it. Your budget and the apps you want to run also matter.
What are the essential hardware components required for a home server?
You’ll need a processor, motherboard, RAM, and storage drives. A good power supply, cooling solutions, and a case are also key. Choose each based on your needs and budget.
What operating system options are available for a home server?
Popular choices include Linux distributions, Windows Server, and NAS operating systems. Pick one based on your needs, like file sharing or media streaming.
How do I configure network storage solutions on my home server?
To set up network storage, use file sharing protocols and RAID for data safety. Enable remote access to keep your data secure and accessible.
What are the best practices for securing my home server?
Secure your server with a firewall, user authentication, and encryption. Regular security updates are also vital to protect your data.
How do I troubleshoot common issues with my home server setup?
Fix network, storage, and performance issues by checking your hardware and settings. This helps solve common problems.
Can I use my home server for media streaming, and how do I set it up?
Yes, you can stream media with your server. Install software like Plex and optimize it for quality streaming.
What are the power and space requirements for a home server?
Power needs depend on your hardware. Space requires a suitable location with good ventilation and power supply.
How do I optimize my home server’s performance?
Choose the right hardware and configure your system well. Monitor performance and upgrade or adjust settings as needed.

