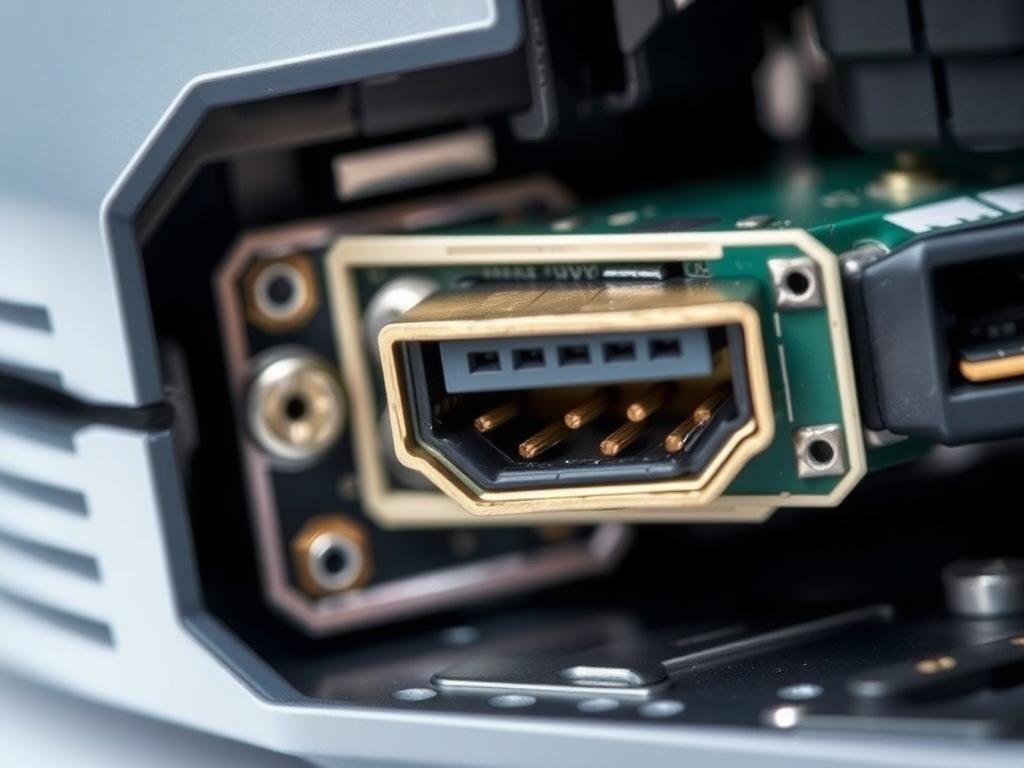
HDMI Port Repair on Consoles. Gaming consoles often face HDMI port problems. Many users deal with connectivity issues and poor video quality. A lot of console repairs are due to faulty HDMI ports. If your console’s HDMI port isn’t working right, it’s key to know why and how to fix it.
Diagnosing and fixing HDMI port problems can save you money and extend your console’s life. This article will show you how to spot and possibly fix common issues. It aims to help you enjoy gaming again without needing a new console.
Key Takeaways
- Common causes of HDMI port issues on gaming consoles
- Steps to diagnose HDMI port problems
- Potential solutions for fixing faulty HDMI ports
- The importance of proper HDMI port maintenance
- When to seek professional repair services
Understanding HDMI Port Issues on Gaming Consoles
HDMI port problems on gaming consoles can be really frustrating. But knowing what causes them is the first step to fixing them. Your console’s HDMI port is key for connecting it to your TV or monitor. Any problems with it can mess up your gaming fun.
Common HDMI Port Failures and Their Causes
Common reasons for HDMI port failures include too much plugging and unplugging, physical damage, and electrical issues. Reports show these are top reasons for HDMI port failures on gaming consoles.
Physical Damage vs. Electrical Failures
Physical damage to the HDMI port can happen from mishandling, like forcing the HDMI cable in or bending the port. Electrical failures might come from power surges or using the console in unstable electrical areas.
Signs of HDMI Port Deterioration
Signs your console’s HDMI port is getting worse include connection problems, no signal, or visible damage. If you see these signs, fixing the issue quickly is key to avoid more damage.
| Cause | Description | Symptoms |
|---|---|---|
| Physical Damage | Damage from mishandling or accidents | Visible damage, intermittent connections |
| Electrical Failures | Power surges or unstable electrical supply | No signal, console not recognized |
| Wear and Tear | Frequent plugging and unplugging | Loose connection, intermittent issues |
Knowing these common problems helps you figure out and maybe fix your console’s HDMI port issue. Next, we’ll talk about the tools and materials you’ll need for HDMI port repair.
Essential Tools and Materials for HDMI Port Repair
To fix HDMI ports on your gaming system, you need the right tools and materials. The right tools make the job easier and ensure a lasting fix.
Basic Soldering Equipment
A quality soldering iron is key for fixing HDMI ports. Look for one with temperature control to protect your console’s parts.
Soldering Iron and Station Recommendations
A soldering station is best for precise temperature control. Weller and Hakko are top brands to consider.
Solder Types and Flux Options
Choosing the right solder and flux is important. 60/40 tin-lead solder is common, but Sn96.5Ag3.0Cu0.5 is lead-free. Use electronics-specific flux for clean, strong joints.
Specialized Tools for Console Disassembly
Disassembling consoles needs special tools to avoid damage. You’ll need a precision screwdriver set and pry tools.
Screwdriver Sets and Pry Tools
Your screwdriver set should have Phillips, Torx, and flathead drivers. Pry tools should be made of plastic or nylon to avoid scratches.
Anti-Static Equipment
An anti-static wrist strap or mat is essential. It protects your console’s sensitive parts from static.
Replacement HDMI Port Components
Finding the right replacement HDMI port is critical. Make sure it fits your console model.
Where to Source Quality Replacement Parts
Find parts from trusted suppliers or the console maker’s official store. They offer genuine parts.
Identifying Compatible HDMI Ports
Check your console’s manual or the manufacturer’s website. They will list compatible HDMI ports.
Safety Precautions Before Starting Your Repair
Before you start fixing your game console’s HDMI port, it’s key to know the safety steps. These steps will keep you and your device safe.
Electrical Safety Measures
Working with electronic parts means you must focus on electrical safety. This includes using the right grounding methods and disconnecting power correctly.
Proper Grounding Techniques
To prevent damage from static electricity, make sure you’re grounded. You can touch a metal object or wear an anti-static wrist strap.
Power Disconnection Protocols
Always unplug your console before you start repairs. This stops accidental power-ons and electrical shocks.
Protecting Your Console Components
It’s also important to protect your console’s parts from damage. This means handling them carefully and keeping your workspace tidy.
Handling Sensitive Electronics
Parts like the motherboard and graphics card are very sensitive. Handle them by the edges and avoid touching electrical parts.
Workspace Organization Tips
Make sure your workspace is clean, well-lit, and organized. Use containers for small parts and keep your area free from clutter.
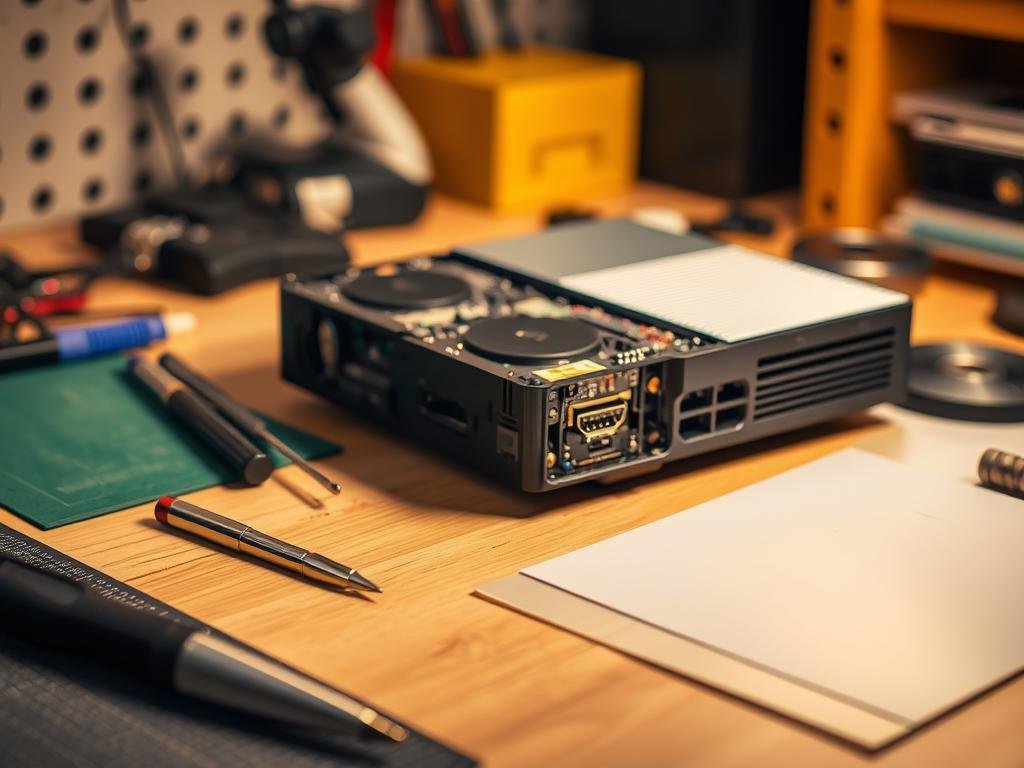
Diagnosing HDMI Port Problems on Your Console
To find out what’s wrong with your console’s HDMI port, you need to follow a few steps. This helps you figure out the main problem. You’ll be checking for common issues that might be causing the problem.
No Signal Issues Troubleshooting
Dealing with no signal problems? Start by looking at your HDMI cable. Check it for any damage.
Cable Testing Methods
- Try using a different HDMI cable to rule out any issues with the current one.
- Test the HDMI cable on another device to ensure it’s functioning properly.
Display Configuration Checks
Make sure your display is set to the right HDMI input. Look at your TV or monitor’s settings to check this.
Intermittent Connection Problems
Dealing with connection issues that come and go? First, check if the connections are loose.
Identifying Loose Connections
Look at the HDMI port on your console and the cable. See if there’s any wear or damage.
Testing for Internal Board Damage
If the problem keeps happening, it might be a sign of internal damage. For tough problems, get help from a pro. Check out this guide for detailed steps.
Determining if the Port Needs Replacement or Repair
Decide if you need to replace or fix your HDMI port. Look at how bad the damage is.
Partial vs. Complete Port Failure
If the damage is just partial, you might be able to fix it. But if it’s totally broken, you’ll need a new port.
Assessing Repair Difficulty Level
Think about your skills and how hard the repair is. If it’s too complicated, get a pro to do it.
HDMI Port Repair on Consoles: Step-by-Step Guide
HDMI port problems on your gaming console can be a real pain. But, you can often fix it yourself. If your console’s HDMI port breaks, it can mess up your gaming fun. Luckily, with the right tools and some patience, you can fix or swap out the HDMI port by yourself.
Disassembling Your Console Safely
To begin the repair, you’ll need to take apart your console. This step needs to be done carefully to avoid harming other parts.
Accessing the Motherboard
Follow a detailed disassembly guide for your console to get to the motherboard. This is where the HDMI port is usually found.
Documenting Disassembly Process
As you take apart your console, document each step. Take photos or make notes. This will help you put everything back together later.
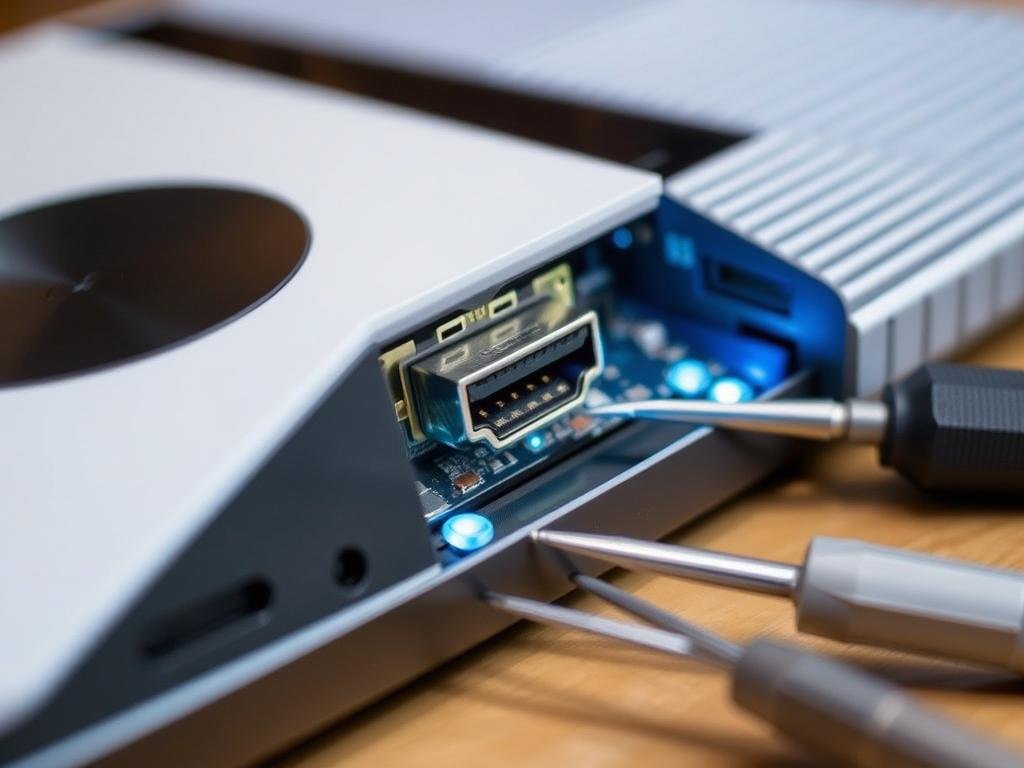
Removing the Damaged HDMI Port
Once you can see the motherboard, it’s time to take out the broken HDMI port.
Desoldering Techniques
Use the right desoldering methods to remove the old HDMI port. This means heating the solder and gently lifting the port off the board.
Cleaning the Contact Area
After taking out the old port, clean the area on the motherboard. This makes sure the new port will connect well.
Installing the New HDMI Port
Now that the old port is gone and the area is clean, it’s time to put in the new HDMI port.
Alignment and Positioning
Make sure the new HDMI port is lined up right with the motherboard’s mounting points. Then, place it correctly before soldering.
Soldering Best Practices
When soldering the new port, follow the best practices. Use the right amount of solder and avoid solder bridges. For more tips on soldering, check out HDMI repair guides for Xbox Series.
By following these steps, you can fix your console’s HDMI port yourself. This saves you from having to buy a whole new system.
PlayStation Console HDMI Port Repair Guide
If your PlayStation has HDMI port problems, this guide will help you fix it. Fixing the HDMI port is cheaper than buying a new console.
PlayStation4 HDMI Port Replacement
Fixing a PS4’s HDMI port needs careful steps and soldering skills. Make sure you know your PS4 model well. Different models have different repair steps.
PS4 Model-Specific Considerations
PS4 models like the original, Slim, and Pro have unique designs. This can change how you repair it. For example, the PS4 Slim is smaller, making it harder to open.
Common PS4 HDMI Failure Points
Most problems are in the solder joints or the HDMI port itself. Check these areas well to find the problem.
PlayStation5 HDMI Port Considerations
Fixing a PS5’s HDMI port is harder because of its advanced tech and small size. For more help, check out this PS5 HDMI repair guide.
PS5 Disassembly Challenges
Opening a PS5 needs careful steps to avoid breaking it. You’ll need to remove screws and gently open the case.
PS5 HDMI Port Design Features
The PS5’s HDMI port supports high resolutions and refresh rates. Knowing these features is key to a good repair.
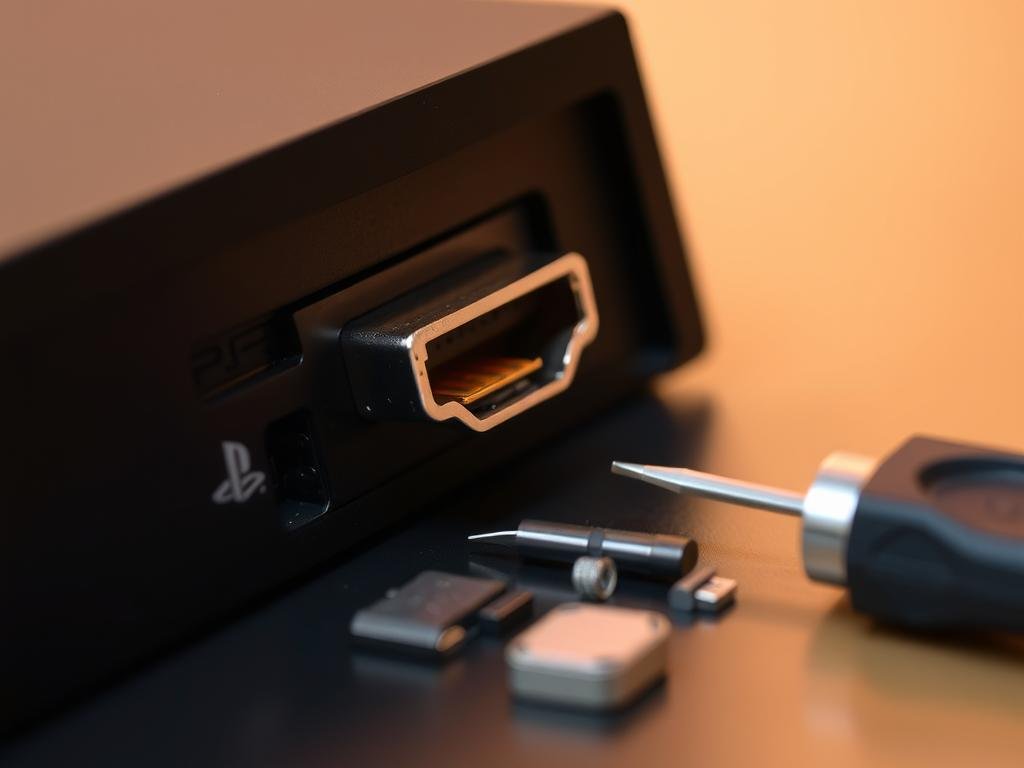
With this guide, you can fix your PlayStation’s HDMI port. Take your time and be careful to avoid more damage.
Xbox Console HDMI Port Repair Walkthrough
Fixing HDMI ports on Xbox consoles needs patience and the right tools. It’s important to know how to repair them, whether you have an Xbox One or Series X/S. This knowledge can save you time and money.
Xbox One HDMI Port Repair Process
Repairing the HDMI port on an Xbox One involves several steps. First, you must carefully take apart your console to reach the damaged port. Using the right screwdrivers and following a detailed guide can help prevent further damage.
Xbox One S vs. Original Model Differences
The Xbox One S has a different HDMI port setup than the original Xbox One. The Xbox One S uses a more compact HDMI port, which may need special tools for repair.
Addressing HDMI Retimer Chip Issues
Some Xbox One models face issues with the HDMI retimer chip, leading to signal problems. Replacing or re-soldering this chip may be necessary for a successful repair.
Xbox Series X/S HDMI Port Repair Tips
Repairing the HDMI port on Xbox Series X/S consoles is more challenging due to their advanced hardware. The Series X/S consoles use more complex SMD components, requiring advanced soldering skills.
Series X/S Port Design Changes
The HDMI port design in Series X/S consoles has seen significant changes. Understanding these changes is key for a successful repair.
Handling SMD Components on Newer Consoles
Repairing newer Xbox consoles requires precision and care when handling SMD components. Using the right soldering techniques and equipment is vital to avoid damaging these sensitive parts.
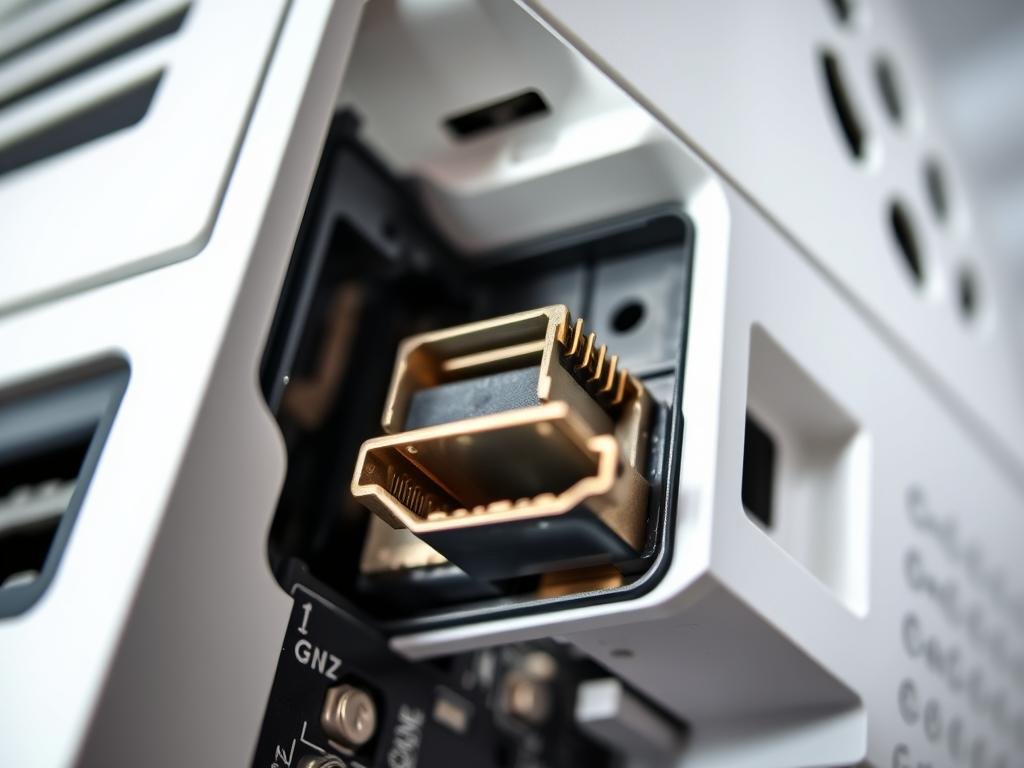
By following these guidelines and tips, you can successfully repair your Xbox console’s HDMI port. This will restore it to full functionality. Whether you’re an experienced DIY enthusiast or a novice, this walkthrough provides the necessary steps for a gaming console HDMI port repair service or game console HDMI port replacement.
Nintendo Switch HDMI Dock Repair Options
Nintendo Switch users often face HDMI dock problems. But, these can be fixed with the right steps. The dock is key for connecting your Switch to a TV. When it breaks, it can be really annoying.
Dock HDMI Port Replacement
Replacing the HDMI port in your Nintendo Switch dock is a good fix. First, you need to take apart the dock.
Dock Disassembly Process
To take apart the dock, start by removing the screws from the bottom. Then, open the casing carefully. Make sure not to hurt any inside parts.
Dock Circuit Board Soldering Tips
After you see the circuit board, remove the old HDMI port and add a new one. Use a controlled soldering iron and make sure the area is well-ventilated.
| Tool | Purpose |
|---|---|
| Soldering Iron | Desoldering old HDMI port |
| Wire Cutters | Trimming excess wire |
| Multimeter | Checking for continuity |
Alternative Solutions for Switch HDMI Issues
If you can’t replace the HDMI port, there are other ways. Third-party docks and USB-C to HDMI adapters work well.
Third-Party Dock Considerations
When picking a third-party dock, make sure it fits your Switch model. Read reviews and check the specs.
USB-C to HDMI Adapter Options
USB-C to HDMI adapters give a direct link from your Switch to TV. They’re small and cheaper than a new dock.
By trying these options, you can fix HDMI dock problems. This way, you can keep playing your Nintendo Switch on TV.
Cost Considerations and Professional Repair Services
When you think about fixing your gaming console’s HDMI port, it’s key to compare DIY and professional repair costs. The price difference can really sway your choice.
DIY vs. Professional Repair Cost Comparison
It’s important to look at the costs of DIY versus professional repair. DIY can cost between $50 and $200, depending on the parts and tools needed.
Parts and Tools Investment Analysis
- Replacement HDMI port: $20-$50
- Soldering equipment: $30-$100
- Console disassembly tools: $10-$50
Time and Skill Factor Evaluation
Your skill level and available time are big factors. If you’re new to soldering or taking apart consoles, you might damage it more.
Finding Reputable Console Repair Services
Finding a good HDMI port repair service for your console is important. Look for services with experience in fixing HDMI issues.
Evaluating Repair Service Credentials
- Check for customer reviews and ratings
- Verify their experience with your console model
Warranty and Guarantee Considerations
A good repair service should offer a warranty or guarantee. This means if the repair doesn’t work, you won’t have to pay again.
Preventing Future HDMI Port Damage
After fixing your console’s HDMI port, it’s key to avoid future damage. Proper cable management is a great way to do this.
Proper Cable Management Techniques
Good cable management lessens HDMI port strain. Use strain relief methods to reduce cable stress when connected.
Strain Relief Methods
Cable ties or strain relief devices keep HDMI cables secure. This lowers the chance of damage from pulls or bends.
Cable Quality Importance
The HDMI cable’s quality is also vital. High-quality cables are less likely to cause problems due to their strong build and better shielding.
Protective Measures for Console HDMI Ports
There are more ways to protect your HDMI ports. Using HDMI port savers or adapters adds extra protection against wear and tear.
HDMI Port Savers and Adapters
These devices help absorb stress and strain from HDMI connections. They might save your console’s port from damage.
Console Placement Best Practices
Where you place your console affects its HDMI port’s life. Make sure it’s in a stable, secure spot to avoid accidental damage.
Conclusion
Fixing HDMI ports is key for smooth gaming on your console. Knowing why HDMI ports fail helps you avoid damage. This keeps your console working well.
Fixing HDMI ports works the same for PlayStation, Xbox, and Nintendo Switch. This article’s tips help you fix it yourself or find the right service.
Good HDMI port repair means fixing the problem and preventing future ones. Using the right cable management and protection helps. This way, your console’s HDMI port lasts longer, giving you better gaming.
FAQ
What are the common signs of a failing HDMI port on my gaming console?
Signs include no signal or issues with it coming and going. You might also see loose connections or damage to the port.
Can I repair my console’s HDMI port myself, or should I seek professional help?
If you’re good with tech and have the right tools, you can try fixing it yourself. But, if you’re not sure or feel uneasy, it’s best to get help from a pro to avoid making things worse.
What tools do I need to repair an HDMI port on my gaming console?
You’ll need a soldering iron, screwdrivers, and anti-static tools. These are basic but important for the job.
How do I diagnose HDMI port problems on my console?
Start by testing cables and checking display settings. Look for physical damage or electrical issues too.
Are there any specific considerations for repairing HDMI ports on PlayStation or Xbox consoles?
Yes, each model has its own needs. For example, the PS5’s HDMI port is different from the PS4’s. Xbox Series X/S consoles have special components that need care.
Can I use a third-party HDMI dock or adapter to bypass a damaged HDMI port on my Nintendo Switch?
Yes, you can use a third-party HDMI dock or adapter. Just make sure to pick a reputable brand for the best results.
How much does it cost to repair or replace an HDMI port on a gaming console?
Costs vary based on the console, repair method, and who you get to do it. DIY can save money, but pros might charge more. Always compare prices and think about warranties.
How can I prevent future HDMI port damage on my gaming console?
Keep cables tidy and use cable ties or strain relief. Also, make sure your console is in a safe spot.
What are the benefits of repairing my console’s HDMI port instead of replacing the entire console?
Fixing the HDMI port saves money and keeps your warranty intact. It also means you don’t have to transfer all your data to a new device.
How do I find a reputable console repair service for my HDMI port issue?
Look up online reviews and check for certifications. Ask about warranties and make sure they know how to fix your console’s HDMI port.
