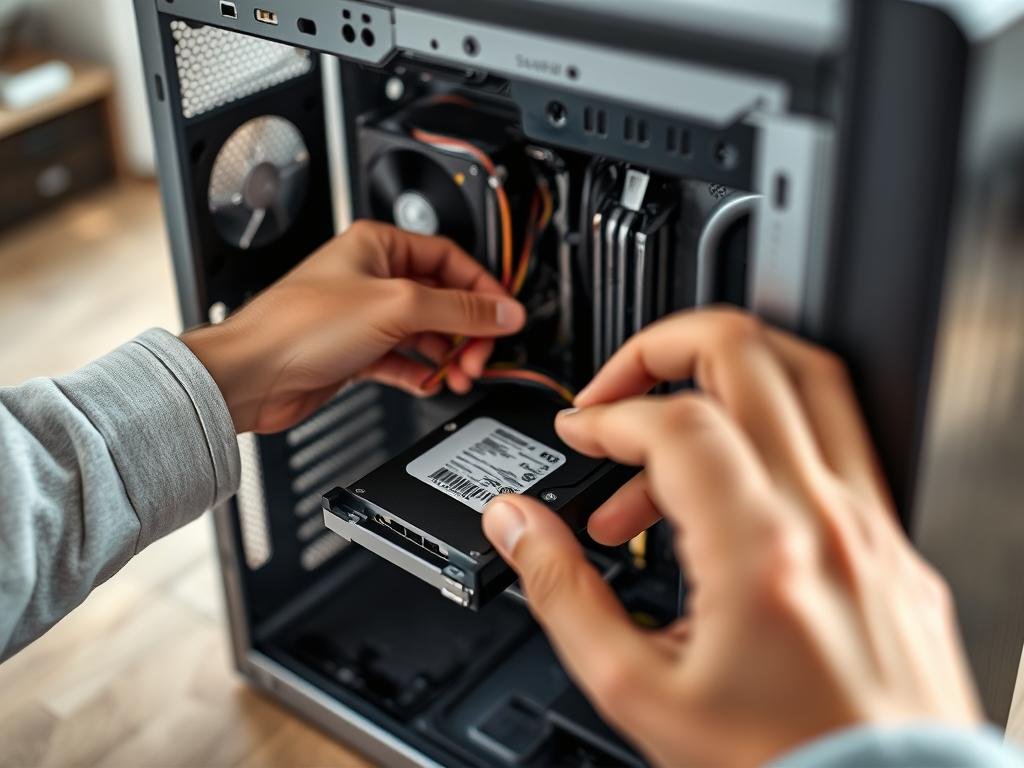
Did you know most desktop PCs can handle more than one internal hard drive? This lets you boost your storage and possibly speed up your computer by installing a second drive. With more storage needed, adding a second internal hard drive or SSD is a smart move. This article will show you how to upgrade your desktop’s storage easily.
For Windows 10 users, the upgrade is simple, thanks to this guide on installing a second internal hard. You might also want to think about setting up a home server for more storage, as Digital Vista Online suggests.
Key Takeaways
- Most desktop PCs can support multiple internal hard drives.
- Adding a second drive can increase storage capacity and improve performance.
- The process involves physical installation and configuring the drive in Windows 10.
- Users can also consider setting up a home server for additional storage.
- Proper planning and choosing the right hardware are key for a successful upgrade.
Understanding HDD and SSD Basics
When you want to add more storage to your desktop, knowing about Hard Disk Drives (HDDs) and Solid State Drives (SSDs) is key. Each type has its own strengths, making them better for different tasks.
Differences Between HDDs and SSDs
HDDs and SSDs work in different ways. HDDs have moving parts to read and write data. SSDs, on the other hand, use flash memory chips for faster and more reliable storage.
SSDs are much quicker than HDDs because they can access data instantly. HDDs take time to find data on their disks. This makes SSDs faster for reading and writing. For more details, check out PCMag’s comparison.
Pros and Cons of Each Storage Type
HDDs and SSDs both have their good and bad sides. HDDs hold more data for less money, but they use more power and are slower. SSDs are quicker, use less power, and last longer, but cost more per gigabyte.
- HDD Pros:
- More storage for less money
- Good for storing lots of data
- HDD Cons:
- Slower than SSDs
- Uses more power
- SSD Pros:
- Fast access times
- Uses less power
- SSD Cons:
- More expensive per gigabyte
- Less storage capacity
Ideal Uses for HDDs and SSDs
Knowing when to use HDDs and SSDs can help you make the best choice. SSDs are great for your operating system, apps, and files you use often. HDDs are better for storing big files, movies, and backups because of their high capacity.
| Drive Type | Ideal Use | Key Benefit |
|---|---|---|
| SSD | Operating System, Applications | Fast Performance |
| HDD | Mass Storage, Backups | High Capacity |
By understanding HDDs and SSDs, you can pick the right storage for your desktop. This balances speed and storage based on what you need.
Tools You’ll Need for Installation
Before starting, make sure you have all the tools needed for a smooth upgrade. The right tools will make the process easier and help you avoid problems.
Essential Tools for Setup
You’ll need a few key tools to start. A screwdriver is essential for removing screws from your desktop’s case. Also, have your system’s owner’s manual ready. It has important instructions for upgrades.
An ESD wrist strap is also important. It prevents damage from static electricity. Static can harm your electronics, so using an ESD strap is a good idea.
Optional Tools for Efficiency
While not required, some tools can make the process better. Cable ties help keep cables tidy, improving airflow and making future upgrades simpler. A can of compressed air is useful for dusting out your desktop’s interior. This ensures your new storage works well.
For detailed steps on installing a solid-state drive (SSD), check out this guide on how to install a solid-state drive. It offers step-by-step instructions and tips for a successful installation.
Preparing Your Desktop for Installation
To make sure your desktop is ready for installation, you need to take a few steps. First, you must follow safety rules. Then, learn how to get to your desktop’s inside parts.
Safety Precautions to Take
Before you open your desktop, it’s key to ground yourself. This stops static electricity from harming your parts. You can touch a metal part or wear an ESD wrist strap to do this. Static can ruin your hardware, so it’s very important.
Also, make sure your work area is clear and bright. This makes it easier to see and work on your desktop’s inside parts. It also lowers the chance of breaking something.
How to Open Your Desktop Case
To get to your desktop’s inside, you have to open the case. The steps to do this depend on your case’s design. Check your owner’s manual for exact directions. It will tell you how to take off the side panel or open the case.
Usually, you’ll need to take screws off the back and then slide or lift the side panel off. Keep these screws in a safe place. You’ll need them to put the panel back when you’re done.
| Safety Precaution | Purpose |
|---|---|
| Grounding yourself | Prevents static electricity damage |
| Clear and well-lit workspace | Eases navigation and reduces risk of damage |
| Referring to the owner’s manual | Provides case-specific instructions for opening |
By doing these things, you’ll be ready to put in your new HDD or SSD. This will make your desktop’s storage better and its performance faster.
Choosing the Right HDD or SSD
Choosing the right HDD or SSD is important for your desktop’s performance and storage. You need to think about a few key factors.
Factors to Consider
First, consider storage capacity, interface type (like SATA or PCIe), and form factor (2.5-inch or 3.5-inch). The storage you need depends on how you use your desktop. Do you store lots of files, programs, or an operating system?
The interface type is key for compatibility with your desktop. SATA is common for both HDDs and SSDs. PCIe is for high-performance SSDs. For more info on support for hard disk drives, check Dell’s support page.
Recommended Brands and Models
Top brands for HDDs and SSDs include Crucial, Western Digital, and Seagate. They offer various models with different storage, interfaces, and sizes.
For an SSD, Crucial’s MX series is reliable and fast. If you prefer an HDD, Western Digital’s Caviar Blue series is a good choice. It balances capacity and speed well.
Finding the Best Location for Installation
Before you start installing your new HDD or SSD, it’s key to know your desktop’s inside layout. This info helps you find the right drive bays and SATA connectors on your motherboard. It makes the setup easier.
To start, check your owner’s manual for drive bay and SATA connector info. This is vital for picking the best spot for your new storage. You can also look at PCWorld’s guide on installing a new hard drive for more help.
Understanding Your Desktop’s Layout
Your desktop’s inside is made for different parts, like storage devices. Get to know the drive bays, SATA connectors, and power supply.
Slots and Connectors to Look For
When finding a spot for your new HDD or SSD, look for drive bays and SATA connectors. Make sure the drive bay fits your new device and you have the right SATA connectors.
Knowing your desktop’s layout and finding the right slots and connectors helps you choose the best spot for your new storage. This improves your desktop storage solutions and makes upgrading desktop storage easier.
Installation Steps for HDDs
To add more storage to your desktop, installing a hard drive is easy. You just need to follow a few steps to make sure it works right.
How to Physically Install the HDD
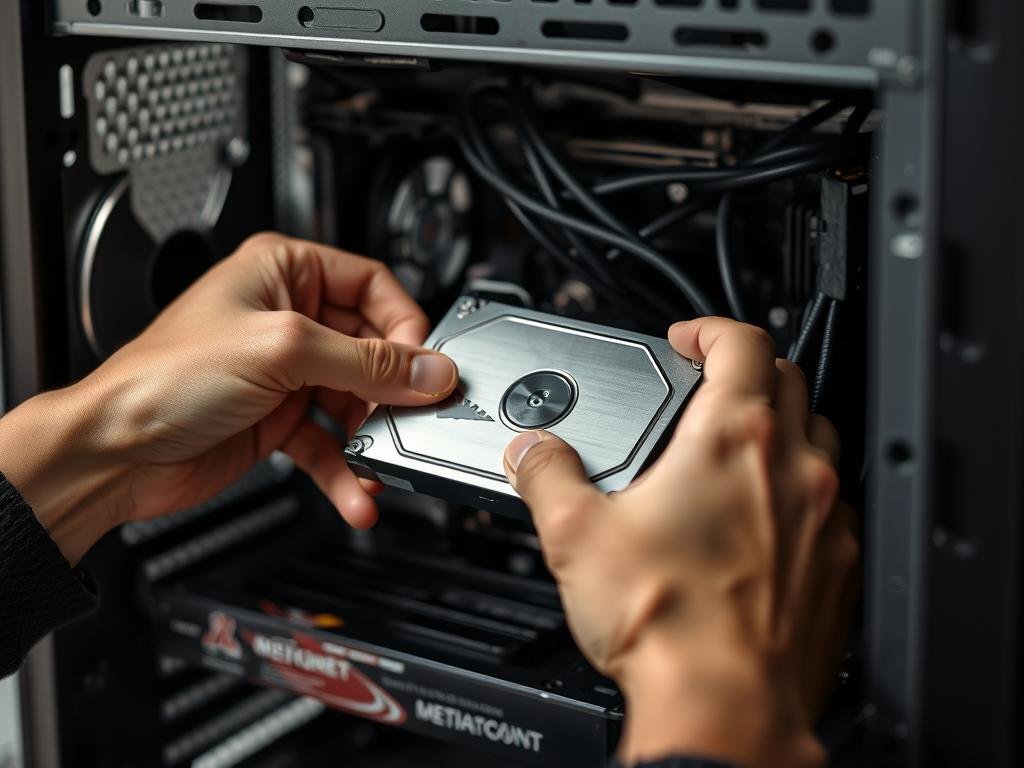
Installing the HDD needs care to avoid damage. First, find a drive bay in your desktop case. Make sure it fits your HDD, usually 3.5 inches for desktops.
Use screws to hold the HDD in the bay. Most cases have holes for this. Make sure it’s tight to avoid damage or noise.
Connecting Power and Data Cables
After installing, connect the cables. You’ll need a SATA data cable for the motherboard. SATA is the common way to connect storage to the motherboard.
Find a SATA port on your motherboard and plug one end in. Then, plug the other end into the HDD. Make sure it’s secure to avoid problems.
Now, connect the power cable from your PSU to the HDD. This cable is usually an SATA power connector. Plug it into the HDD’s power input and make sure it clicks.
| Step | Description |
|---|---|
| 1 | Locate an available drive bay and secure the HDD using screws. |
| 2 | Connect a SATA data cable to the motherboard and the HDD. |
| 3 | Connect the SATA power cable from the PSU to the HDD. |
Installation Steps for SSDs
SSDs make your computer faster and more efficient. They are a great upgrade. When you install an SSD, think about its size and how it will connect to your computer.
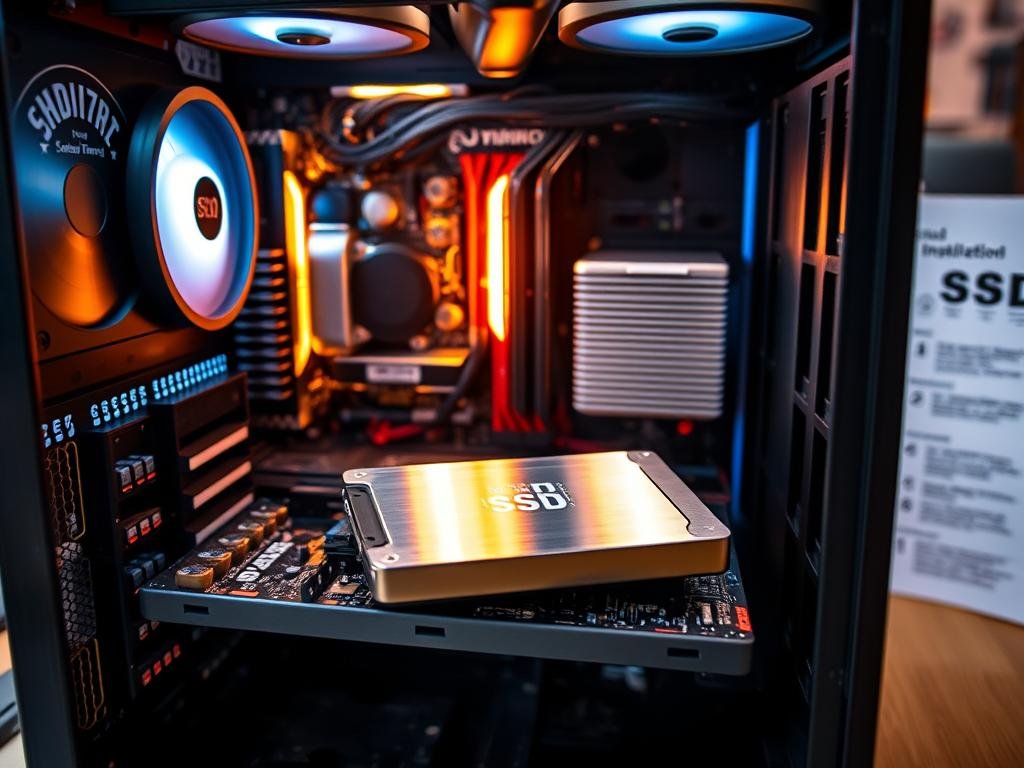
Installing the SSD in the Right Bay
SSDs usually fit in a 2.5-inch slot. You might need a special adapter to fit them in a 3.5-inch bay. Make sure you have the right adapters before you start.
Find a free drive bay in your computer case. If you have a 2.5-inch SSD, screw it into the bay. If your computer doesn’t have enough bays, use an SSD mounting bracket. You can attach it to a PCIe slot or other spots.
Configuring the SSD Connection
After you’ve installed the SSD, connect it to your motherboard. Use a SATA cable to link the SSD to a SATA port on your motherboard. Make sure the cable is tight on both ends.
Next, plug in the power cable from your PSU to the SSD. Most PSUs have SATA power connectors for this job.
Key Considerations:
- Make sure the SSD is securely fastened to avoid it moving.
- Use a free SATA port on your motherboard for the SSD.
- Connect the power cable from the PSU to the SSD.
By following these steps, you can easily add an SSD to your desktop. It will make your computer faster and more efficient.
Formatting and Configuring Your New Drive
Formatting and configuring your new drive is key for optimizing desktop performance. After installing your new HDD or SSD, you must prepare it. This means initializing, formatting, and setting it up for storing files or for Storage Spaces.
Initializing and Formatting the Drive
To use your new drive, start by initializing and formatting it with Windows Disk Management. Here’s how to do it:
- Open Disk Management by right-clicking on “This PC” or “Computer” and selecting “Manage.”
- In the Disk Management window, right-click on your new drive and select “Initialize Disk.”
- Follow the prompts to finish the initialization.
- After initializing, right-click on the drive again and select “New Simple Volume” to format it.
For more details, check Microsoft’s guide on initializing new disks.
Setting Up the Drive for Use
After formatting, you can store files on your drive or set it up for Storage Spaces. This boosts your computer storage options. Here’s how to set it up for storage:
| Step | Description |
|---|---|
| 1 | Open File Explorer and find your new drive. |
| 2 | Right-click on the drive and select “Properties” to see its details. |
| 3 | Start using the drive by dragging and dropping files into it. |
To use Storage Spaces, go to the Control Panel, search for “Storage Spaces,” and follow the prompts to create a new storage pool.
By following these steps, you’ll make your new HDD or SSD work better. This improves your desktop’s storage and performance.
Troubleshooting Common Installation Issues
Even with careful installation, issues can arise when installing a new HDD or SSD in your desktop. If your drive is not being recognized by the BIOS or Windows, there are several troubleshooting steps you can take.
Identifying the Problem
Common issues include loose connections or the drive not being properly initialized in Disk Management. Check that all cables are securely connected to the motherboard and the drive.
If you’re experiencing problems, you can refer to resources like Dell’s support page for guidance on resolving HDD or SSD issues on your system.
Resolving Installation Challenges
To get your new drive up and running, ensure it’s properly configured in your system’s BIOS and initialized in Disk Management. If issues persist, consider seeking additional troubleshooting resources specific to your desktop’s configuration.
FAQ
What are the main differences between HDDs and SSDs?
HDDs (Hard Disk Drives) have mechanical parts for data storage. SSDs (Solid State Drives) use flash memory. SSDs are faster, more durable, and use less power than HDDs.
How do I choose between an HDD and an SSD for my desktop?
Think about your storage needs, speed, and budget. If you need lots of storage and are on a tight budget, an HDD might be best. For quicker performance and less power use, choose an SSD.
What are the essential tools needed to install a second HDD/SSD?
You’ll need a screwdriver (Phillips head), an anti-static wrist strap, and the new drive. You might also use cable ties and compressed air for cleaning.
How do I ensure my desktop is safe to work on before installing a new drive?
Touch a metal object or wear an anti-static wrist strap to avoid static damage. Unplug the power cord and any cables from the desktop’s back.
What factors should I consider when selecting an HDD or SSD?
Look at storage capacity, interface (SATA, PCIe, etc.), and form factor (2.5-inch, 3.5-inch, M.2). Also, consider your budget and how you’ll use the drive.
How do I identify available slots and connectors in my desktop?
Open your desktop case and check the motherboard and drive bays. Find SATA ports on the motherboard and empty drive bays for your new drive.
What are the steps to physically install an HDD or SSD?
Put the drive in a drive bay with screws, then connect power and data cables. Make sure all connections are tight and the drive is in place.
How do I format and configure my new HDD or SSD?
Use your OS’s disk management tool to format the drive. For Windows, use Disk Management; for macOS, Disk Utility. Follow the prompts to set up the drive.
What are some common issues that may arise during HDD/SSD installation?
Issues include loose connections, hardware incompatibility, and drive initialization failure. Check connections, ensure compatibility, and try troubleshooting steps like reseating the drive or updating drivers.
How can I optimize my desktop’s performance with a new SSD?
Install your OS and apps on the SSD for faster speeds. You can also use the SSD as a cache drive to boost system performance.
