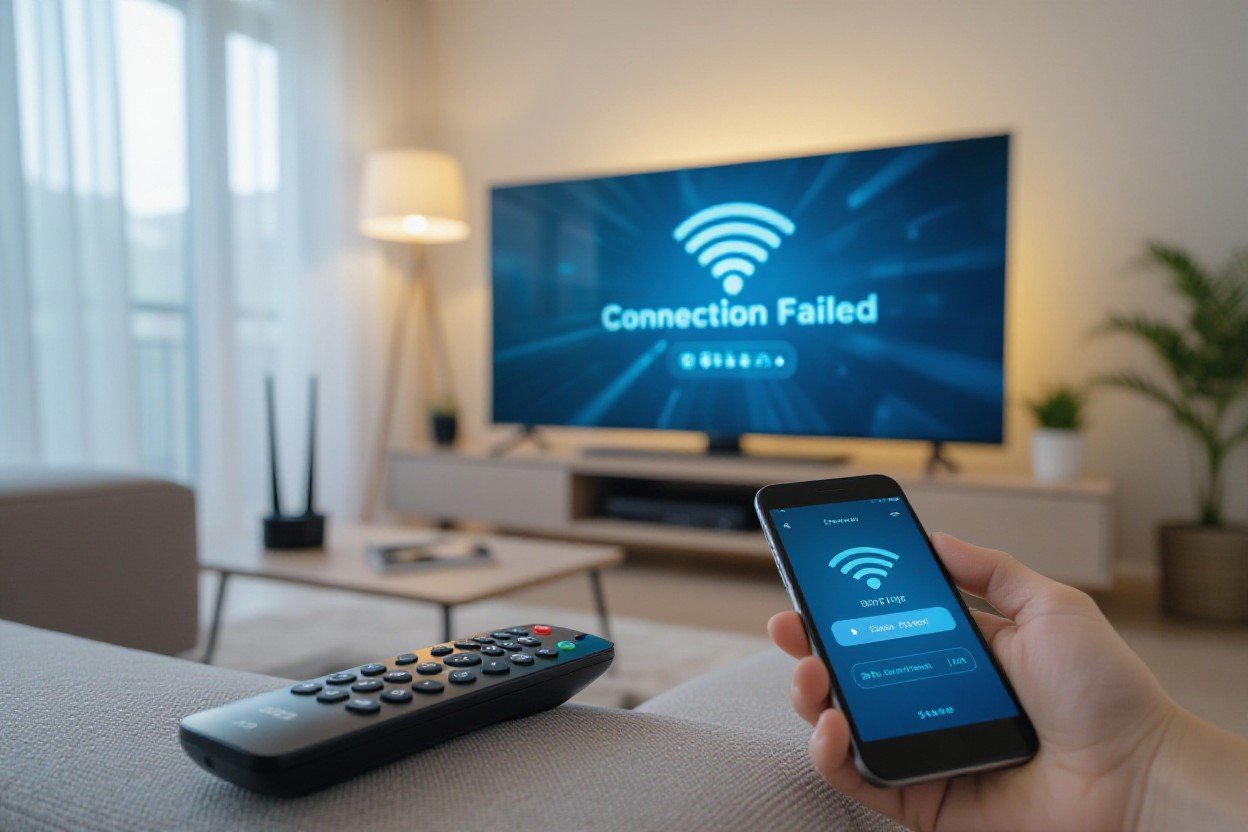
This guide walks you through practical fixes so you can get your smart TV back online quickly; you will reset your TV’s network settings, tweak router configuration for compatibility, apply firmware updates that resolve connection bugs, or use Ethernet as a reliable alternative. You’ll follow step-by-step checks to isolate the problem, test wireless and wired connections, and apply fixes that match your setup. By the end you’ll know which solution restores stable streaming on your TV.
How to Reset Your TV’s Network Settings
When you reset the network settings you clear stored SSIDs, saved passwords, and custom DNS entries so your TV gets a fresh DHCP lease from the router. You’ll need to re-enter your Wi‑Fi password, verify router band (2.4 GHz vs 5 GHz), check for firmware updates that fixed connectivity bugs, or plug an Ethernet cable as a fallback to rule out wireless interference.
Step-by-Step Guide
Open Settings → Network → Reset or Clear Network Settings, then power-cycle the TV and router (30 seconds off). Reconnect to your SSID with the correct password, test both 2.4 GHz and 5 GHz bands, update the TV firmware if available, and use Ethernet if Wi‑Fi stays unreliable.
Network Reset Steps
| Action | Why / Tip |
|---|---|
| Reset network on TV | Removes stale SSIDs and IP assignments so the TV requests a new DHCP lease. |
| Power-cycle router & TV | Clears router ARP/DHCP cache; wait 30 seconds before restarting devices. |
| Reconnect to chosen band | Use 2.4 GHz for range, 5 GHz for speed; test both to find stability. |
| Update TV firmware | Installs bug fixes; many vendors fix Wi‑Fi regressions in patch releases. |
| Switch to Ethernet | Provides consistent throughput (100/1000 Mbps) and bypasses wireless issues. |
Common Issues Resolved
You’ll often fix IP conflicts, authentication failures, and stuck DHCP leases by resetting network settings; routers with AP isolation or hidden SSIDs also surface during reconnection, letting you adjust settings. Additionally, firmware updates that follow a reset can resolve protocol mismatches between your TV’s Wi‑Fi stack and the router.
For example, clearing settings forces a fresh DHCP transaction that resolves duplicate IPs and expired leases; changing bands can eliminate interference from neighboring networks, and switching to Ethernet will immediately demonstrate whether the problem is wireless-only, giving you clear diagnostic direction for router configuration adjustments.
Tips for Router Configuration
Quick, actionable router tweaks stop most TV dropouts: set the 5 GHz band for HD streaming, pick a clear channel like 36 or 44, enable 802.11ac/n, and increase DHCP lease time to 24 hours.
- Use WPA2-AES (not TKIP)
- Disable AP/client isolation
- Reserve a static IP for your TV
Assume that you test changes one at a time and reboot both router and TV after each tweak.
Optimal Settings for Smart TV
Prefer 5 GHz for streaming if your TV sits within 15-25 feet; it delivers higher throughput and less interference. Configure a DHCP reservation or static IP (for example 192.168.1.50), set MTU to 1500, and use DNS like 8.8.8.8 or 1.1.1.1 for faster name resolution. Finally, reboot your TV to apply settings.
Ensuring Compatibility
Check that your router broadcasts the SSID on a protocol your TV supports; many older models only handle 2.4 GHz and 802.11b/g/n. Set encryption to WPA2-AES, disable legacy modes such as WEP, and avoid special characters in the SSID. If the TV still won’t connect, update router firmware or plug the TV into Ethernet for immediate compatibility.
Older TVs made before 2016 often lack 5 GHz or 802.11ac support, so expected wireless throughput is limited (practical 2.4 GHz speeds ≈50-150 Mbps). You can confirm capabilities in the TV’s network spec or settings; if limited, enable 2.4 GHz on the router or run a gigabit Ethernet cable for a stable wired link. Install any available TV firmware updates and note the version before upgrading.
Factors Affecting WiFi Connectivity
You’ll see multiple causes behind an unstable Smart TV WiFi: router settings, outdated firmware, neighbor networks, and device congestion all matter. Resetting your TV’s network settings or switching to Ethernet often isolates whether the issue is TV-side or router-side. Assume that small router tweaks and firmware updates can restore a stable stream within minutes.
- Signal strength and frequency band (2.4 GHz vs 5 GHz)
- Interference from appliances, walls, and neighboring APs
- Router configuration: channels, QoS, NAT and wireless mode
- Firmware state on both TV and router
- Number of concurrent devices and total available bandwidth; Ethernet as an alternative
Signal Strength and Interference
You’ll want signal above about -67 dBm for consistent HD/4K streaming; below -75 dBm you’ll see buffering. Walls, metal appliances, and microwaves generate interference, and 5 GHz drops faster than 2.4 GHz despite higher throughput. Change channels (use 1, 6, 11 on 2.4 GHz), reposition or elevate the router, run a Wi‑Fi analyzer, or try Ethernet to eliminate wireless noise.
Network Bandwidth Considerations
Streaming 4K typically needs ~25 Mbps while HD uses 5-8 Mbps; if your ISP plan is 100 Mbps and multiple devices are active, your TV can be starved. Use router QoS to prioritize your TV, pause background updates on other devices, consider Ethernet for a dedicated link, and keep firmware and your TV’s network settings up to date to avoid hidden throughput issues.
Run a speed test from the TV or a nearby device to measure real throughput; for example, if you see 40 Mbps but household devices are using 30 Mbps, 4K will struggle. Upgrade your plan, limit simultaneous heavy streams, enable QoS or band steering on the router, or plug the TV into Ethernet for the most reliable bandwidth allocation.
How to Check for Firmware Updates
Open your TV’s Settings and go to Support or About > Software Update to check for OTA updates; many models also show the current firmware version (e.g., v1.23.4) so you can compare with the manufacturer site. If Wi‑Fi drops during the check, plug in Ethernet first-updates often require a stable connection. When release notes mention “network” or “Wi‑Fi,” the update likely addresses issues that also respond to resetting network settings or adjusting router bands (2.4GHz vs 5GHz).
Importance of Keeping Software Current
You get security patches, driver updates, and protocol fixes by staying up to date-release notes often list “Wi‑Fi stability,” “DHCP fixes,” or improved WPA compatibility. OTA updates typically range from 10-200 MB, so installing them can resolve intermittent disconnects that resetting network settings didn’t fix. OEM updates have resolved widespread problems before; if your router uses mixed-mode or newer encryption, an update can restore compatibility without changing router firmware.
Updating Procedure
First find your TV model code on the back or in Settings, then try Settings > Support > Software Update > Update Now while connected via Ethernet for reliability. If OTA fails, download the correct firmware from the manufacturer’s support page, unzip it, and follow the manual update instructions. After updating, reset your TV’s network settings and reconfigure SSID and password; this often clears lingering DHCP or band-selection conflicts.
For manual USB updates: format a USB stick to FAT32, place the unzipped firmware file in the root folder, insert it into the TV, and use the Support > USB Update or install option. Verify the model code matches the file name and allow up to 10-15 minutes for the process-do not power off the TV. If the update mentions Wi‑Fi fixes but issues persist, try Ethernet to confirm whether the problem is the TV firmware or router configuration before repeating a factory network reset.

How to Use Ethernet as a Reliable Alternative
Benefits of Wired Connections
Switching to Ethernet removes wireless interference so you get steadier throughput and lower latency-use CAT5e or CAT6 cables to reach 100 Mbps to 1 Gbps depending on your router. You’ll see fewer buffering events during 4K streams (typically 15-25 Mbps per stream) and more consistent response for apps and casting. If you need predictable performance for gaming or large downloads, a wired link is the simplest upgrade.
Step-by-Step Setup
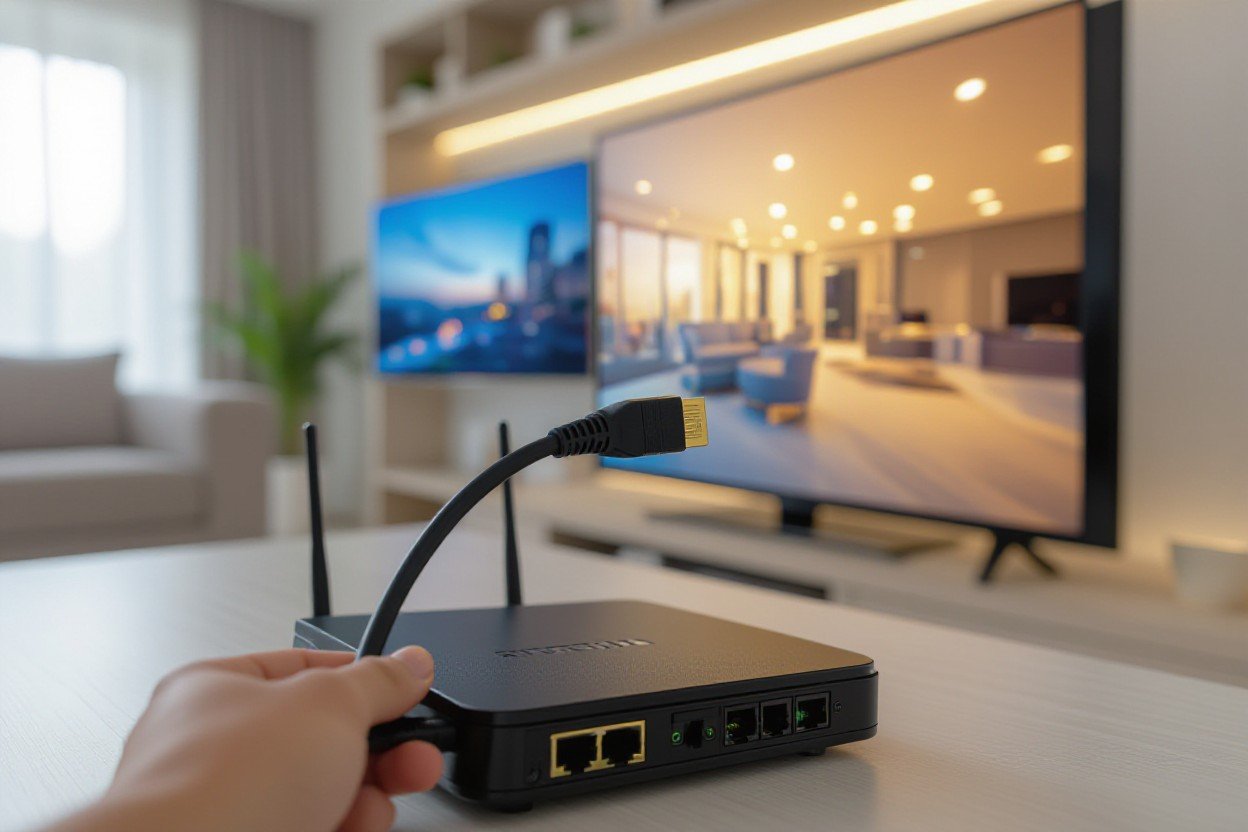
Start by plugging an Ethernet cable from a free LAN port on your router or switch into your TV’s Ethernet jack. Then open your TV’s network settings, choose wired connection, and leave DHCP enabled unless you assign a static IP (example: 192.168.1.50, gateway 192.168.1.1). Run the TV’s connection test, disable Wi‑Fi to force the wired link, and reboot the TV if the speed or IP doesn’t appear immediately.
For best results check cable type (CAT5e/CAT6), try different router ports if negotiation stalls, and apply any firmware update that mentions network fixes before extensive troubleshooting. If you use a switch or powerline adapter, verify link lights on both ends and confirm the TV reports a negotiated speed (e.g., 100/1000 Mbps) in its network info screen.
Wired Setup Quick Reference
| Step | Details |
|---|---|
| 1. Cable | Use CAT5e for up to 1 Gbps; keep runs under 100 m for best performance. |
| 2. Connection | Plug into router LAN port or network switch; confirm link LED is lit. |
| 3. TV Settings | Choose Wired/Ethernet in Network menu; enable DHCP or set static IP. |
| 4. Test | Run connection test on the TV and note reported speed and packet loss. |
| 5. Troubleshoot | Swap cables/ports, update TV firmware, reboot router and TV, or use a switch/powerline if needed. |
Tips for Troubleshooting Common Issues
You should run resets, router tweaks, firmware updates, and an Ethernet test in a controlled order: reset your TV’s network settings, force a 2.4 GHz SSID if the TV is older, apply firmware that lists Wi‑Fi fixes, and plug in Ethernet to confirm the adapter works.
- Reset TV network settings
- Check router band/SSID and legacy mode
- Install firmware updates
- Use Ethernet to isolate hardware
Knowing which step restored connectivity helps you document and repeat the fix.
Network Connection Tests
Run targeted tests: check Wi‑Fi signal strength (look for −60 dBm or better near the TV), ping your router from another device to confirm responsiveness, run a speed test over Wi‑Fi and Ethernet to compare throughput, and try a mobile hotspot to rule out ISP outages. If Ethernet gives full speed while Wi‑Fi is slow, focus on router band/channel, distance, or firmware rather than the TV’s NIC.
Resolving IP Conflicts
Start by checking the IP shown in your TV’s network menu and compare it with another device; duplicate addresses mean a conflict. Release/renew DHCP leases or reboot router and TV. If conflicts recur, assign a static IP on the TV outside your router’s DHCP pool-for example, if DHCP range is 192.168.1.100-199 set the TV to 192.168.1.50 with gateway 192.168.1.1 and DNS 8.8.8.8.
For a robust fix, reserve the TV’s MAC address in your router’s DHCP table: note the TV’s MAC from its network info, open the router admin (usually 192.168.1.1), find DHCP/static lease or reservation settings, and bind that MAC to a stable IP like 192.168.1.50. Set the lease time to a long interval or permanent, then reboot router and TV. Verify with a ping from a laptop (ping 192.168.1.50) and check the router’s connected devices list and logs for duplicate-IP warnings; if duplicates persist, inspect other devices for manual static IPs within the DHCP range and reassign them.
Conclusion
Summing up, you can resolve most Smart TV WiFi problems by resetting your TV’s network settings, adjusting router configuration for compatibility, and installing firmware updates that fix connection issues; if wireless remains unstable, you can use Ethernet as a reliable alternative to ensure consistent streaming and faster troubleshooting.
