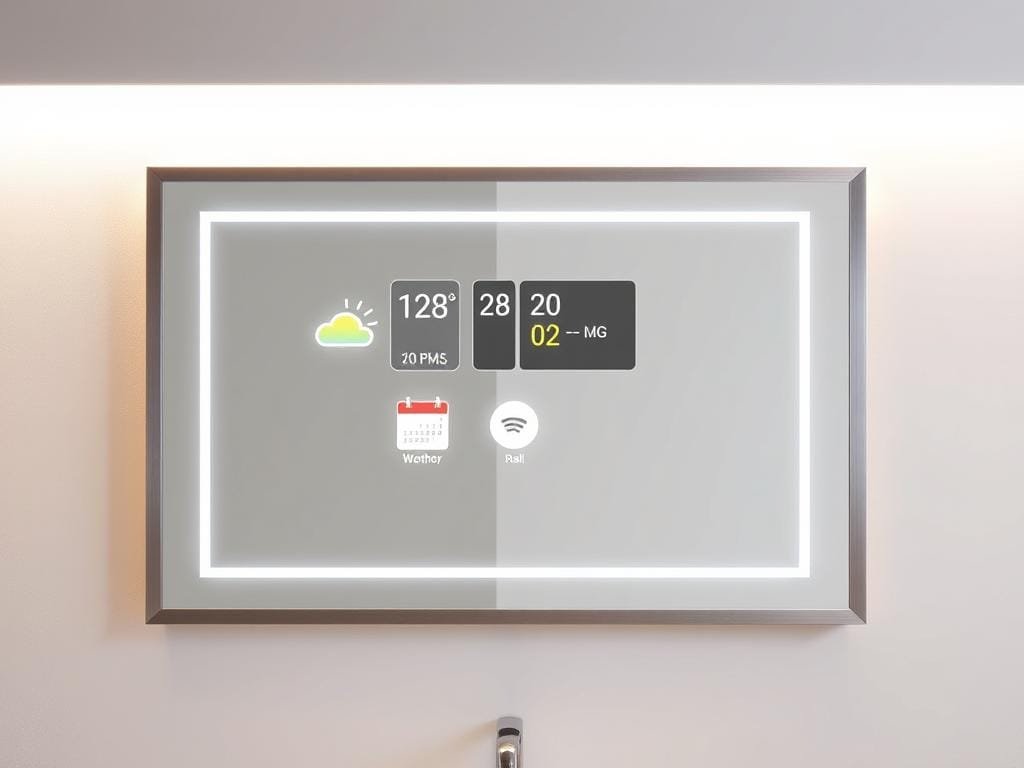
Imagine starting your day by looking at a personalized display that shows the weather, news, and your schedule. With ambient computing becoming more popular, adding tech to your daily life is easier than ever. Now, 72% of U.S. households use at least one smart device, making it a great time to add a DIY Smart Mirror to your home.
This project lets you make a customized hub that keeps you updated and connected. By making a DIY Smart Mirror, you get to have important info right at your fingertips. Plus, it boosts your home’s tech features.
Key Takeaways
- Create a personalized display for your home
- Stay informed about weather, news, and calendar events
- Customize your DIY Smart Mirror to suit your needs
- Enhance your home’s tech capabilities with ambient computing
- Integrate your DIY Smart Mirror with other smart devices
Understanding the DIY Smart Mirror Concept
A DIY smart mirror is a cool addition to any home. It combines functionality with technology. It’s a mirror that shows different types of information, making your daily routine easier.
What Makes a Mirror “Smart”
A smart mirror is more than a regular mirror. It’s an interactive display that shows real-time info, entertainment, and controls other smart devices. Its main feature is displaying digital content like the weather, news, or your schedule. You can customize your smart mirror to show what matters most to you.
Benefits and Practical Applications
Having a DIY smart mirror at home offers many benefits. It can help you stay organized by showing your calendar and reminders. It also provides entertainment, like playing music or showing news updates, while you get ready.
Plus, a smart mirror can connect with other smart devices in your home. This makes it a central hub for managing your smart home.
| Feature | Description | Benefit |
|---|---|---|
| Real-time Information | Displays weather, news, and calendar events | Keeps you informed and up-to-date |
| Entertainment | Plays music and displays news updates | Enhances your morning routine |
| Smart Home Integration | Controls other smart devices in your home | Streamlines your smart home experience |
Planning Your Smart Mirror Project
To make your smart mirror project a hit, start with a good plan. Think about important factors that will shape your DIY magic mirror.
Determining the Size and Location
The size and spot of your smart mirror matter a lot. Decide where and how big it should be to fit well in the space.
Think about the room’s layout and what you need the mirror for. A big mirror might be right for a living room. But a smaller one could be better for a bedroom or kitchen.
Deciding on Features and Functionality
What do you want your DIY home automation mirror to do? Maybe you want it to show the weather, news, or your schedule. Or perhaps you’d like it to control your smart home or play music.
For more ideas on adding smart features to your home, check out this article on building a smart home on a budget.
Setting a Budget and Timeline
Setting a budget and timeline is key to staying on track. Figure out how much you can spend and set achievable goals for when it’s done.
With careful planning, you can make a smart mirror that’s both useful and stylish. It will make your home better and make your daily life easier.
Essential Materials for Your Smart Mirror
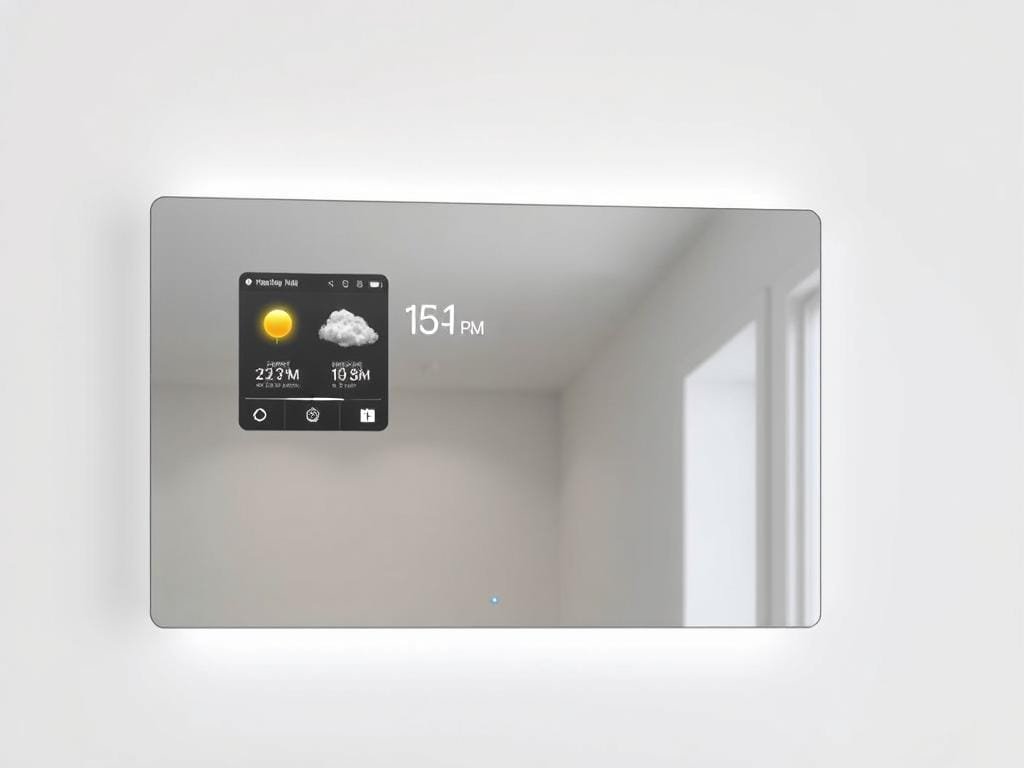
Creating your DIY smart mirror starts with gathering the right parts. Choosing the right hardware is key to making it work as planned.
Hardware Components Checklist
To make a smart mirror, you need a few important parts. These include:
Display Options
For the display, pick between an LCD monitor or a tablet. Think about size, resolution, and power use.
Computing Devices
You’ll need a device like a Raspberry Pi to power it. You can also use mini PCs or old phones.
Mirror and Frame Materials
For the mirror, use a two-way mirror or a regular one with a reflective coating. The frame can be wood, metal, or plastic, based on your style and needs.
Tools You’ll Need
To put your smart mirror together, you’ll need tools. You’ll need a saw for cutting, a drill for holes, and a screwdriver for assembly.
Quote from an expert:
“The key to a successful smart mirror project is in the details, from choosing the right display to selecting a suitable computing device.”
Where to Source Materials
You can find what you need at hardware stores, online on Amazon, or at electronics stores. Using old devices can save money and reduce waste.
By picking the right materials, you’re on your way to a smart mirror that’s both useful and stylish for your home.
Selecting the Right Display and Computing Device
The heart of your DIY Smart Mirror project is in choosing the right display and computing device. These parts are key for a smooth user experience and your mirror’s function.
Monitor Options and Considerations
When picking a monitor for your DIY Smart Mirror, think about size, resolution, and display type. A high-resolution display makes text clear and easy to read. Also, make sure the monitor works with your chosen computing device.
Some top monitor picks include:
- HDMI-compatible monitors for easy connection
- Touchscreen displays for interactive use
- IPS displays for better viewing angles
Raspberry Pi vs. Other Computing Options
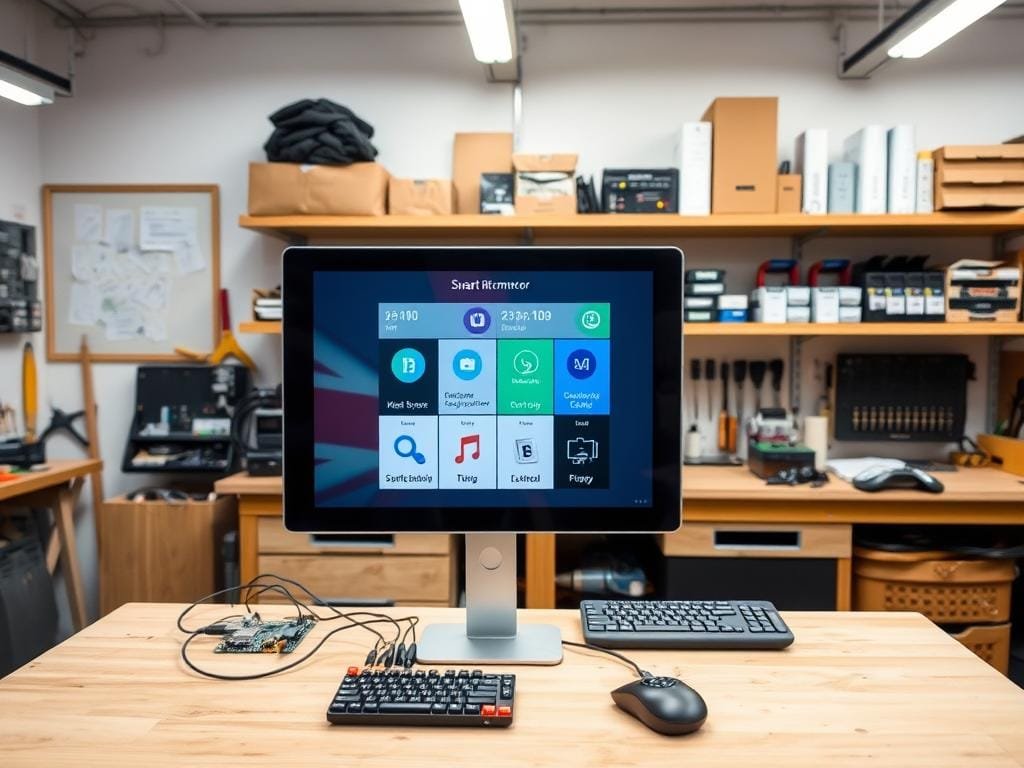
The brain of your DIY Smart Mirror is the computing device. The Raspberry Pi is a great choice because it’s affordable, versatile, and has a big community of developers. But, you can also use Android tablets or old laptops for this project.
| Computing Device | Pros | Cons |
|---|---|---|
| Raspberry Pi | Affordable, community support, versatile | Limited processing power |
| Android Tablet | Touchscreen capability, built-in Wi-Fi | May require more power, less customization |
| Old Laptop | More processing power, familiar interface | Bigger size, more power consumption |
Power Supply Requirements
Having a reliable power supply is key for your DIY Smart Mirror. You need to figure out how much power your display and computing device need. A 5V power supply usually works for a Raspberry Pi, but monitors might need more power.
Think about using a wall adapter or a power bank for easier setup. Always check your devices’ specs to make sure they match and have enough power.
Building the Smart Mirror Frame and Housing
Creating a great smart mirror starts with its frame and housing. We’ll show you how to build it. A good frame looks great and holds everything together.
Measuring and Cutting the Frame Materials
First, measure and cut the frame materials. The frame’s size depends on your mirror and display. Accuracy is key for a perfect fit. Use a ruler or tape to measure, and a saw to cut.
For a DIY magic mirror, wood or aluminum are good choices. Pick based on your design and the components’ weight.
Assembling the Frame Structure
After cutting, assemble the frame. This needs patience and detail for a sturdy frame. Use the right joinery or hardware for your material.
Think about mounting the display and other parts as you build. Smart mirror designs vary, so make sure your frame fits your needs.
Installing the Two-Way Mirror
Installing the two-way mirror is the last step. Handle it carefully to avoid damage. Make sure the mirror and display are secure and visible.
With the frame and housing done, your smart mirror design is coming together. This base is key for your DIY project’s function and durability.
Setting Up the Hardware Components
Now that you’ve built the frame and housing, it’s time to add the key hardware for your DIY smart mirror. This step is important. It involves putting in the display, computing device, and other parts that make your mirror work.
Mounting the Display
Start by attaching the display to your frame. Make sure it’s securely attached to avoid damage or misalignment. Use the right mounting hardware to connect the display to the frame.
For a clean look, use adhesive strips or brackets. They will hold the display firmly in place.
Installing the Computing Device
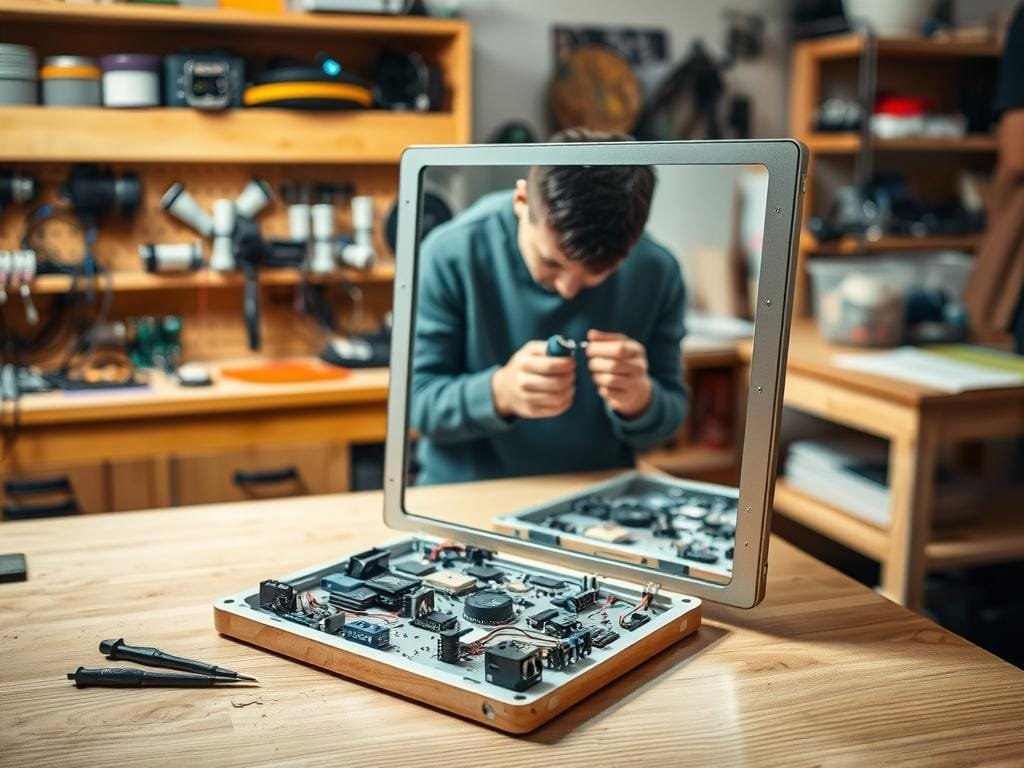
The computing device, like a Raspberry Pi, is the heart of your smart mirror. Place it somewhere it can breathe to avoid overheating. Connect it to the display using the right cables (HDMI, DisplayPort, etc.). Ensure all connections are tight to prevent display problems.
Connecting Power and Cables
Keep your cables organized to avoid clutter. Connect the power supply to the computing device and display. This will power all parts properly. Use cable ties or organizers to keep cables neat and prevent damage.
Adding Optional Sensors and Cameras
If you want features like gesture control or facial recognition, now’s the time to add sensors and cameras. These features can make your smart mirror more interactive and user-friendly.
| Component | Purpose | Installation Tip |
|---|---|---|
| Display | Shows information and interface | Securely fasten to the frame |
| Computing Device | Processes information and runs software | Install in a well-ventilated area |
| Sensors and Cameras | Enable additional features like gesture control | Position according to the manufacturer’s instructions |
By following these steps, you’ll set up your smart mirror’s hardware. You’re getting closer to a fully functional DIY smart mirror that meets your needs.
Installing and Configuring Smart Mirror Software
Now that you’ve built your Smart Mirror, it’s time to add the software. This software is key to making your DIY project smart. It lets you see information, interact with you, and connect to services.
MagicMirror² Platform Setup
MagicMirror² is a top choice for Smart Mirrors. Setting it up involves a few steps, starting with installing the operating system.
Installing the Operating System
MagicMirror² runs on a Raspberry Pi, which uses Raspbian OS. You can get the OS from the Raspberry Pi website. Just follow the installation guide.
Setting Up MagicMirror²
With your OS installed, you can set up MagicMirror². First, clone the MagicMirror² GitHub repository. Then, run the installation script.
Basic Configuration
After setup, you’ll need to configure MagicMirror². This means setting up modules like the calendar, weather, or news. The config file lets you customize your Smart Mirror’s layout and behavior.
Alternative Software Options
While MagicMirror² is popular, there are other choices. OpenHAB or Home Assistant can also turn your mirror smart. They offer unique features, fitting different needs.
“The flexibility to choose your software is a significant advantage when building a Smart Mirror, as it allows you to tailor the device to your preferences.”
Connecting to Your Home Network
To use online features, your Smart Mirror must connect to your network. This is usually done via Wi-Fi. Make sure your Raspberry Pi or device can connect to your network. Then, you can access the internet and services.
By following these steps, you’ll have your Smart Mirror ready. It’s now time to customize it to fit your lifestyle.
Customizing Your DIY Smart Mirror Interface
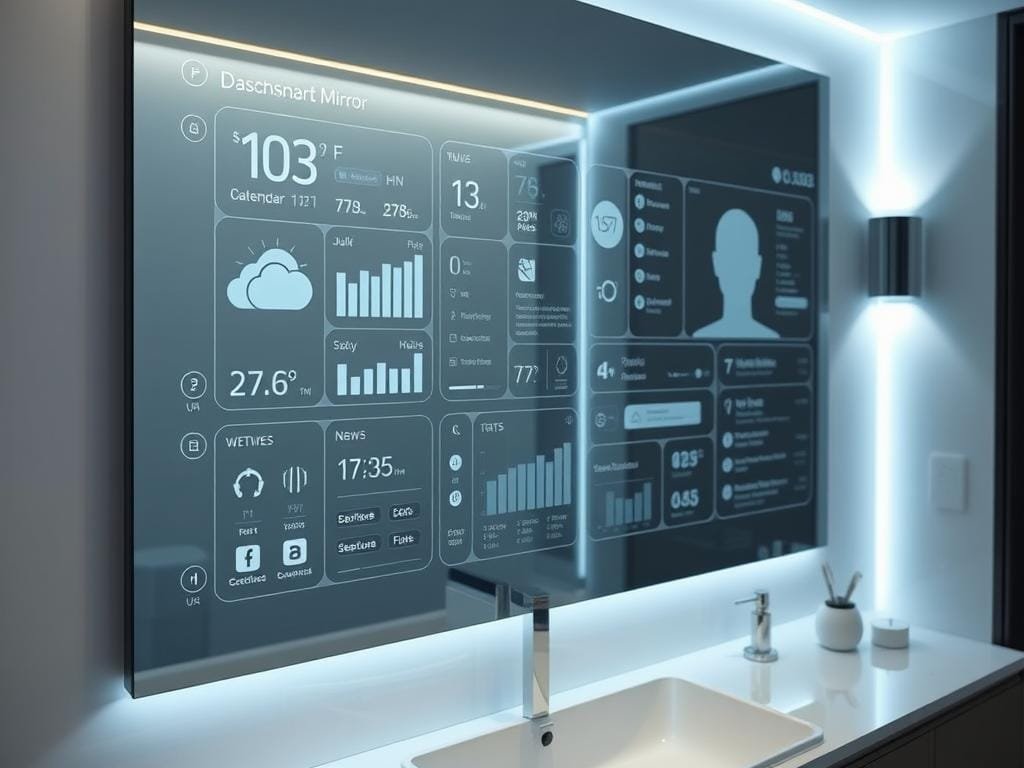
The true power of a DIY Smart Mirror is in its customizability. It lets you tailor it to your lifestyle. Customizing the interface of your DIY Smart Mirror is where you can get creative and make it truly yours.
Essential Modules and Widgets
To start customizing, you’ll want to add essential modules and widgets. These provide valuable information at a glance. Some of the most useful include:
- Weather displays to keep you informed about the current weather and forecasts.
- Calendar integration to stay on top of your appointments and events.
- News and information feeds to keep you updated on current events.
Weather Displays
Adding a weather module lets you check the current weather and forecasts directly from your mirror. You can customize it to show the weather for your current location or any other location you’re interested in.
Calendar Integration
By integrating your calendar, you can view your upcoming events and appointments without needing to check your phone or computer. This feature is very useful for staying organized.
News and Information Feeds
Staying informed is easy with news and information feeds. You can choose from various sources to get the latest updates on topics that interest you.
Advanced Features
For those looking to take their Smart Mirror to the next level, consider adding advanced features such as:
- Voice control setup for hands-free operation.
- Motion sensors and gesture recognition for a more interactive experience.
Voice Control Setup
Implementing voice control allows you to interact with your Smart Mirror using voice commands. This makes it even more convenient to use. For a detailed guide on setting up voice control, you can refer to projects like this Smart Mirror project that incorporates advanced voice recognition capabilities.
Motion Sensors and Gesture Recognition
Adding motion sensors and gesture recognition capabilities can enhance the user experience. It allows you to control the mirror with gestures, adding a futuristic touch to your DIY project.
Creating a Custom Layout
Creating a custom layout lets you arrange the modules and widgets in a way that best suits your needs. You can prioritize the information you need most and make your Smart Mirror truly personalized.
By following these steps and exploring the various customization options, you can create a DIY Smart Mirror that not only meets your needs but also enhances your daily routine.
Troubleshooting Common Smart Mirror Issues
Even with careful planning, your DIY Smart Mirror might face some issues. Troubleshooting is key in any DIY project. Knowing common problems can save you time and frustration.
Display Problems and Solutions
If your Smart Mirror’s display isn’t working right, check the connections. Make sure the display is set up correctly and the brightness is high. If problems continue, try changing the display settings or the HDMI cable.
Software Configuration Fixes
Software issues can often be fixed by updating your Smart Mirror’s OS and software. Look for any updates for MagicMirror² or other platforms. If you’re seeing module conflicts, try disabling new modules to find the problem.
Power and Connection Issues
Power and connection problems can be a hassle. Check your power source and make sure all cables are tight. If using Wi-Fi, try restarting your router or switch to Ethernet for better stability.
| Issue | Possible Cause | Solution |
|---|---|---|
| Display not turning on | Loose connections or incorrect display settings | Check connections, adjust display settings |
| Software not updating | Outdated software or module conflicts | Update software, disable conflicting modules |
| Connection lost | Wi-Fi instability or power issues | Restart router, check power supply |
Knowing these common issues and their fixes can make your DIY Smart Mirror experience smooth. Regular maintenance and checks can prevent many problems.
Conclusion: Enjoying Your Completed Smart Mirror Project
Now that you’ve finished your DIY smart mirror, you have a personalized info hub at home. It shows time, weather, news, and more. This project can make your daily life better.
To learn more about the tech and inspiration behind it, check out this article. It talks about using AIY Projects and Raspberry Pi in a DIY magic mirror.
Keep exploring what your smart mirror can do. You can add new features to make it even better. Try different modules and settings to enhance your DIY magic mirror.
FAQ
What is a DIY Smart Mirror?
A DIY Smart Mirror is a custom display that fits your needs. It shows real-time info, entertainment, and controls smart devices at home.
What are the benefits of having a DIY Smart Mirror?
A DIY Smart Mirror keeps you updated on weather, news, and events. It also controls smart devices, making your life easier and more futuristic.
What hardware components do I need to build a DIY Smart Mirror?
You’ll need a display, a computer, materials for the mirror and frame, a power source, and optional sensors and cameras.
What is MagicMirror², and how do I install it?
MagicMirror² is a top software for DIY Smart Mirrors. To install it, follow the MagicMirror² website’s instructions. This involves downloading and setting up the software on your computer.
Can I customize the interface of my DIY Smart Mirror?
Yes, you can make your DIY Smart Mirror’s interface your own. Add modules and widgets, use advanced features, and design a custom layout with MagicMirror² or other software.
What are some common issues that may arise with my DIY Smart Mirror, and how can I troubleshoot them?
Issues like display problems, software issues, and power or connection problems can happen. Check your hardware and software, and look for help online or in tutorials.
How do I connect my DIY Smart Mirror to my home network?
Connect your DIY Smart Mirror to your home network by setting up network settings on your computer. Make sure it’s on the same network as your other smart devices.
Can I use a Raspberry Pi as the computing device for my DIY Smart Mirror?
Yes, a Raspberry Pi is a great choice for DIY Smart Mirrors. It’s small, energy-efficient, and perfect for powering your Smart Mirror.
What are some advanced features I can integrate into my DIY Smart Mirror?
You can add voice control, gesture recognition, and facial recognition to your DIY Smart Mirror. These features make your Smart Mirror more functional and fun to use.
How do I build the frame and housing for my DIY Smart Mirror?
To build the frame, measure and cut materials, then assemble the structure. Install a two-way mirror, following a guide or tutorial step by step.
