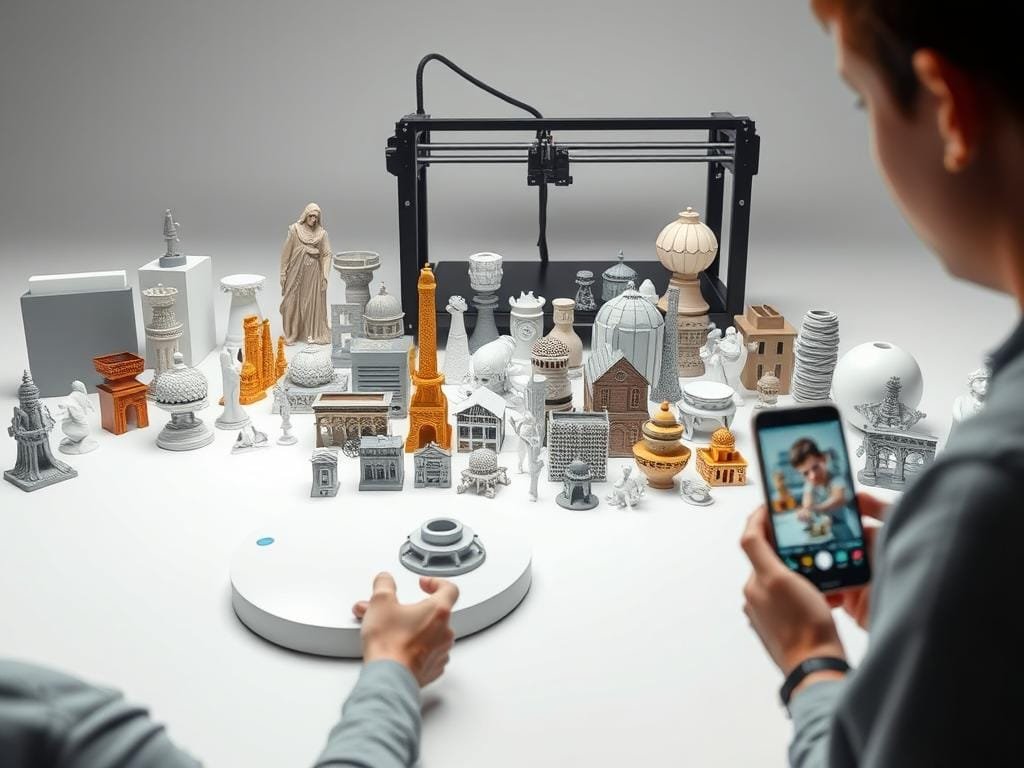
You can turn your smartphone into a strong 3D modeling tool with a DIY project. Making a 3D scanner with your phone is both new and affordable.
Did you know you can make a DIY 3D scanner with a bike wheel, a cell phone, and other easy-to-find items? This project uses photogrammetry to make detailed 3D models.
With a simple guide, you can make your smartphone create precise 3D models. This tech is great for both fun projects and serious work.
Key Takeaways
- Create a 3D scanner using your smartphone and basic materials.
- Leverage photogrammetry technology for 3D modeling.
- Unlock various applications for hobbyist and professional use.
- Follow a simple DIY tutorial to get started.
- Transform your smartphone into a powerful 3D modeling tool.
Introduction to DIY3D Scanning
DIY 3D scanning is changing how we make and capture 3D models. You can turn your smartphone into a 3D modeling tool. This makes 3D scanning easier and cheaper for everyone.
Understanding 3D Scanning Basics
3D scanning turns real objects into digital 3D models. It’s used in 3D printing and virtual reality. The basic steps are taking pictures of an object from different sides and then combining them with special software.
- Capturing images from multiple angles
- Using software to stitch images into a 3D model
- Refining the model for accuracy and detail
Benefits of DIY 3D Scanning
Choosing DIY 3D scanning has many advantages. It’s cheaper and more flexible. You can adjust the scanning to fit your needs.
- Cost Savings: Using your smartphone saves money on equipment.
- Accessibility: DIY 3D scanning is open to more people.
- Customization: You can choose your setup and software for your project.
DIY 3D scanning lets you save money and be creative in your home 3D scanning projects.
Essential Tools and Equipment
Starting your DIY 3D scanner project means getting the right tools and equipment. You’ll need to focus on a few key components to make a homemade 3D scanner.
Smartphone Requirements
Your smartphone is the heart of your DIY 3D scanner. It needs a high-quality camera with good resolution and a strong processor for image processing. Look for a smartphone with at least 12 megapixel camera and HDR support.
Also, make sure your smartphone has enough storage for the scanning app and images. A minimum of 128GB of internal storage is good, but it depends on the app and how many scans you’ll do.
Additional Accessories Needed
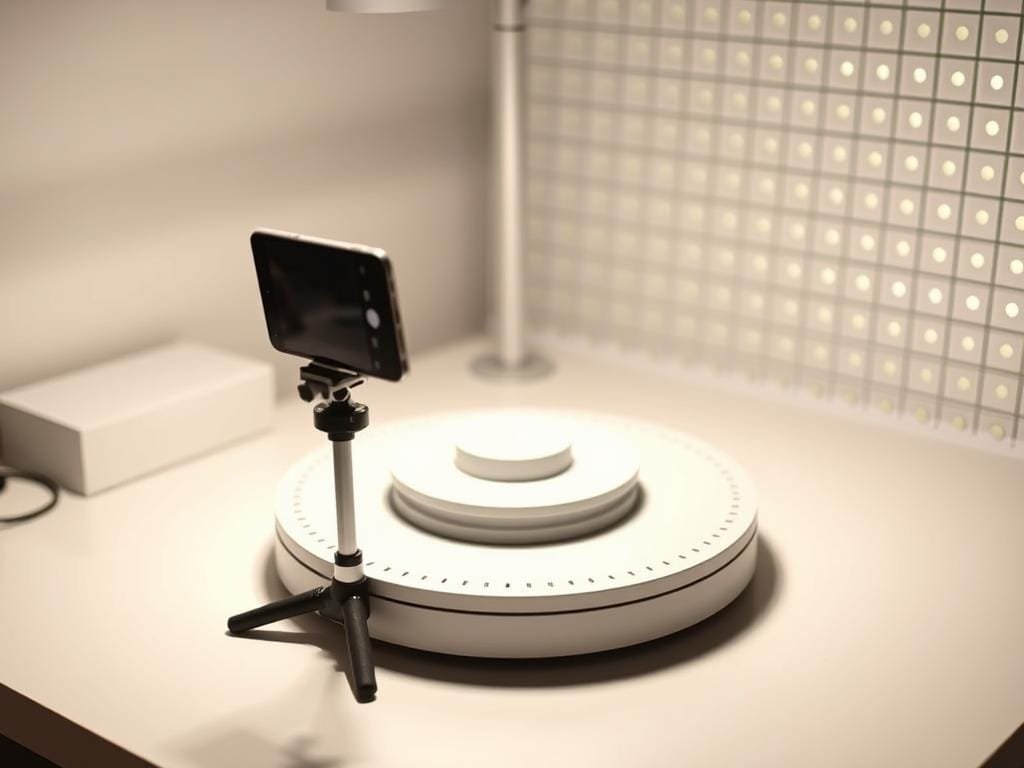
While your smartphone is key, some accessories can improve your DIY 3D scanning. A tripod is a must to keep your smartphone steady, reducing camera shake and getting sharper images.
Using a turntable to rotate the object you’re scanning can also help. It makes capturing images from different angles easier, creating a more detailed 3D model.
Recommended Apps for Scanning
The right app is essential for capturing and processing images for your 3D model. Look for apps that support photogrammetry, like Scandy and Trnio. They are known for being easy to use and producing high-quality results.
When picking an app, consider user reviews, features, and compatibility with your smartphone. Some apps offer advanced features or better support for certain scans. It’s good to try out different options to find the best one for you.
Preparing Your Smartphone for3D Scanning
Getting your smartphone ready is key for 3D scanning at home. To make your own 3D scanner work well, your device must be set up right.
Optimizing Camera Settings
To get great images, tweak your smartphone’s camera settings. Turn off HDR and night mode to keep the image’s look right. Use manual mode to adjust exposure and focus.
Make sure the camera lens is clean. A dirty lens can ruin image quality, making 3D models poor.
Ensuring Stability for Clear Images
A steady camera is vital for clear shots. Use a tripod or stabilizer to avoid camera shake. If you don’t have one, try a remote shutter release or timer to keep it steady.
Battery Management Tips
Battery life is very important when scanning, for big or complex items. Charge your phone fully before scanning. Keep a power bank nearby for long scans.
Save battery by turning off Bluetooth, Wi-Fi, and location services. Lower your screen brightness to save power too.
Choosing the Right Object to Scan
To get great scans, choose the right object for your DIY3D scanner. The object’s material, size, and texture are key. They all affect how well your scan turns out.
Best Materials for Scanning
The object’s material can really impact scan quality. Objects with diffuse or matte surfaces usually scan better. For example, a matte-finish statue scans better than a shiny metal one.
Some materials are harder to scan than others. For instance:
- Transparent or reflective objects are tough to scan because of light issues.
- Dark or black objects are hard to scan because they soak up light, making details hard to see.
- Objects with lots of details or complex shapes can be tricky but are doable with the right tools and software.
| Material | Scanning Difficulty | Tips for Better Scans |
|---|---|---|
| Matte Plastic | Easy | Use good lighting to enhance details. |
| Metallic | Moderate | Apply a matte coating to reduce reflections. |
| Transparent Glass | Hard | Use a background and lighting that minimizes glare. |
Size and Texture Considerations
The size and texture of the object matter a lot. Smaller objects need more precision and a controlled scan area. Bigger objects need more images from different angles for full coverage.
Texture is also important for scan quality. Objects with complex textures or fine details need more detailed scans. To improve scan quality of textured objects, try:
- Capturing images from multiple angles to capture all details.
- Using the right lighting to highlight texture without harsh shadows.

By picking the right object based on material, size, and texture, you can greatly improve your DIY3D scanning projects.
Step-by-Step Guide to DIY3D Scanning
DIY 3D scanning has several key steps. These steps help you create accurate 3D models. First, set up your environment, then capture images, and lastly, import them into scanning software.
Setting Up Your Scanning Environment
Start by making sure your scanning area is well-lit and has a stable background. Natural light is best, but a good lighting kit works well indoors. Place the object on a turntable or a surface for easy rotation.
How to Capture Images Effectively
Capturing images is key in 3D scanning. Use your smartphone’s camera to take photos from different angles. Aim for at least 12 megapixels per photo. Move around the object, taking photos every 10 to 15 degrees.
Make sure there’s overlap between photos. This helps the software stitch them together smoothly.
- Keep a consistent distance from the object.
- Don’t use the camera’s zoom; move closer or further instead.
- Use a tripod or stabilizer to avoid camera shake.
Importing Images into Scanning Software
After taking all the images, import them into your 3D scanning software. Most apps let you import photos from your camera roll. The software will then create a 3D model from these images.
Make sure your images are sorted and named correctly. This makes the import process smoother. Some software might need you to select images or adjust settings before creating the model.
Post-Processing Your3D Model
Post-processing turns your captured images into a detailed 3D model. This is a key step in using your DIY 3D scanner well. It’s important for making the model detailed and accurate.

Software Options for Editing Models
There are many software options for editing 3D models. MeshLab is great for mesh processing. Blender offers tools for modeling, rigging, and rendering. 3DF Zephyr is known for its photogrammetry-based 3D modeling.
Think about what your project needs when picking software. Look at the detail level and model complexity. For tips on improving 3D scan quality, check out post-processing tips.
Tips for Enhancing Model Quality
To improve your 3D model’s quality, start with high-quality scans. The quality of the input data directly affects the output,” experts say. Focus on good lighting, camera settings, and a stable DIY 3D scanner.
- Use high-resolution images for detailed textures.
- Remove noise and unnecessary data with software tools.
- Adjust mesh density for the right balance between detail and size.
Exporting Your 3D Model
After refining your 3D model, export it in a suitable format. STL is good for 3D printing, OBJ for general modeling, and PLY for models with color or extra data.
Think about your project’s needs or the software you’ll use next. For 3D printing, make sure your model is watertight and in STL format. As you keep working on your DIY 3D scanner tutorial, exporting will become easier.
Common Challenges and Solutions
Starting your DIY 3D scanning project? Be ready for some common problems. Troubleshooting is key to getting great results.
Troubleshooting Image Quality Issues
Image quality problems are common. Make sure your phone’s camera is clean. Also, adjust your camera settings for better light.
If it’s dark, add some extra light. This will help a lot.
Fixing Incomplete Scans
Dealing with incomplete scans can be tough. Take pictures from all sides to get the whole object. A turntable helps a lot.
If parts are missing, try better lighting. This reduces shadows and reflections.
Dealing with Software Glitches
Software problems can slow you down. Keep your software updated for fixes. If problems persist, restart your software or phone.
Changing file formats might solve some issues too.
By tackling these common problems, you’ll improve your DIY 3D scanning. You’ll get more precise and detailed models at home.
Applications of Your DIY3D Scanner
A DIY 3D scanner opens up many projects, from 3D printing to learning. It lets you make precise 3D models. This opens up new possibilities you never thought possible.
3D Printing Projects
Using your DIY 3D scanner for 3D printing is exciting. You can scan objects to make custom prints. This is great for making complex designs or new parts.
To start 3D printing, you need to make your scans ready. Clean up the model, remove extra details, and get it ready for printing. MeshLab or Blender are great tools for this.

Virtual Reality Integration
Your DIY 3D scanner can also improve VR. Scan real objects and places to make detailed 3D models. These can be used in VR to make simulations or add real objects to virtual spaces.
The integration of real-world objects into VR has the power to change how we interact with virtual worlds.”
To use your 3D scans in VR, you need software that can convert them. Unity or Unreal Engine can help with this.
Educational Uses
DIY 3D scanners are great for learning. They can teach students about 3D modeling, scanning, and 3D printing. This helps students understand STEM subjects better.
| Educational Benefit | Description |
|---|---|
| Understanding 3D Modeling | Students learn to create and work with 3D models. This improves their spatial skills and design abilities. |
| Introduction to Scanning Technology | Students learn about 3D scanning. They understand how it works and its uses. |
| 3D Printing Basics | Students learn the basics of 3D printing. They learn how to prepare models and print them. |
If you want to try more DIY 3D scanning projects, Instructables has lots of tutorials and guides to help you.
Advanced Techniques for Better Scans
Looking to improve your DIY 3D scanning skills? Using turntables and depth sensors can make a big difference. As you build your own 3D scanner at home, these methods will boost your scan quality and accuracy.
Using Turntables for Consistent Scanning
A turntable helps make your scans more consistent. It lets you rotate the object at set intervals. This way, you get data from every angle, making your 3D model more complete and accurate.
- Improves scan consistency
- Allows for precise rotation intervals
- Enhances overall model accuracy
Incorporating Depth Sensors
Adding depth sensors to your home 3D scanning setup is a great idea. They give you more detailed info about the object’s shape. This is super helpful for complex or detailed objects.
Benefits of Depth Sensors:
- Captures detailed geometry
- Improves model fidelity
- Enhances scanning of complex objects
Exploring Photogrammetry Methods
Photogrammetry uses many photos from different angles to make a 3D model. It’s a way to get high-quality scans with lots of detail. This method is great for detailed textures and geometry.
| Technique | Benefits | Applications |
|---|---|---|
| Turntables | Consistent scanning, precise rotation | Improving scan accuracy, detailed models |
| Depth Sensors | Detailed geometry, improved fidelity | Complex objects, intricacies |
| Photogrammetry | High-quality scans, detailed textures | Various objects, textured models |
By adding these advanced techniques to your DIY 3D scanning, you’ll see a big improvement in your 3D models. This will open up more possibilities for home 3D scanning.
Comparing DIY vs. Professional3D Scanners
DIY 3D scanners and professional 3D scanners serve different needs and budgets. They offer different qualities and conveniences. It’s important to know the strengths and weaknesses of each.

Cost-Effectiveness of DIY Scanning
DIY 3D scanning is cost-effective. You can use your smartphone and maybe some extra hardware to get great results. This is great for hobbyists, students, or small businesses with a limited budget.
But, DIY scanning takes time and effort. The initial cost is low, but learning and possibly buying more tools or software can increase the total cost.
Quality Comparison
Professional 3D scanners make better scans than DIY ones. They are made for detailed, accurate data with less noise and higher resolution. Professional-grade scans are needed for things like industrial design, medical imaging, or architectural modeling.
DIY scanners are getting better but don’t match professional quality. Yet, for 3D printing or virtual reality projects, DIY scans are often enough.
Use Cases for Both Methods
Knowing when to use DIY or professional 3D scanning is important. DIY scanners are best for:
- Educational purposes
- Hobby projects
- Small-scale 3D printing
- Virtual reality content creation
Professional scanners are better for:
- Industrial design and manufacturing
- Medical and dental applications
- High-precision engineering
- Architectural modeling
Think about your needs and project requirements to pick the right 3D scanning solution.
Community and Resources
DIY 3D scanning is more fun when you’re part of a community that loves it as much as you do. As you dive into 3D scanning at home, you’ll find lots of help to get better and solve problems.
Online Forums for DIY Scanners
Online forums are full of useful info for DIY 3D scanning fans. Sites like Reddit’s r/3DScanning and r/DIY, and Stack Exchange forums, are great places to ask questions and share your work. They’re perfect for fixing issues, finding new ways to do things, and keeping up with the latest in DIY 3D scanning.
Accessing Tutorials and Workshops
There are many tutorials and workshops to help you get better at DIY 3D scanning. Websites like YouTube, Udemy, and Coursera have lots of tutorials on scanning, software, and projects. Local makerspaces and community centers also offer workshops, giving you hands-on practice and a chance to meet others who are into it.
Connecting with Other Enthuasiasts
Meeting other DIY 3D scanning fans can really make your experience better. Join local meetups, go to conferences, and be active in online groups. This way, you can share ideas, work on projects together, and stay motivated. Many cities have groups for 3D printing and scanning where you can meet people and learn from their experiences.
| Resource | Description | Accessibility |
|---|---|---|
| Reddit’s r/3DScanning | A community forum for discussing 3D scanning techniques and sharing projects. | Free |
| YouTube Tutorials | Video tutorials on various aspects of 3D scanning and modeling. | Free |
| Local Makerspaces | Community centers with workshops and 3D scanning equipment. | Variable (membership or pay-per-use) |
Using these community resources and forums can make your DIY 3D scanning journey better. You’ll stay up-to-date with new trends and help the community grow.
Future Trends in3D Scanning Technology
The world of 3D scanning is changing fast. As someone who makes their own 3D scanner, you’re leading this change. New trends in 3D scanning will change how we use 3D models.
Innovations in Smartphone Hardware
Smartphones are getting better, with higher camera quality and more power. This means you can make more detailed 3D models with your phone.
AI in 3D Model Creation
Artificial intelligence (AI) will be key in making 3D models. AI will improve models, do tasks for you, and make them look better. This will help you get professional results with your DIY 3D scanner.
Advancements in Software Solutions
Software for 3D scanning is getting better too. You’ll see easier-to-use interfaces, better editing tools, and support for more file types. These changes will make your 3D scanning work easier, so you can focus on creating.
FAQ
What is a DIY3D scanner, and how does it work?
A DIY3D scanner is a device you can make to turn your smartphone into a 3D modeling tool. It uses your smartphone’s camera to capture images of an object. Then, software stitches these images together to create a 3D model.
What are the benefits of using a DIY3D scanner instead of a professional one?
DIY3D scanners are cheaper and easier to use. They let you try out different techniques and learn about 3D scanning and modeling.
What smartphone requirements are necessary for DIY3D scanning?
Your smartphone needs a good camera, a stable operating system, and enough storage. The exact needs depend on the scanning app and software you choose.
How do I choose the right object to scan with my DIY3D scanner?
Pick objects with complex textures and details. Avoid very shiny or transparent ones. Make sure the object is the right size and can be easily moved.
What are some common challenges I may face during DIY3D scanning, and how can I overcome them?
You might face image quality issues, incomplete scans, and software problems. Improve camera settings, ensure good lighting, and use software tools to fix your 3D model.
Can I use my DIY3D scanner for 3D printing projects?
Yes, you can use it to create 3D models for printing. Export the models in formats that 3D printing software can use, and then print them.
How can I improve the quality of my DIY3D scans?
Use turntables for consistent scanning, add depth sensors, and try photogrammetry. Also, experiment with different software and editing techniques to enhance your 3D models.
Are there any online resources or communities available for DIY3D scanning enthusiasts?
Yes, there are many online forums, tutorials, and workshops for DIY3D scanning fans. You can share knowledge, learn new techniques, and connect with others.
What are the future trends in 3D scanning technology that I should be aware of?
Look out for better smartphone hardware, AI in 3D model creation, and software advancements. Keeping up with these trends can improve your DIY3D scanning skills and open up new possibilities.
Can I use my DIY3D scanner for educational purposes?
Yes, DIY3D scanners are great for teaching about 3D modeling, scanning, and printing. They can also help create interactive learning materials.
How does DIY3D scanning compare to professional 3D scanning in terms of quality?
What are some advanced techniques I can use to enhance my DIY3D scanning?
Try using turntables, depth sensors, and photogrammetry. Also, experiment with different software and editing techniques to improve your 3D models.


