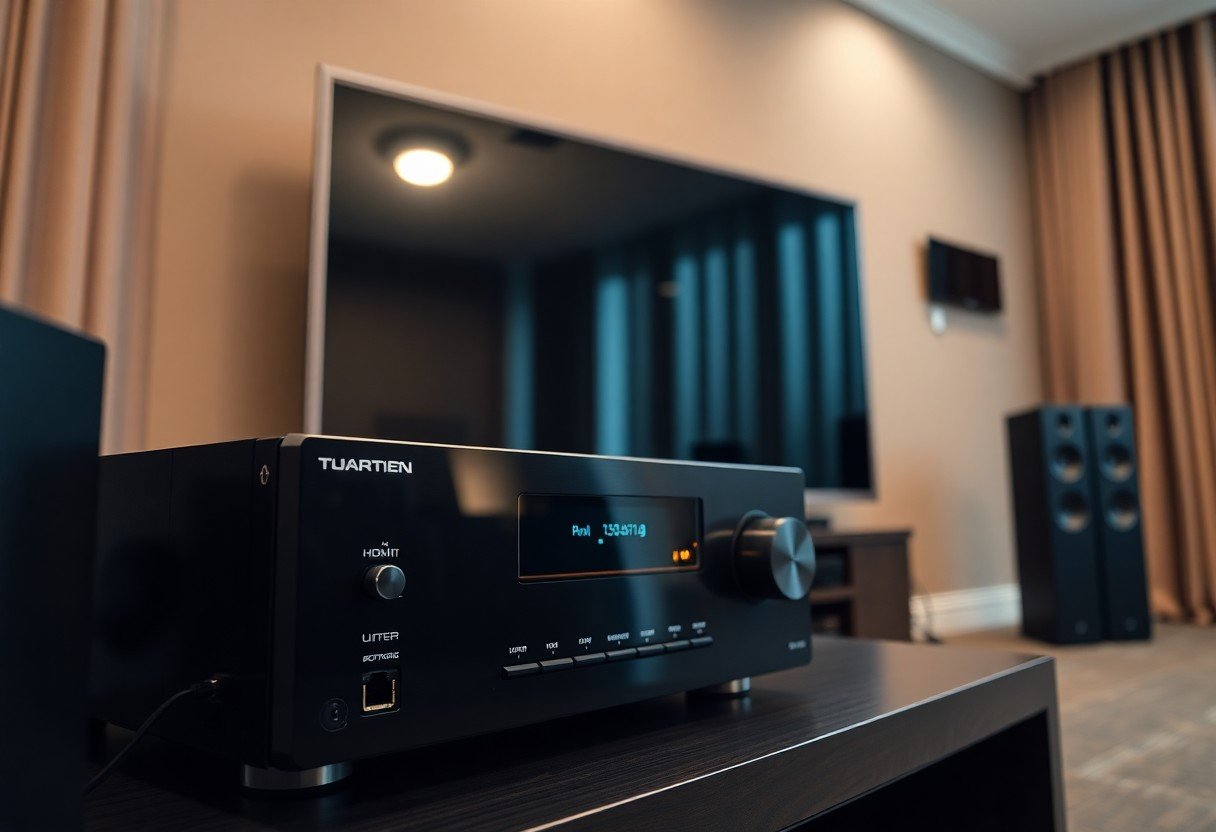
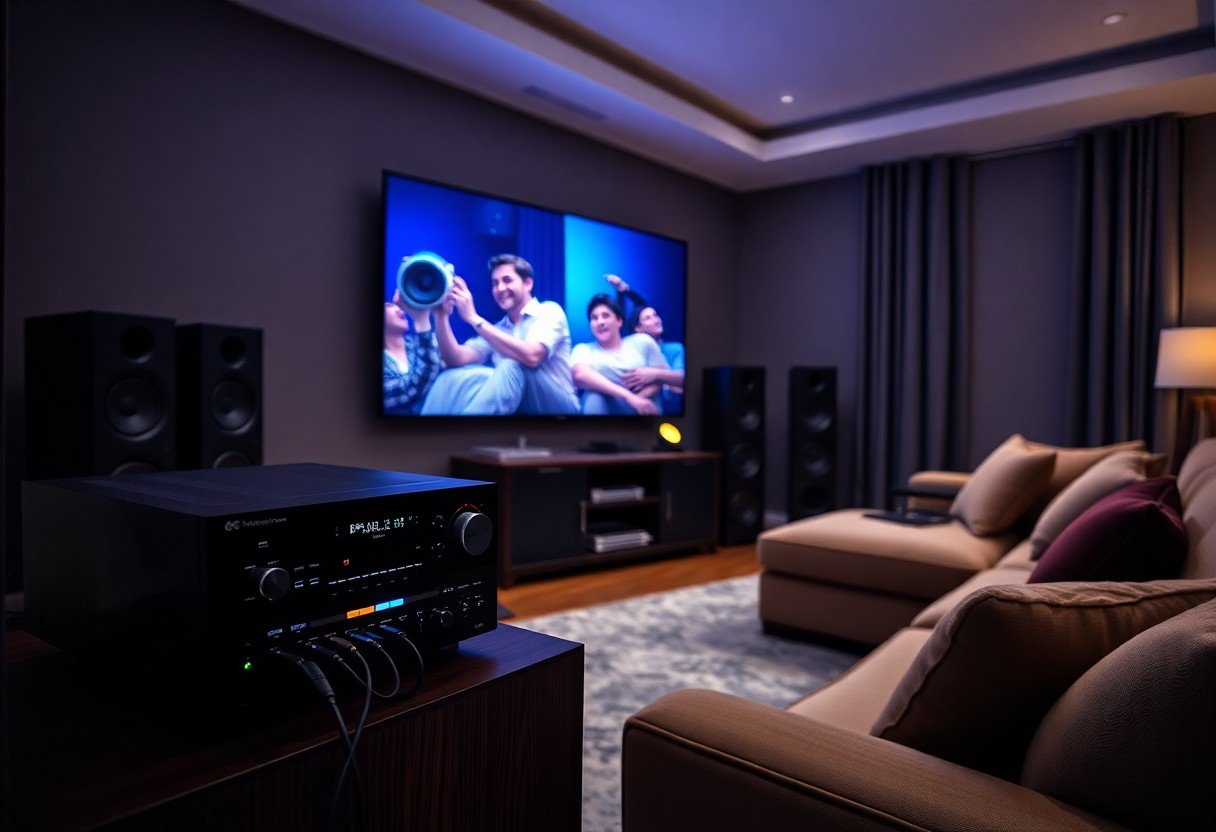
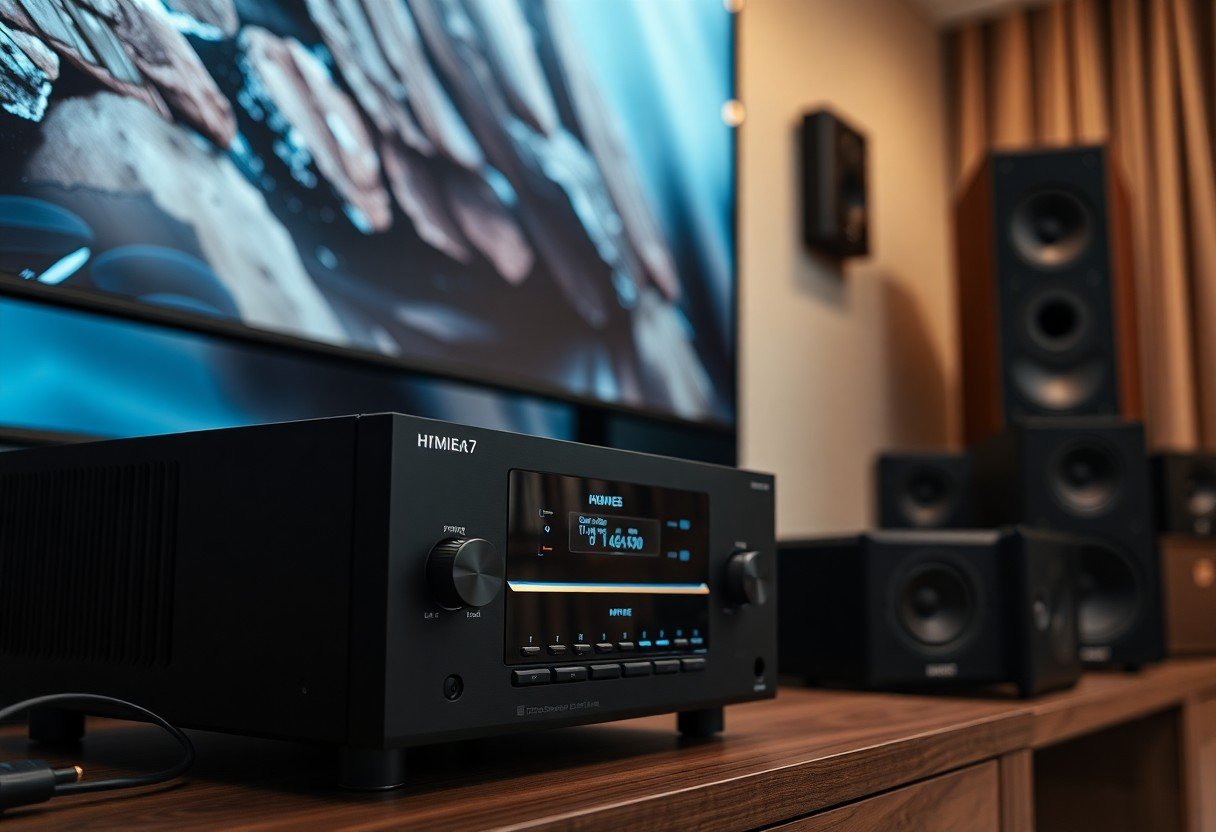
Receiver technology transforms your home theater experience, delivering sound that resonates with depth and clarity. By following this guide, you’ll learn how to connect your receiver to your TV, ensuring optimal performance without compromising on safety. Ensuring that all cables are correctly secured is vital to avoid damaging your equipment. You’ll be amazed at how easy it is to achieve cinematic audio right in your living room!
Understanding Your Home Theater System
Your home theater system is a complex arrangement designed to immerse you in stunning sound and visuals. Each component plays a distinct role, from the display for visuals to speakers that create rich audio environments. By understanding how these pieces work together, you can maximize their potential and ensure a seamless entertainment experience. Whether you’re watching a blockbuster film or gaming, knowing your system’s layout and capabilities will enhance your enjoyment significantly.
Key Components
A typical home theater system consists of several key components: a TV or projector for your visual output, speakers for immersive sound, a subwoofer for deep bass, and a receiver to manage audio and video signals. Each piece works in unison to create a cinematic experience in your living room, allowing you to enjoy movies and shows with crisp clarity and powerful sound.
Importance of a Receiver
The receiver acts as the brain of your home theater system, processing audio and video inputs to output them to your display and speakers. Without a reliable receiver, the full potential of your other components may remain untapped. It decodes various audio formats, such as Dolby Atmos or DTS:X, delivering a rich listening experience that enhances every scene.
A receiver also facilitates multiple connectivity options, allowing you to switch between different media sources effortlessly. For example, you can easily connect your gaming console, streaming device, and Blu-ray player to one central hub instead of constantly plugging and unplugging cables. Many receivers also include features like room calibration to optimize sound based on your specific environment, providing you with the best audio experience tailored to your space. Investing in a quality receiver significantly elevates your overall home theater setup.
How to Choose the Right Receiver
Selecting the right receiver is crucial for optimizing your home theater experience. Evaluate your specific needs, such as audio formats, room size, and the number of devices you plan to connect. For guidance, check out this I’m so stupid. How do I connect my tv to the receiver? thread for tips from the community.
Factors to Consider
Your choice involves several factors that can significantly impact sound quality and ease of use. Focus on power output suited for your room size, supported audio formats like Dolby Atmos, connectivity options, and brand compatibility with existing devices. The right balance will enhance your overall experience.
Top Features to Look For
Prioritize features that elevate your home theater experience. Look for 4K video pass-through, multiple HDMI inputs, and wireless connectivity which allow seamless integration with various devices. Additionally, advanced sound processing technologies can greatly enhance audio clarity and richness. Ensure your receiver supports the latest standards, such as HDR and eARC, to future-proof your setup. The right receiver sets the stage for breathtaking audio and video.
Connecting Your Receiver to the TV
To achieve advanced audio performance, connect your receiver to your TV using the appropriate interfaces and cables. This ensures that sound from your TV, streaming devices, and gaming consoles passes through the receiver, enhancing your overall viewing experience.
Required Cables and Connections
You’ll need specific cables to make the connection between your receiver and TV. The most common options include HDMI cables for high-quality audio and video, optical cables for digital sound, and RCA cables for analog connections. Choosing the right one depends on your equipment compatibility.
Step-by-Step Connection Guide
Follow these steps to connect your receiver to your TV. First, plug in the HDMI cable from the HDMI OUT on the receiver to the HDMI IN on your TV. If using optical or RCA, connect accordingly. Once connected, select the appropriate input on your TV to enable the sound output from your receiver.
Step-by-Step Connection Table
| 1. Choose the right cable (HDMI, optical, RCA) | 2. Identify the appropriate ports on your TV and receiver |
| 3. Connect the cable from receiver to TV | 4. Turn on your TV and select the corresponding input |
| 5. Adjust receiver settings for desired audio | 6. Test the sound and video output |
In the connection process, ensure you turn off your devices before plugging in cables to prevent any potential damage. After connecting, power on your devices and choose the correct input on your TV; then access your receiver settings to customize the audio output based on your preferences. This will optimize your home theater experience.
Additional Setup Table
| 1. Configure audio settings on your receiver | 2. Calibrate speaker levels using the receiver’s setup menu |
| 3. Enable any surround sound features for enhanced audio | 4. Save settings and enjoy your home theater |

Configuring Audio and Video Settings
Setting up audio and video settings correctly can dramatically elevate your home theater experience. The key is to navigate your receiver’s settings menu and select the appropriate format for your TV, ensuring that both video resolution and audio playback are optimized for the best performance. Take the time to explore features like HDMI calibration, Dolby Atmos adjustments, and speaker distances, which can further enhance playback quality.
Initial Setup Steps
Begin by accessing the setup menu on your receiver, typically found through the remote control. Select the video and audio settings options, then match them to your TV’s capabilities. Choosing the right video output mode, such as 4K or HDR, will ensure your visual experience is striking. Next, configure the speaker settings to reflect the layout of your room, allowing your audio system to perform at its best.
Optimizing Sound Quality
Adjusting audio settings can yield significant improvements in sound quality. Engage room calibration features, which analyze your space and optimize speaker placement for superior acoustics. Additionally, utilize equalizer settings to tailor sound output, ensuring that bass, treble, and midrange frequencies align with your preferences.
Using a calibration microphone, many receivers allow for automated room correction, accurately adjusting individual speaker levels and distances. This process considers factors like the dimensions of your room, placement of furniture, and any acoustic treatments you may have applied. Pair this with a careful equalization effort; slight tweaks in frequency ranges can transform your sound—boosting lower frequencies for impactful bass while balancing mids and highs for clarity. Ensuring your receiver supports high-definition audio formats can also elevate sound quality, providing a more immersive experience. Consider experimenting with different sound modes such as “Cinema” or “Music,” as these presets can significantly change how audio is processed and perceived in your setup.
Common Troubleshooting Tips
Even with proper setup, issues may arise. Check these common troubleshooting techniques to resolve most problems quickly:
- Ensure all cables are securely connected.
- Verify that your receiver is powered on.
- Check the input settings on your TV and receiver.
- Inspect for any overheating or unusual noises from the receiver.
The goal is to achieve seamless audio and video performance.
Audio Issues
Audio problems can stem from misconfigured settings or poor connections. Make sure the receiver’s audio settings align with your TV’s output settings. Adjust volume levels accordingly, and check for any muted channels. Also, confirm that you’re using the right connection type, such as HDMI ARC or optical audio.
Connection Problems
Connection issues may hinder the audio-visual experience. Start by inspecting the integrity of your cables and ports for any signs of damage. Ensure that you are using compatible cables for the best performance. If you encounter lag or no signal, try switching out HDMI cables or ports. A factory reset of your receiver can sometimes resolve persistent connectivity issues.

Expert Tips for Enhancing Your Home Theater Experience
Enhancing your home theater involves more than just equipment; it’s about creating an immersive environment. Start by investing in quality audio cables to minimize interference. Optimize your seating arrangement for ideal sight lines and sound distribution. Incorporate acoustic treatments to manage sound reflections. Explore different audio modes on your receiver for tailored experiences, and consider integration with smart technologies. Any adjustments you make can transform your home theater into a cinema-like experience. For a detailed setup, refer to this Home theater receiver setup guide.
Surround Sound Options
Surround sound can significantly elevate your cinematic experience. Explore formats such as Dolby Atmos or DTS:X to create a three-dimensional audio space. Adding rear speakers enhances immersion, while a subwoofer provides deep bass that you can feel. Experiment with placement and receiver settings to find the ideal configuration for your room.
Room Acoustics Considerations
Your room’s acoustics play a vital role in sound quality. Hard surfaces like walls and floors can create echoes, while soft furnishings can help absorb sound. Consider the impact of room size and layout on audio dynamics. Choosing the right speaker types and strategically placing them will further refine sound clarity.
Room acoustics require careful evaluation for optimal performance. Bass traps, diffusers, and sound-absorbing panels can all shape how sound waves interact in your space. Your room’s shape and volume drastically affect acoustic properties. Additionally, be mindful of reflective surfaces like glass and concrete, as they can distort sound waves. Careful attention to these elements ensures that your audio setup produces the richest sound possible, making your home theater truly exceptional.
Final Words
Upon reflecting, successfully connecting a receiver to your TV can dramatically enhance your home theater sound experience. By carefully following the steps outlined, ensuring you select the correct inputs and outputs, and optimally configuring your settings, you can immerse yourself in high-quality audio that transforms movie nights and gaming sessions. Don’t overlook the importance of quality cables and proper speaker placement to achieve the best results. With some patience and attention to detail, you’ll create an extraordinary sound environment that elevates your entertainment experience to new heights.
FAQ
Q: What cables do I need to connect my receiver to my TV?
A: To connect your receiver to your TV, you’ll need an HDMI cable for the best audio and video quality. Alternatively, you can use optical audio cables, RCA cables, or component cables, depending on the outputs available on your TV and inputs on your receiver.
Q: How do I set my receiver as the audio source for my TV?
A: After connecting your receiver to your TV, turn on both devices. Go to your TV’s audio settings and select the appropriate input option, such as HDMI ARC or optical output, depending on your connection. Then set your receiver to the corresponding input where the TV is connected.
Q: What settings should I adjust on my receiver for optimal sound quality?
A: For optimal sound quality, access your receiver’s setup menu. Calibrate the speaker sizes and distances, adjust the volume levels for individual speakers, and enable any audio enhancement features like Dolby Atmos or DTS, if supported. Additionally, ensure your receiver is set to the correct audio mode for the type of content you’re watching.
