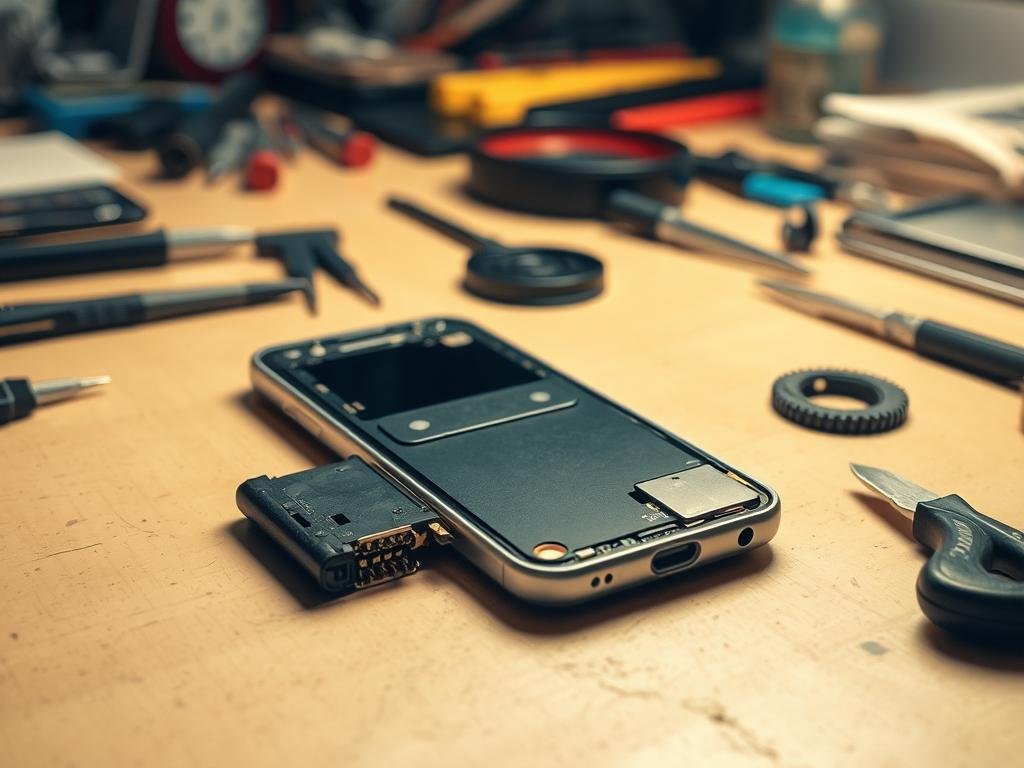
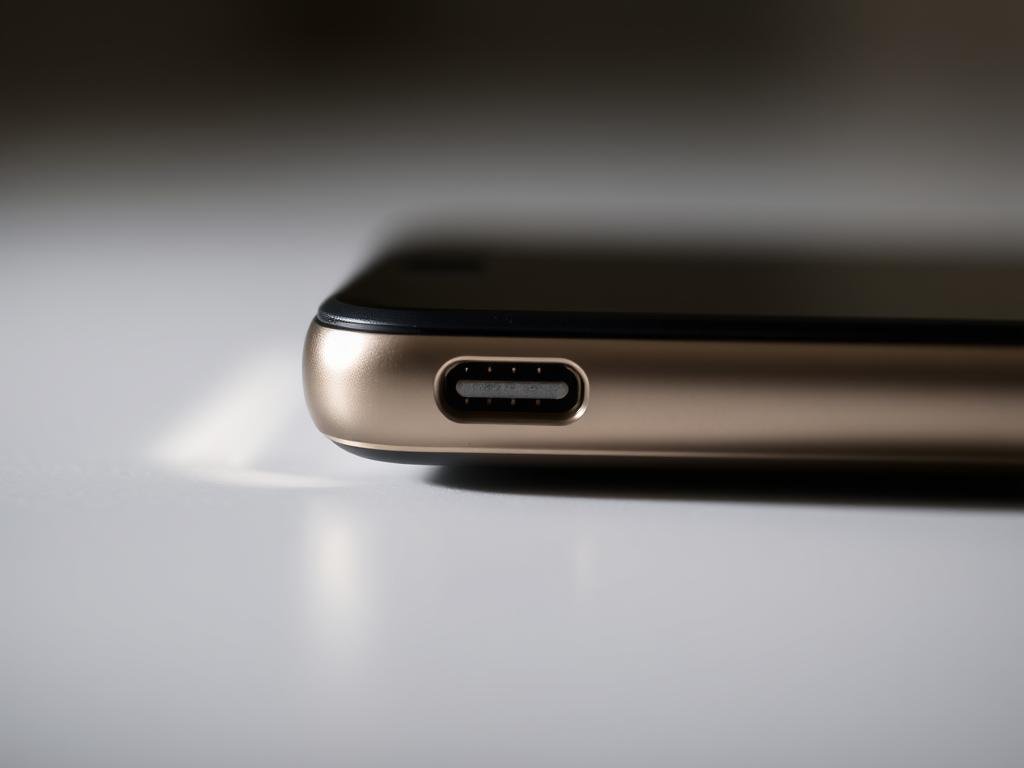
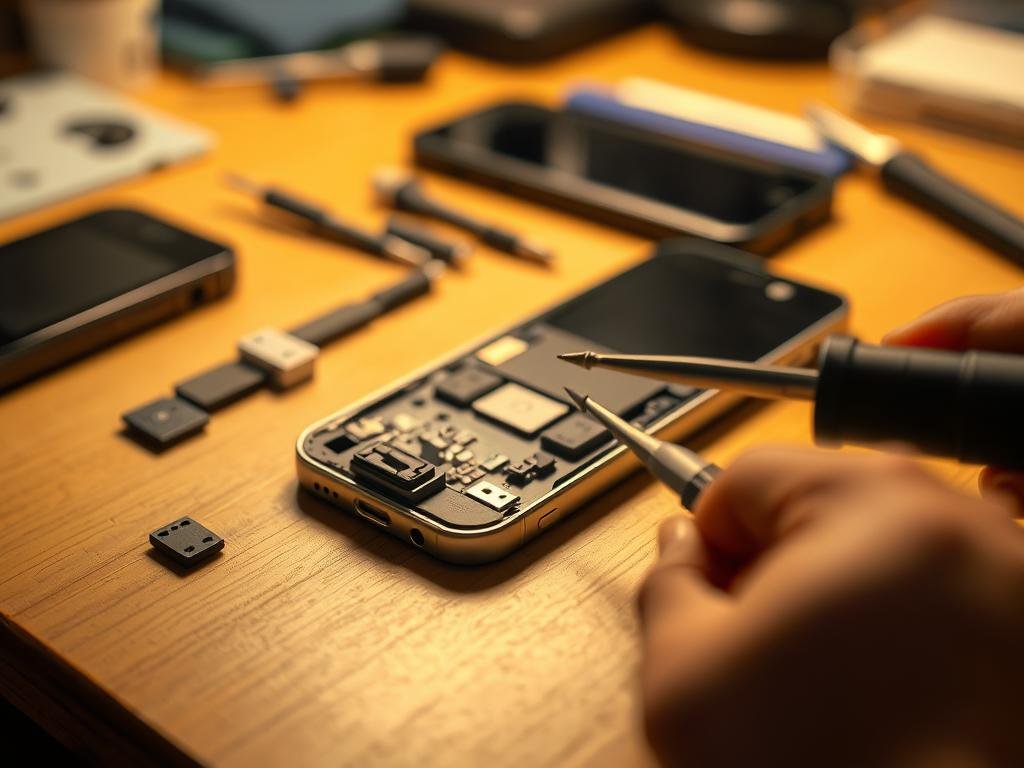
Did you know a faulty charging port is a common problem with smartphones? Many phone users face charging issues due to debris, loose connections, or damage. If your charging port isn’t working, you’re not alone. Luckily, repairing or replacing it can be done yourself with the right tools and steps.
Fixing your phone’s charging port is easy with a simple guide. This article will show you how to find the problem and fix or replace the port. For more complex repairs, check out advanced techniques.
Key Takeaways
- Identify common charging port issues and their causes.
- Learn the necessary tools and materials for DIY charging port repair.
- Follow a step-by-step guide to fix or replace your phone’s charging port.
- Understand when to seek professional help for charging port issues.
- Discover safety precautions to avoid damaging your device during repair.
Understanding Your Device’s Charging Port
Knowing how your device’s charging port works can help solve charging problems. This part is key for charging and connecting your device to others.
Common Issues with Charging Ports
Many issues can happen with your charging port. These include water damage, dust and debris, wear and tear, loose connections, and bad charging habits. Water damage happens when your device gets wet, causing corrosion. Dust and debris buildup can block the pins, stopping charging.
Repeated use can wear out the charging port, making it loose or damaged. Loose connections can cause charging to stop and start. Using damaged cables or chargers can also lead to problems.
Importance of a Functional Charging Port
A working charging port is essential for your device. Without it, your device can’t charge, making it useless for a long time. A bad charging port can also cause overheating or harm your device’s inside parts.
Keeping your charging port clean is important for your device’s health. Regular cleaning can stop common problems and make your device last longer.
Tools You Will Need for Repair
Before you start fixing your device’s charging port, gather the right tools. The right tools make the job easier and prevent damage to your device.
Basic Tools for Charging Port Repair
For most repairs, you’ll need basic tools. These include:
- A precision screwdriver set to open the device and get to the charging port.
- A soldering iron and solder for fixing or replacing the port.
- Compressed air or a soft-bristled toothbrush to clean the port.
- Tweezers for handling small parts.
These tools are easy to find and are a good start for most repairs. If you’re searching for a charging port fix near me, having these basics is a good first step before getting professional help.

Optional Tools for Advanced Repairs
For complex repairs or stubborn issues, you might need more tools. These include:
- A heat gun for removing tough adhesives or heating parts for desoldering.
- A spudger or plastic opening tool for safely opening the device.
- A magnetic tray to keep track of small metal parts.
- Multimeter for finding electrical problems with the charging port.
While these tools are not needed for every fix, they’re very helpful for professional charging port repair or for those with more DIY experience. If you’re not sure about DIY repairs, consider affordable charging port repair services.
Diagnosing the Problem with Your Charging Port
Figuring out what’s wrong with your charging port is the first step to fixing it. To find the problem, look for common signs and test it right.
Signs Your Charging Port Needs Repair
Your device’s charging port might show signs of trouble. These include:
- Loose connection or intermittent charging
- Failure to charge even when the charger is properly plugged in
- Visible debris or corrosion inside the port
- Physical damage to the port or surrounding area
If you see any of these signs, your charging port might need fixing. For more help, check out expert advice on fixing battery and charging.
Testing the Charging Port with a Multimeter
To see if your charging port works, use a multimeter to check its voltage. Here’s how to do it:
- Set your multimeter to the DC voltage setting.
- Carefully connect the multimeter probes to the charging port’s pins.
- Look at the multimeter reading. A good charging port should show a voltage close to your device’s battery.
If the reading is off or shows no voltage, your charging port has a problem. You might need to clean or replace it.
By following these steps, you can find out what’s wrong with your charging port. Then, you can figure out the best way to fix it.
Preparing Your Device for Repair
Getting your device ready for repair is key to a smooth and safe fix. Before you start on your device’s charging port, it’s important to take some steps. These steps will help ensure a successful phone charging port fix.
First, make sure your device is turned off completely. This is a safety step to avoid any accidental power-ons or electrical shocks. Also, remove any SIM cards, SD cards, or other external parts. This prevents damage to these parts and makes the repair easier.
Safety Precautions Before Starting
When working on your device, safety is the most important thing. Here are some safety tips to keep in mind:
- Wear protective gear like anti-static wrist straps or gloves to prevent static damage to your device’s parts.
- Make sure your workspace is clean, well-lit, and free from clutter or distractions.
- Use the right tools for the job to avoid damaging your device. For a charging port replacement, you’ll need precision screwdrivers and possibly a spudger or plastic opening tool.
For more detailed guidance on preparing your device for repair, you can visit this resource. It outlines steps to take before sending your phone for repair, which can also be helpful for DIY fixes.
How to Backup Your Data
Before starting the repair, backing up your data is essential to prevent loss. Here are the steps to backup your device:
- Connect your device to a computer using a USB cable.
- Enable USB debugging or file transfer mode on your device.
- Use backup software or manually transfer important files to your computer or cloud storage.
For iPhone users, you can use iCloud or iTunes to backup your data. Android users can use Google Drive or other cloud services for backup. Having your data safely backed up will give you peace of mind during the charging port repair service process.
| Backup Method | iPhone | Android |
|---|---|---|
| Cloud Backup | iCloud | Google Drive |
| Computer Backup | iTunes | USB Transfer |
Disassembling Your Device
Fixing the charging port starts with taking apart your device. It might look hard, but it’s easy with the right steps. For detailed help, check out ifixit for expert tips on fixing charging ports.
Step-by-Step Guide to Opening Your Device
First, take off your device’s outer cover. This means removing screws from the bottom or back. Most phones and tablets need a Phillips #000 screwdriver.
After removing screws, use a plastic spudger to open the cover. Be gentle to avoid harming the inside or the cover itself.
| Step | Action | Tool Required |
|---|---|---|
| 1 | Remove screws | Phillips #000 screwdriver |
| 2 | Pry open casing | Plastic spudger |
| 3 | Disconnect battery | Plastic spudger or tweezers |
Tips for Keeping Track of Screws and Components
To not lose screws and to put your device back together right, keep track of parts. Use a compartmentalized container for screws and small parts as you take them out.

For a cheap charging port fix, be careful when taking apart. Labeling screws and parts helps when putting it back together.
Inspecting the Charging Port
Now that you’ve taken apart your device, it’s time to check the charging port. Look for any damage or debris. This is key to figuring out if you need to clean or replace it.
What to Look for During Inspection
When you inspect, search for physical damage like bent or broken pins. Also, check for debris or corrosion that might block the connection. Carefully examine the charging port to spot any issues.
- Check for bent or broken pins
- Look for debris or corrosion
- Inspect the port’s connection to the motherboard
Identifying Damage or Debris
If you find damage or debris, it’s important to know how bad it is. Corrosion, for instance, can be a sign of water damage. It might need more than just cleaning. Note your findings to plan the next steps in fixing it.

By carefully checking the charging port, you can find the problem and decide what to do. This step is key to fixing your device’s charging issue right.
Cleaning the Charging Port
To make sure your device charges right, it’s key to keep the charging port clean. A dirty port can cause charging problems and might even harm your device. Regular cleaning can stop these issues.

Best Practices for Cleaning
When cleaning the charging port, be gentle to avoid damage. Avoid using sharp objects that could harm the port or its parts. Choose safe and effective methods instead.
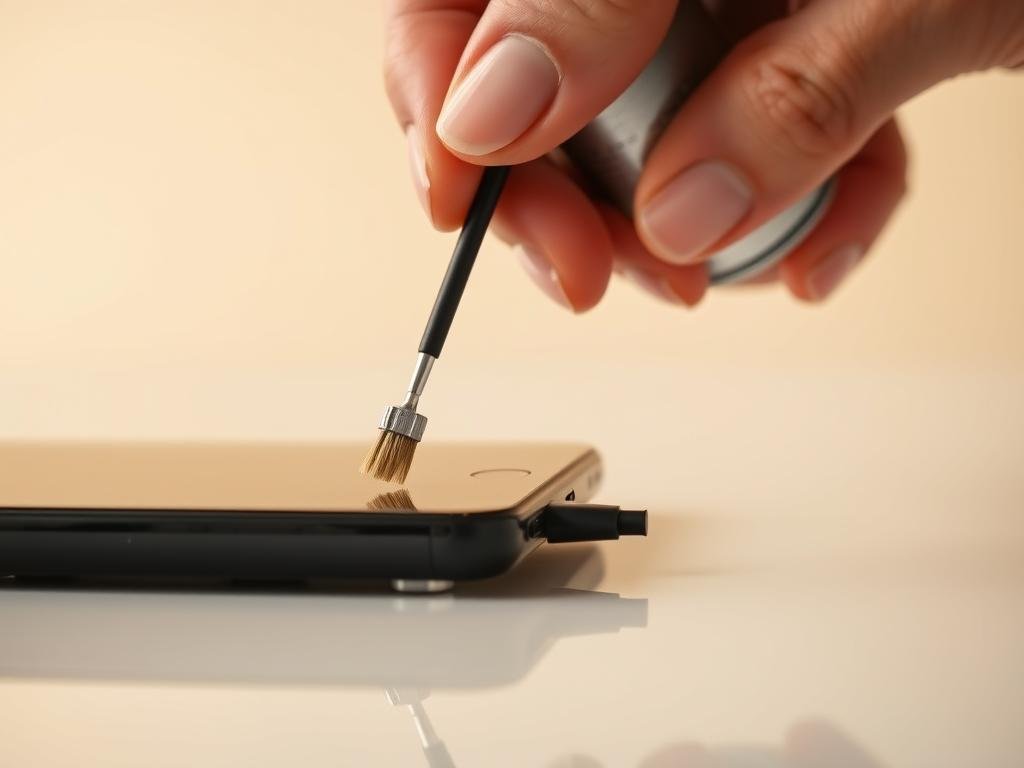
Using compressed air is a great way to clean the port. It can push out debris lodged inside. Also, a soft-bristled brush can help remove tough particles.
Recommended Cleaning Tools and Solutions
You’ll need a few basic tools for cleaning the charging port. Compressed air is highly recommended as it safely removes debris without damage. A soft-bristled brush, like a small paintbrush or an electronics brush, is also useful for gently removing debris.
Some cleaning solutions are made just for electronics. But, always check if it’s safe for your device and follow the manufacturer’s instructions.
Replacing the Charging Port
If your device’s charging port is damaged, replacing it is a good option. A broken charging port can really mess up your day. Replacing it might be cheaper than getting a new device.
When You Should Replace the Charging Port
Think about replacing your charging port if it’s really broken. You’ll know it’s time when:
- Charging keeps failing, even after cleaning the port
- You see physical damage to the port or around it
- The port won’t work after trying to fix it
For more help figuring out charging port problems, check out MakeUseOf’s guide on fixing broken chargers.
Step-by-Step Replacement Process
Replacing the charging port takes a few steps. You’ll need to unsolder the old port and solder the new one. Here’s a quick guide:
| Step | Description | Tools Needed |
|---|---|---|
| 1 | Take apart your device to get to the charging port | Screwdrivers, plastic spudger |
| 2 | Unsolder the old port’s connections | Soldering iron, desoldering wick |
| 3 | Take out the old port and clean the area | Tweezers, cleaning solution |
| 4 | Solder the new port in place | Soldering iron, solder |
| 5 | Put your device back together | Screwdrivers, plastic spudger |
Important: Be very careful with the electrical connections. Damage can happen easily while replacing the port.
By following these steps, you can replace your device’s charging port. But if you’re not sure, it’s best to get help from a professional charging port repair service. This way, you avoid damaging your device more.
Reassembling Your Device
Putting your device back together needs patience and care. After fixing the charging port, make sure everything is in place and screws are tight. This prevents any more damage.
To reassemble your device, start by reconnecting cables or connectors. Make sure they fit well in their ports.
How to Properly Put Your Device Back Together
First, put back the charging port cover and other removed parts. Make sure they fit right and are securely fastened.
- Put the outer casing back on, aligning it with the inside parts.
- Tighten screws in the right order to avoid damage.
- Reconnect cables or connectors, making sure they’re secure.
For specific reassembly steps, check Samsung’s support page.
Common Mistakes to Avoid During Reassembly
Don’t over-tighten screws, as it can harm the device. Also, ensure internal parts are well-secured to avoid damage or malfunction.
“The key to successful reassembly is patience and attention to detail. Ensuring all components are properly secured and screws are tightened is critical.”
By following these tips and avoiding common errors, you can ensure your device works well after the repair.
Troubleshooting Post-Repair Issues
Even after fixing the charging port, your device might not charge. Check the charging port and cable for damage or debris. These could be the cause of the problem.
Common Issues After Repair
If the port and cable look fine, the issue might be with the cable or adapter. Try a different cable or adapter to see if it solves the problem. If not, the repair might have gone wrong, like a loose connection.
Seeking Further Assistance
If you can’t fix it yourself, get help from a professional repair service. They can find and fix complex problems. Make sure to pick a trusted service to protect your device.
FAQ
What are the common signs that my charging port needs repair?
Signs include a loose connection and debris inside the port. Your device might not charge even when plugged in correctly. You could also face intermittent charging or need to hold the cable in a certain way for it to work.
Can I clean my charging port myself, or do I need professional help?
You can clean it with a soft brush, compressed air, or a cotton swab with isopropyl alcohol. But if cleaning doesn’t work, you might need a pro.
What tools do I need to replace my device’s charging port?
You’ll need a Phillips screwdriver, a plastic spudger, and tweezers. For more complex repairs, you might also need a multimeter, soldering iron, and desoldering wick. The tools needed can vary by device model.
How do I know if my charging port is damaged beyond repair?
Look for physical damage, corrosion, or water damage. Use a multimeter to test it. This can show how bad the damage is.
Is it safe to repair my device’s charging port myself?
Yes, if you’re careful. Back up your data, prevent static, and use the right tools. But if you’re not sure, it’s best to get help from a pro.
How can I prevent my charging port from getting damaged in the future?
Avoid water, use a good charger, and clean the port gently. Handle your charging cable carefully to prevent wear.
What should I do if my device isn’t charging after trying to fix the port?
Check connections and make sure the port is clean. If it doesn’t work, you might need more help or to contact the manufacturer.
Can a faulty charging port cause other issues with my device?
Yes, it can lead to overheating, not charging, or charging problems. It might also affect accessory recognition or cause electrical issues.
How long does a typical charging port replacement take?
It depends on the device and your experience. It can take 30 minutes to a few hours. A step-by-step guide can help.
Are there any risks associated with DIY charging port repair?
Yes, you could damage your device or void the warranty. Be careful and consider professional help if unsure.
