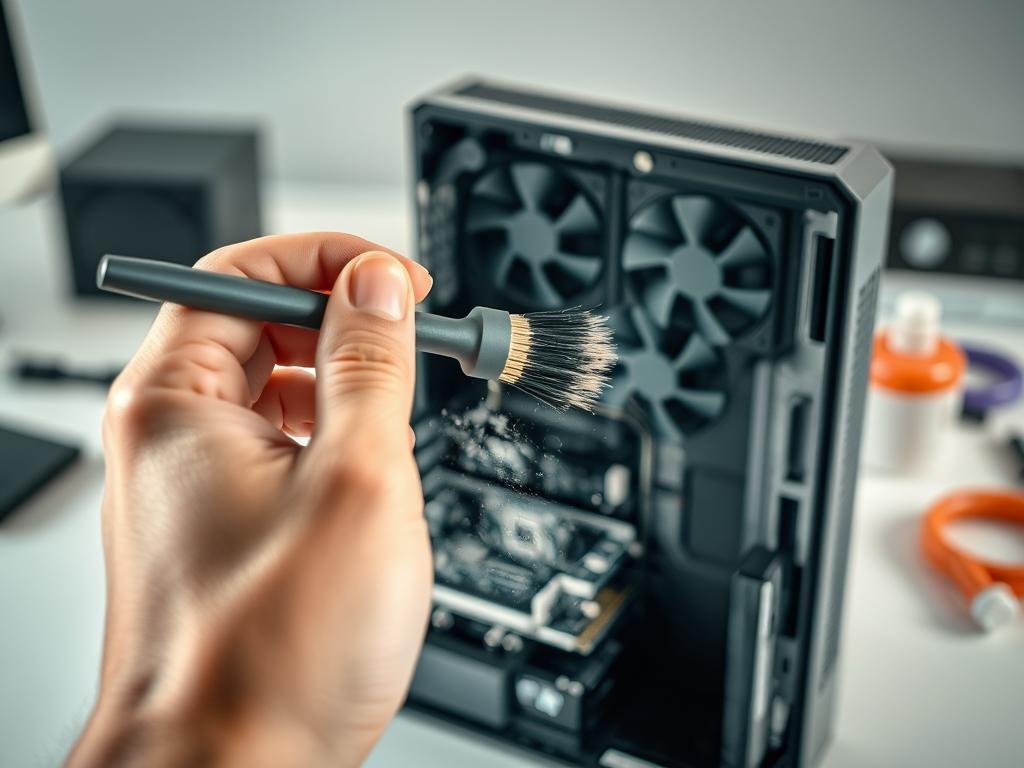
Internal cleaning is essential for gaming consoles like PlayStation and Xbox, which can overheat due to dust buildup. This can cause poor performance or even permanent damage. Keeping the inside of your console dust-free—using tools like compressed air—helps prevent overheating. Experts at Asurion recommend regular internal cleaning to keep your device working properly.
Keeping your internal console clean is key to avoiding overheating. You can do this by cleaning it regularly. For example, using compressed air to remove dust from vents is a good idea. Experts at Asurion suggest this.
Key Takeaways
- Regular console cleaning can prevent overheating and maintain optimal performance.
- Dust accumulation is a common issue that can cause consoles to malfunction.
- Using compressed air can help blast dust and dirt out of the air vents.
- Positioning your console in a location with good airflow can assist with cooling.
- Cleaning your console every three to six months is recommended.
Why Your Gaming Console Needs Regular Cleaning
To keep your gaming console running well, cleaning it regularly is key. Dust and debris can build up inside, causing problems. These issues can affect how well your console works and how long it lasts.
Signs of Overheating in Gaming Consoles
One big worry with a dusty console is overheating. This can lead to many problems. Some common signs include:
Loud Fan Noise and Performance Issues
If your console’s fan is loud, it might be working too hard. You could also see slow performance or lag. These signs mean dust is making your console work harder than it should.
Unexpected Shutdowns and Error Messages
Overheating can also make your console shut down without warning. You might see error messages or experience freezes. These are signs your console is struggling to stay cool.
How Dust Affects Performance and Lifespan
Dust inside your console can harm its performance and lifespan. It can cause thermal throttling and damage to components.
Thermal Throttling Explained
Thermal throttling happens when parts get too hot. The system then slows down to avoid damage. This can make your games less fun by reducing speed or performance.
Long-term Component Damage
If you don’t clean out dust, it can damage your console’s parts. This can shorten its life and cost a lot to fix or replace.
For professional cleaning, check out uBreakiFix. They can keep your console running smoothly.
| Signs of Overheating | Effects of Dust Buildup |
|---|---|
| Loud Fan Noise | Thermal Throttling |
| Performance Issues | Long-term Component Damage |
| Unexpected Shutdowns | Reduced Lifespan |
| Error Messages | Poor Gaming Experience |
Essential Tools and Materials for Internal Cleaning of Your PlayStation/Xbox
To clean your PlayStation or Xbox inside, you need the right stuff. Cleaning the inside is key to keeping your console running well and lasting longer.
Required Cleaning Supplies
For a good clean, you’ll need the right tools. The main supplies are:
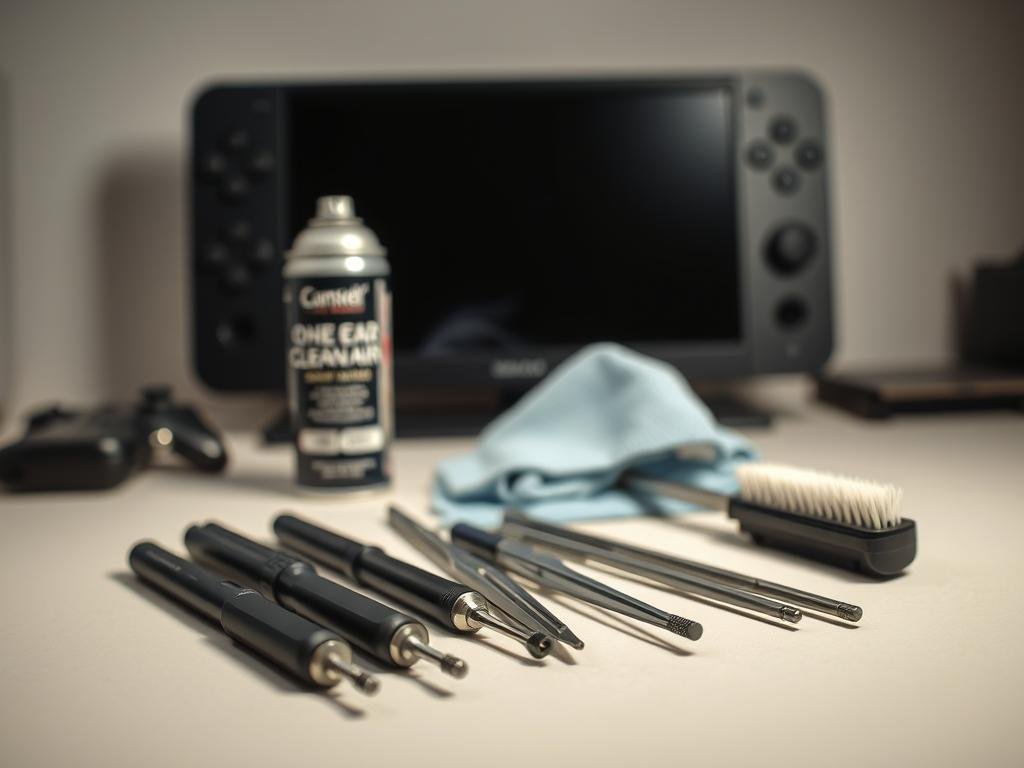
- Compressed Air and Microfiber Cloths: Compressed air gets dust out of tight spots. Microfiber cloths are soft and pick up dust well.
- Isopropyl Alcohol and Cotton Swabs: Isopropyl alcohol cleans tough stains and dust. Cotton swabs apply it where needed.
Necessary Tools for Disassembly
To get to the inside parts, you’ll need to take your console apart. You’ll need:
- Screwdriver Types for Different Console Models: Each console needs a specific screwdriver. Make sure you have the right one.
- Anti-Static Equipment: Anti-static wrist straps or mats protect your console’s parts from static damage.
Optional but Helpful Items
Some extra items can make cleaning easier:
- Thermal Paste and Applicators: If you’re cleaning the CPU or GPU, you might need to reapply thermal paste. Applicators help spread it right.
- Cable Management Supplies: Cable ties or clips help keep cables tidy, improving airflow in your console.
For more tips on cleaning computer internals, check out CNET’s guide on cleaning the inside of your computer. It offers more details on the cleaning process.
Safety Precautions Before You Begin
Before you start cleaning your gaming console, it’s important to take safety steps. Cleaning inside can be tricky. The right precautions will keep you safe and your device working well.
Electrical Safety Measures
To avoid electrical shock or damage, follow some key steps. First, make sure your console is turned off and unplugged.
Power Disconnection and Capacitor Discharge
Just unplugging isn’t enough. You also need to let capacitors discharge. This can take a few minutes. Check your console’s manual for how to safely do this.
Protecting Console Components
Static electricity can harm your console’s parts. So, it’s important to take anti-static steps.
Anti-Static Precautions
Use an anti-static wrist strap or mat to keep yourself grounded. This protects your console’s sensitive parts. Always handle components by the edges to avoid touching electrical circuits.
Warranty Considerations
Before you start, check if your console’s warranty is active. Opening your console might void the warranty, depending on the maker’s rules.
Understanding Warranty Implications
Look at your warranty or contact the maker to know about cleaning’s impact. This helps you decide wisely.
Preparation Steps for Console Disassembly
Before you start taking apart your PlayStation or Xbox, get your workspace ready. A tidy area keeps you focused and stops small parts from getting lost during cleaning.
Creating a Clean Workspace
First, clear a flat area and cover it with an anti-static mat or soft cloth. This protects your console’s parts from static damage. Make sure the space is bright, with natural light or a strong lamp, to see small parts and screws clearly.
Surface Protection and Lighting Requirements
An anti-static mat is key to protect your console’s parts from static. Good lighting is also vital. It helps avoid losing small parts and makes disassembly easier.
Documenting the Disassembly Process
Document each step as you take apart your console. This will help a lot when you put it back together.
Taking Photos at Each Step
Take clear photos at every disassembly step. These pictures will guide you when reassembling, ensuring all parts go back where they belong.
Organizing Screws and Small Parts
Use labeled containers or a tray with compartments to keep screws and small parts organized. This prevents losing important parts during cleaning.
Labeling and Sorting Methods
Label each container with what’s inside, and sort screws by size and type. This methodical sorting saves time and reduces frustration when putting everything back together.
| Preparation Step | Description | Importance Level |
|---|---|---|
| Creating a Clean Workspace | Clearing and covering a flat surface | High |
| Documenting the Disassembly | Taking photos at each disassembly step | High |
| Organizing Screws and Parts | Labeling and sorting screws and small parts | Medium |
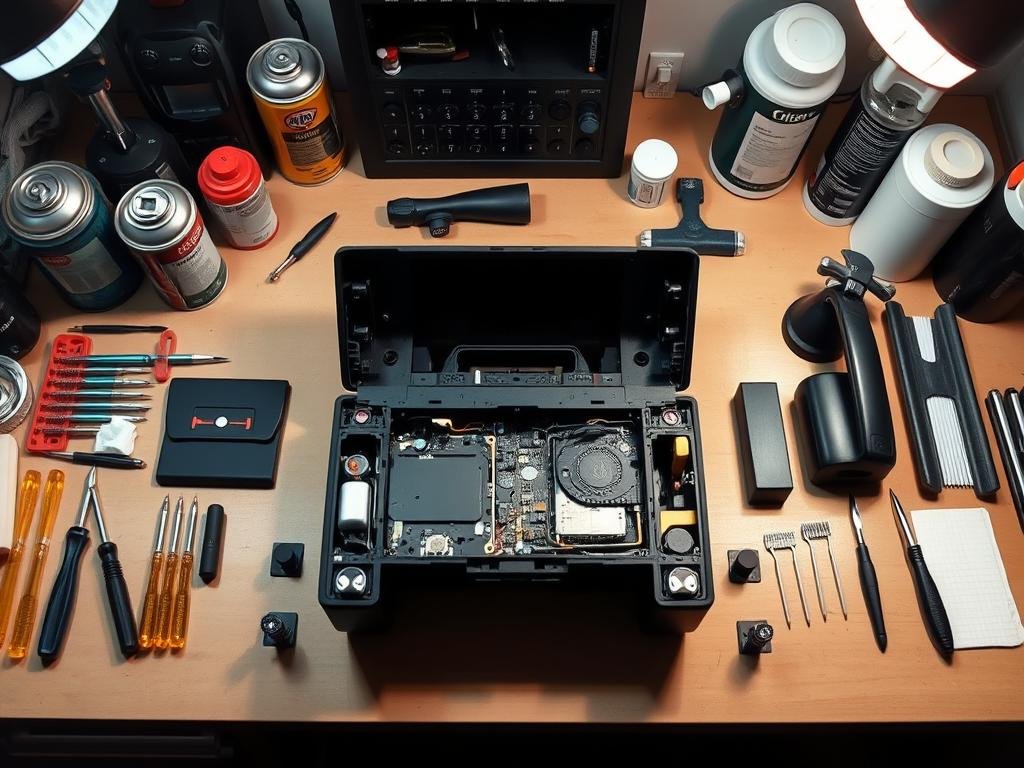
Step-by-Step Guide to Internal Cleaning of Your PlayStation
Enhance your PlayStation’s lifespan and efficiency with a simple cleaning guide. Regular cleaning keeps it running smoothly and prevents overheating.
PlayStation 4 Disassembly Instructions
To clean your PS4, start by disassembling it. The steps vary based on your model.
PS4 Standard Model Disassembly
Begin with the standard PS4 by removing the outer casing. Use a screwdriver to remove the screws at the back. Then, gently pry open the case.
Inside, you’ll find the fan and heat sink. These areas collect dust.
PS4 Pro and Slim Variations
The PS4 Pro and Slim models need a similar start. But, their internal layouts differ. Be careful with the Pro’s extra heat sink. The Slim’s design makes disassembly simpler.
PlayStation 5 Disassembly Instructions
The PS5’s design focuses on airflow. To clean it, access the dust catchers and possibly disassemble further.
Accessing PS5 Dust Catchers
The PS5 has dust catchers that can be removed and cleaned. Just pull them out and use compressed air or a soft brush.
Full PS5 Disassembly Process
For a deeper clean, remove the outer casing and possibly the SSD. Be careful with the SSD and its bracket.
Cleaning the Fan and Heat Sink
The fan and heat sink are key areas for cleaning. They help improve airflow in your console.
Safe Fan Cleaning Techniques
Use compressed air to gently blow out dust from the fan blades. A soft-bristled brush can also help, but be gentle to avoid damage.
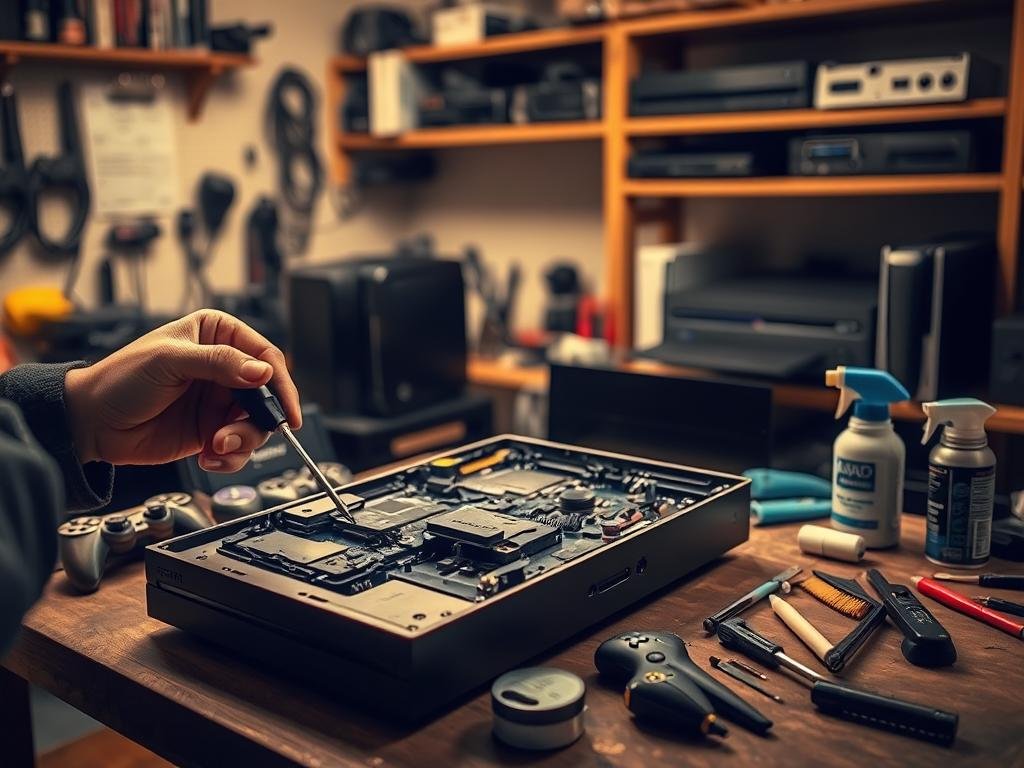
Dust Removal from Other Internal Components
Components like the motherboard and power supply also need cleaning.
Motherboard and Power Supply Cleaning
Use compressed air to clean around these components. For tough dust, a soft-bristled brush is okay, but avoid touching electrical parts directly.
By following these steps, you can keep your PlayStation in top shape. This ensures better performance and a longer lifespan through effective cleaning.
Step-by-Step Guide to Internal Cleaning of Your Xbox
Cleaning your Xbox inside is easy and helps prevent overheating. It keeps your console running well. Regular cleaning makes your gaming better by keeping your console smooth and efficient.
Xbox One Disassembly Instructions
To clean your Xbox One, start by taking it apart. The steps vary based on your model.
Xbox One Original Model Disassembly
For the original Xbox One, remove the outer casing first. Take out the screws at the back and gently pry it open. Inside, you’ll find the fan and other parts that need cleaning.
Xbox One S and X Variations
The Xbox One S and X have a different design. Remove screws and slide off the top cover to get to the inside. Be careful not to harm any cables.
Xbox Series X/S Disassembly Instructions
The Xbox Series X and S are more complex but can be taken apart carefully.
Series X Cooling System Access
To get to the cooling system of the Xbox Series X, remove the side panel. This lets you clean the fan and heat sink, where dust often builds up.
Series S Disassembly Process
The Xbox Series S is easier to take apart than the Series X. Remove the outer casing to reach the inside parts. Make sure to ground yourself to avoid static damage.
Cleaning the Fan and Heat Sink
After getting to the inside parts, clean the fan and heat sink next.
Fan Removal and Cleaning
Take out the fan carefully. Use compressed air or a soft brush to remove dust. Make sure it’s clean before putting it back.
Heat Sink Dust Extraction
The heat sink gets a lot of dust. Use compressed air to blow it out, or a detailed cleaning method if needed.
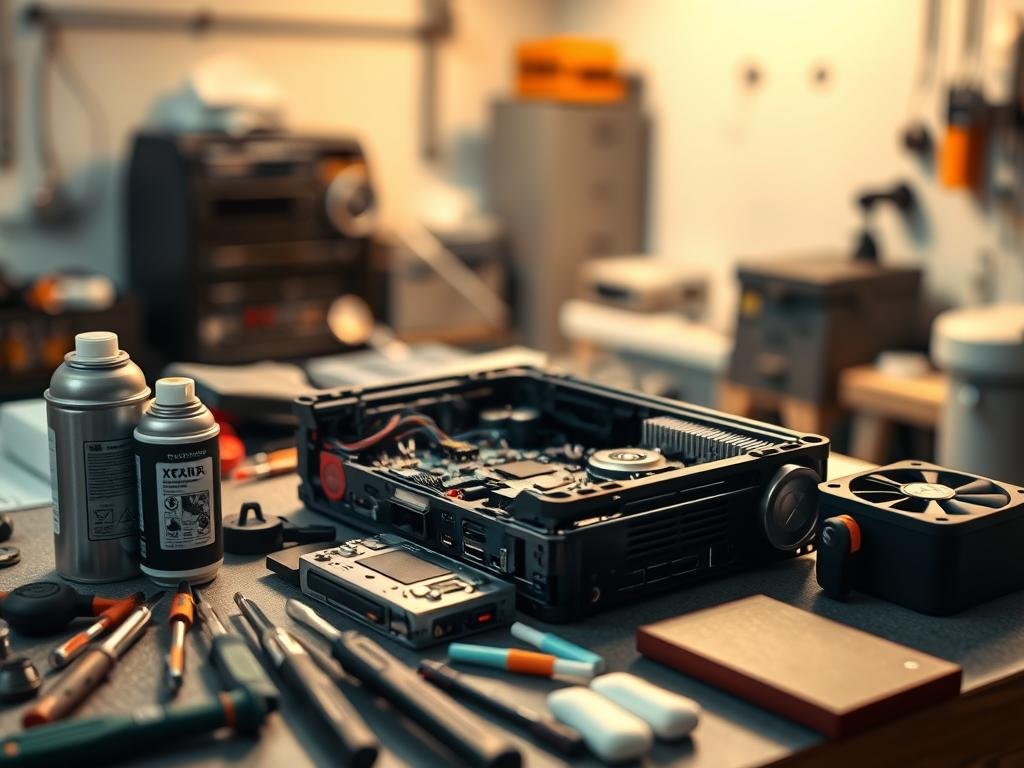
Dust Removal from Other Internal Components
Other parts inside your Xbox can also get dusty.
Motherboard and Power Supply Cleaning
Use compressed air to clean the motherboard and power supply gently. Be careful not to touch anything with your hands or the air nozzle.
By following these steps, you can keep your Xbox clean and running well. This improves its performance and lifespan.
Reassembling Your Console Correctly
Putting your gaming console back together right is key to keeping it running well. It helps avoid overheating problems later on. You need to pay close attention to make sure everything fits right and is connected properly.
Common Reassembly Mistakes to Avoid
There are a few common mistakes to steer clear of when putting your console back together. These include wrong cable paths, screws in the wrong spots, and screws not tightened enough.
Cable Routing and Connection Errors
Bad cable paths can block air flow, causing your console to get too hot. Make sure cables are tidy and out of the way of important parts.
Screw Placement and Tightening
Putting screws in the wrong place or tightening them too much can harm your console. Check your disassembly guide to make sure you’re using screws correctly.
Applying New Thermal Paste (If Necessary)
If you took off the heat sink to clean, you might need to put new thermal paste on. This helps the CPU/GPU and heat sink work better together.
Proper Application Techniques
Put a thin, even layer of thermal paste on the CPU/GPU die. Don’t use too much, as it can actually make things worse.
Testing Your Console After Cleaning
After you’ve put everything back together, it’s important to test your console. This makes sure it’s working right.
Initial Power-Up Checks
Turn on your console and look for any odd sounds, lights, or error messages. Also, check the temperature to make sure it’s normal.
Performance Testing
Play some games or run stress tests to see if your console is working well. Look for any signs of overheating or slowdown during heavy use.
| Test | Description | Expected Outcome |
|---|---|---|
| Initial Power-Up | Turn on the console | No error messages, normal operation |
| Performance Testing | Run games or stress tests | No overheating, normal performance |
| Cable Check | Inspect cable routing | Cables securely routed, no obstruction |
By following these steps and avoiding common mistakes, you can keep your console clean and running smoothly. This helps it last longer and perform better.
Troubleshooting Post-Cleaning Issues
After cleaning and putting your PlayStation or Xbox back together, you might face some problems. It’s key to keep your console in good shape for the best performance.
Console Won’t Power On
If your console won’t turn on after you’ve put it back together, there are a few things to check. First off, make sure all connections are tight and the power supply is working right.
Connection and Power Supply Checks
- Make sure all cables are plugged in well.
- Look for any damage on the power cord.
- Check that the power supply unit is in place and connected right.
Unusual Noises After Reassembly
Strange noises coming from your console can be a worry. They might mean there’s a problem with the console fan maintenance. Finding out where the noise is coming from is very important.
Fan and Component Interference Solutions
To fix the noise, first check if the fan is in the right spot and not blocked. Also, make sure everything inside is tightly secured to avoid any noise problems.
Persistent Overheating Problems
If your console keeps getting too hot even after you’ve cleaned it, there might be more to it. You could try using extra cooling or check if the thermal paste is applied correctly.
Additional Cooling Solutions
- Think about using a cooling pad or an external fan.
- Make sure there’s good air flow around your console.
- See if you need to apply thermal paste again.
By tackling these common problems, you can make sure your console works well and efficiently. This keeps your console maintenance up to par.
Conclusion
Keeping your PlayStation or Xbox clean is key to its performance and longevity. By following the steps in this article, you can keep your console in great shape. This ensures a smooth gaming experience for you.
Cleaning your console is more than just dusting. It’s about keeping it clean overall. Make sure the fan and heat sink are dust-free. This prevents overheating problems.
Regular cleaning of your console helps avoid overheating and performance drops. This simple habit makes your gaming better. You can enjoy your games without any issues.
Now, you know how to clean your console. Take action to keep it running at its best. Protect your investment and enjoy top performance.
FAQ
How often should I clean my gaming console internally?
Clean your console every 6-12 months. This depends on how much you use it and your environment. Regular cleaning keeps it cool and running well.
What are the signs that my console needs internal cleaning?
If your console overheats, it might shut down or make loud noises. Also, if you see dust or it’s not performing as well, it’s time to clean.
Can I use compressed air to clean my console’s internal components?
Yes, compressed air is good for dusting. But, don’t spray it too close to sensitive parts. Also, avoid using it on fans to prevent damage.
Will internal cleaning void my console’s warranty?
It depends on the warranty. Check your warranty before you start cleaning. Some warranties might be void if you open your console.
How do I protect my console’s components from static damage during cleaning?
Ground yourself by touching metal or wearing an anti-static wrist strap. This keeps your body from shocking your console’s parts.
What are the most critical components to clean inside my console?
Clean the fan, heat sink, and vents well. They help with airflow and cooling. Keeping them clean prevents overheating and keeps your console running smoothly.
Can I use a vacuum cleaner to clean my console’s internal components?
No, vacuum cleaners can harm your console. They can cause static damage. Use compressed air or a soft-bristled brush instead.
How do I know if I’ve reassembled my console correctly?
Test your console after putting it back together. Listen for odd noises and check all connections. If problems arise, see the troubleshooting section or get help from a pro.
