Overheating is often the primary cause of sudden shutdowns, but you should also evaluate battery health, power supply, corrupted system files, drivers, and failing hardware. This guide gives you clear diagnostic steps-checking event logs, monitoring temperatures, testing in safe mode-and practical fixes like cleaning fans, replacing thermal paste, testing RAM and drives, updating drivers, and optimizing power settings so you can quickly identify causes and decide whether to repair or seek professional help.

Understanding the Problem
You’ve likely seen sudden shutdowns from multiple causes: overheating, battery or adapter faults, corrupted drivers, or failing components. Studies and support logs show overheating accounts for roughly 60% of cases when CPU/GPU temps exceed 95°C, while battery wear and power-delivery issues explain another 20%. Event Viewer entries (e.g., Kernel-Power ID 41) and S.M.A.R.T. drive warnings help pinpoint whether the fault is thermal, electrical, or software-related so you can choose the right diagnostics next.
Common Factors Behind Random Shutdowns
Dust-clogged fans and dried thermal paste push temperatures past safe limits, causing thermal trips. Batteries with >20% wear or adapters supplying wrong voltage cause immediate cutoffs. Corrupted system files or driver conflicts often produce Event Viewer errors and BSOD codes. Hardware failures-bad RAM, SSD sectors, or VRM problems on the motherboard-also trigger abrupt power loss. After you identify the most likely factor, follow the targeted diagnostic and repair steps in the relevant sections below.
- Overheating: fan noise, temps >95°C under load
- Power: battery wear >20%, adapter voltage mismatch
- Software: Event Viewer ID 41, driver crash codes
- Hardware: S.M.A.R.T. reallocated sectors, RAM errors
Identifying Warning Signs
You can spot patterns that point to specific causes: shutdowns during gaming or video rendering usually mean overheating, while random cuts on idle point to power or motherboard faults. Event Viewer codes (Kernel-Power 41, unexpected shutdown 6008), repeated hardware errors, and S.M.A.R.T. alerts are direct indicators. Note whether the laptop restarts automatically or stays off-automatic restarts often indicate software/kernel crashes; complete power loss suggests electrical or battery failure.
Use concrete checks: run powercfg /batteryreport to see cycle count and design capacity (cycle counts over 500 often indicate wear), monitor temps with HWiNFO or CoreTemp (sustained CPU/GPU >90-95°C is unsafe), inspect Event Viewer for IDs 41/6008 and driver crash codes, run CrystalDiskInfo for S.M.A.R.T. attributes (reallocated sectors >0 is a red flag), and test RAM with MemTest86 to isolate module faults.
Immediate Troubleshooting Steps
You should start by checking logs, monitoring temperatures, booting into Safe Mode, and running built-in diagnostics; prioritize Event Viewer for error codes and Kernel‑Power entries, then observe CPU/GPU temps under load (10-30 minutes) to see if shutdowns coincide with spikes above ~90-95°C, which often points to heat or power faults.
Checking Event Viewer Logs
Open eventvwr.msc, filter Windows Logs → System for Critical/Error entries around the shutdown time, and look for Event ID 41 (Kernel‑Power), 6008, BugCheck or driver failures; if you find repeated Kernel‑Power events at shutdown timestamps, correlate with device driver updates or power adapter faults to narrow the cause.
Event Viewer Quick Guide
| Event ID 41 (Kernel‑Power) | Unexpected power loss – check PSU/adapter, drivers, thermal shutdowns |
| Event ID 6008 | Improper shutdown – software crash or abrupt power cut |
| BugCheck / BlueScreen | Driver or hardware fault – analyze minidump with WinDbg |
| Service/Application Errors | App causing crashes – disable startup items to test |
Monitoring System Temperatures
Use tools like HWInfo, Core Temp, MSI Afterburner or GPU‑Z to log CPU package and GPU junction temps; aim for idle CPU 30-50°C, GPU 30-60°C, and avoid sustained temps above ~85-95°C; run a 10-15 minute stress test (Prime95, OCCT, Unigine) while logging to reproduce shutdowns tied to thermal limits.
Temperature Monitoring Checklist
| CPU package temp | Normal <85°C; sustained >95°C risks forced shutdown |
| GPU junction temp | Normal <85°C; spikes >95°C indicate cooling failure |
| Idle vs load delta | Idle 30-50°C; load increase >40°C suggests airflow/thermal paste issues |
| Fan speeds / RPM | Fans should ramp with load; static low RPM under load signals dust or faulty fan |
Log sensors while running real-world workloads (video playback, gaming, rendering) for 10-30 minutes; if temps jump 20-30°C quickly or hit 100°C, inspect heatsink contact and old thermal paste-poor contact can raise temps by 10-20°C and force the system to cut power to protect components.
Fixing Overheating Issues
When overheating is the cause, you should address fans, heatsinks, thermal paste and airflow together: aim to keep CPU/GPU under ~85°C under heavy load, since dust can raise temperatures by 10-20°C. Replace thermal paste every 2-3 years or when idle-to-load delta grows, and monitor with HWMonitor or Core Temp. If fan RPM under load is unusually low (below ~3000 RPM) or you hear grinding, clean or replace the fan and recheck temps after each change.
Cleaning Internal Components
Power down, unplug, remove battery if possible and ground yourself; then open the chassis and remove dust with 30-second compressed-air bursts from 2-3″ away while holding fan blades to prevent overspin. Use a soft brush to free stuck particles from heatsink fins and a vacuum on low to capture debris. For stubborn grime use 70-90% isopropyl on a lint-free swab; if you disturb the CPU/GPU, plan to reapply 0.1-0.2g of thermal paste.
Enhancing Laptop Cooling
Raise your laptop 5-15 mm with a stand to boost bottom intake and use a cooling pad with 2-3 fans to cut temps typically 3-10°C. Undervolt the CPU by −0.100 to −0.150 V (using Intel XTU or Ryzen Controller) for a 5-12°C drop without losing stability, and set max CPU state to 99% to disable turbo if needed. Adjust BIOS/manufacturer fan curves so fans hit 4,000-5,000 RPM under load when safe.
Choose a cooling pad by checking airflow (CFM) and fan placement to line up with your laptop’s vents; USB-powered pads usually draw 5V at 0.5-1A. When repasting, use a pea- or rice-sized amount (~0.1g) of a high-performance compound (e.g., Kryonaut or MX-4) and validate with stress tests like Prime95 or AIDA64 while logging temps to confirm improvements. Use conservative undervolt/jitter settings and run a stability test for at least 30-60 minutes after each change.
Addressing Battery and Power Problems
Run a battery report (powercfg /batteryreport) and note cycle count and full‑charge versus design capacity, check the AC adapter label for voltage/wattage (e.g., 19.5V 4.62A or 65W), and isolate by running the laptop on AC with the battery removed if possible; use a known‑good adapter to rule out intermittent charging, inspect the DC jack for play, and watch for shutdowns that align with high CPU/GPU loads-these patterns point to battery wear or supply failure rather than software faults.
Testing Battery Health
Generate Windows’ battery report and look for full charge capacity under 80% of design or cycle counts above 300-500 as a sign to replace the pack. Use OEM diagnostics (Dell SupportAssist, HP Battery Check) or BIOS battery info to confirm. Perform a practical test: charge to 100%, run 30 minutes of light browsing and note percent drop; drops over 10% or sudden single‑percent collapses indicate failing cells or calibration issues.
Verifying Power Supply Functionality
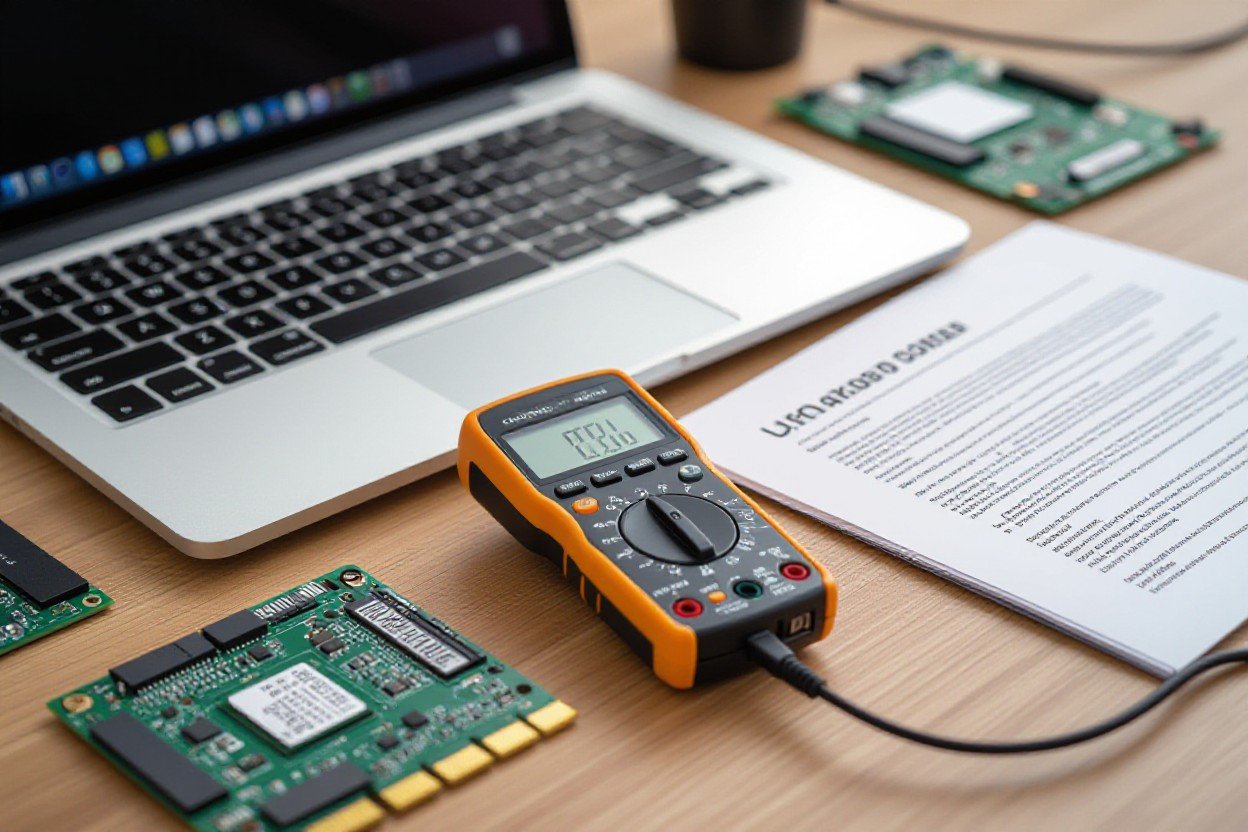
Check the adapter’s rated voltage and wattage on the label (common ranges: 19V, 45-130W; USB‑C PD 45-100W), then measure its DC output with a multimeter-expect readings within ~±5% of spec. Ensure the adapter’s amp rating meets or exceeds the laptop’s requirement, inspect the barrel or USB‑C connector for looseness or frayed cable, confirm the charger is detected in BIOS/UEFI, and try a matching OEM or equivalent replacement to see if shutdowns stop under load.
Set your multimeter to DC volts and measure between center pin and barrel; an idle adapter should read near its label (e.g., 19.5V ±0.5V). Next, run a stress test (video playback or CPU load) and watch for voltage sag-drops greater than ~1V under load suggest a bad adapter or cable. For USB‑C PD, use a PD power meter to verify negotiated wattage; if adapter voltages are good but issues persist, inspect the laptop’s DC jack for loose solder joints that often need board repair.
Software-Related Solutions
You should focus on software fixes that commonly trigger sudden shutdowns: update drivers (chipset, GPU, storage controller), run system file checks (SFC/DISM), scan disks and memory, and disable misbehaving startup apps. Check Event Viewer for entries like Kernel-Power (Event ID 41) to correlate software errors with shutdown times. Performing a clean driver install or a fresh Windows image often eliminates corrupted system files or driver conflicts that cause unexplained power-offs.
Updating Drivers
Start by updating chipset, graphics, and storage drivers from the laptop maker or component vendor (Intel/AMD/NVIDIA). Use Device Manager for quick checks, but download WHQL-signed packages from vendor sites for reliability. For GPU issues, run a clean uninstall with DDU then install the latest driver. Also check BIOS/UEFI updates-firmware fixes often resolve power-management bugs tied to shutdowns.
Running System Diagnostics
Run SFC (sfc /scannow) and DISM (DISM /Online /Cleanup-Image /RestoreHealth) to repair system files, then schedule chkdsk (chkdsk C: /f /r) at reboot. Use Windows Memory Diagnostic (mdsched.exe) or memtest86 from USB to test RAM. Check OEM built-in diagnostics (Dell ePSA, HP UEFI diagnostics) to isolate hardware vs software causes quickly.
Dig deeper by examining Event Viewer entries (System logs: Kernel-Power, TaskScheduler errors) to timestamp failures; Kernel-Power Event ID 41 typically means an unexpected shutdown but not its root cause. Use CrystalDiskInfo or smartctl to read SMART attributes-Reallocated_Sector_Ct or Current_Pending_Sector >0 signals drive trouble. For RAM, run memtest86 for at least 4 passes (overnight) and treat any errors as failing modules. After SFC/DISM, if errors persist, create a WinPE USB and run offline DISM or a clean install. When stress-testing CPU/GPU with Prime95 or FurMark to reproduce the fault, monitor temps with HWiNFO and stop tests if CPU >95°C or GPU >90°C to avoid damage.
Performing Hardware Checks
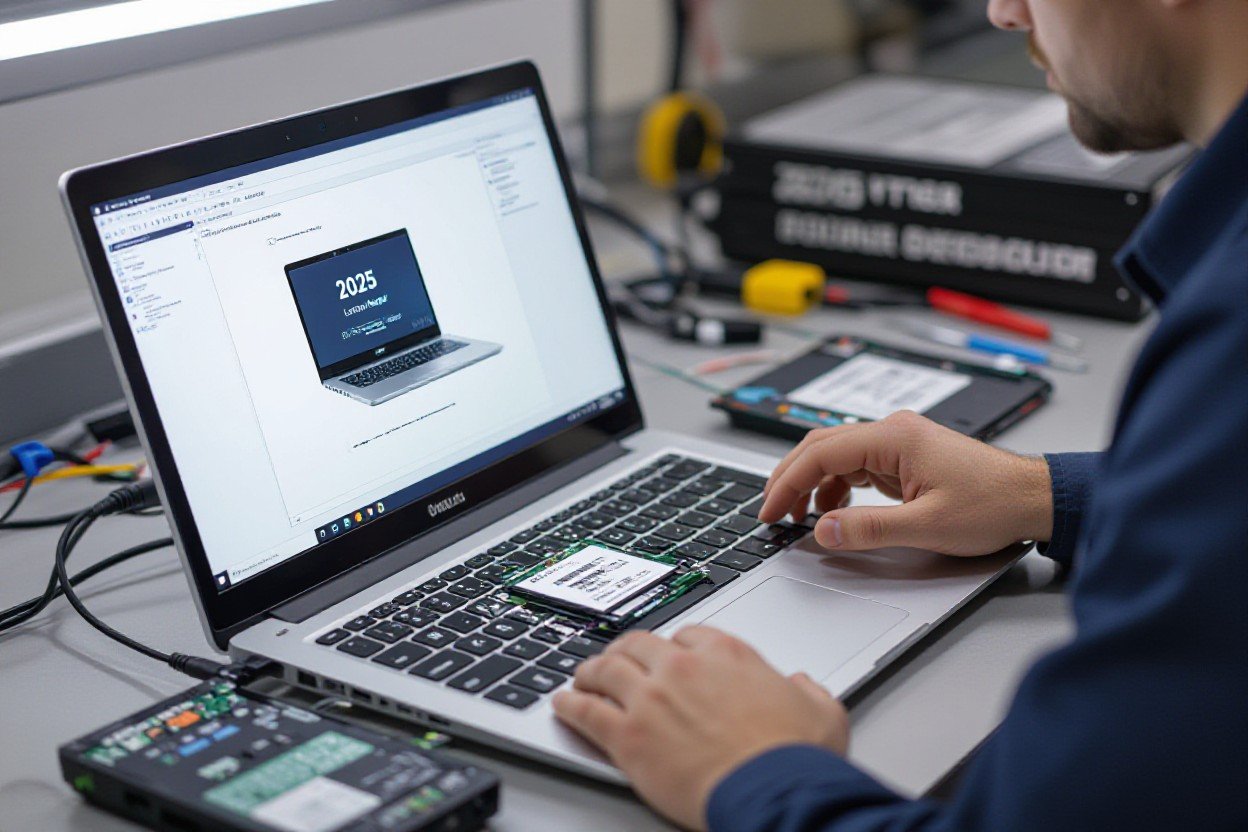
You should methodically inspect hardware components: run MemTest86 (4+ passes), CrystalDiskInfo or smartctl for SMART status, and HWMonitor/HWiNFO for temps and voltages. Open the chassis to check connectors, fans, heatsinks and dust buildup, note any bulging capacitors or burnt smell, and log Event Viewer error codes before swapping parts. Use a multimeter to verify 12V rail stability under idle and load conditions.
Examining RAM and Storage
You can isolate RAM faults by testing each module solo in different slots and running MemTest86 for at least 4 passes; persistent errors point to a bad DIMM or slot. For storage, inspect SMART attributes like Reallocated_Sector_Ct and Current_Pending_Sector with CrystalDiskInfo or smartctl, run chkdsk /r on HDDs, and check SSD wear/TBW via vendor tools (Samsung Magician, Intel SSD Toolbox) to spot imminent failures.
Assessing Motherboard and GPU
Start by inspecting the board for bulging or leaking capacitors, scorched VRM areas, loose solder joints, and burned traces. If you get POST beeps or codes, cross-reference the manual and BIOS event log for voltage or thermal faults. Use a multimeter to confirm 12V/5V rails within ±5% and watch GPU temps closely-sustained GPU temperatures above ~90°C often precipitate shutdowns on laptops; update BIOS only from the vendor.
Stress-test the GPU with FurMark or Unigine Heaven for 10-15 minutes while logging sensors with GPU-Z and HWMonitor; note clock drops, throttling, or visual artifacting within the first few minutes. For example, a 2018 MSI GS65 suffered shutdowns after ~20 minutes of gaming due to VRM overheating and required a motherboard replacement. If you observe thermal throttling or voltage sag under load, log the timestamps and consider board-level repair or replacement rather than guessing individual components.
Conclusion
Upon reflecting on the troubleshooting flow, you have a concise checklist to diagnose your laptop’s overheating, power, software, and hardware faults, perform targeted repairs (cleaning, thermal paste, battery/adapter tests, driver and OS fixes), and adopt preventive maintenance; if problems persist after these steps, escalate to professional service or weigh repair cost versus replacement.
